
Configure the accessibility settings of your new jurisdiction
To configure how the Widget and the case types handle accessibility:
- Go to
 Manage>Property Settings>Jurisdictions.
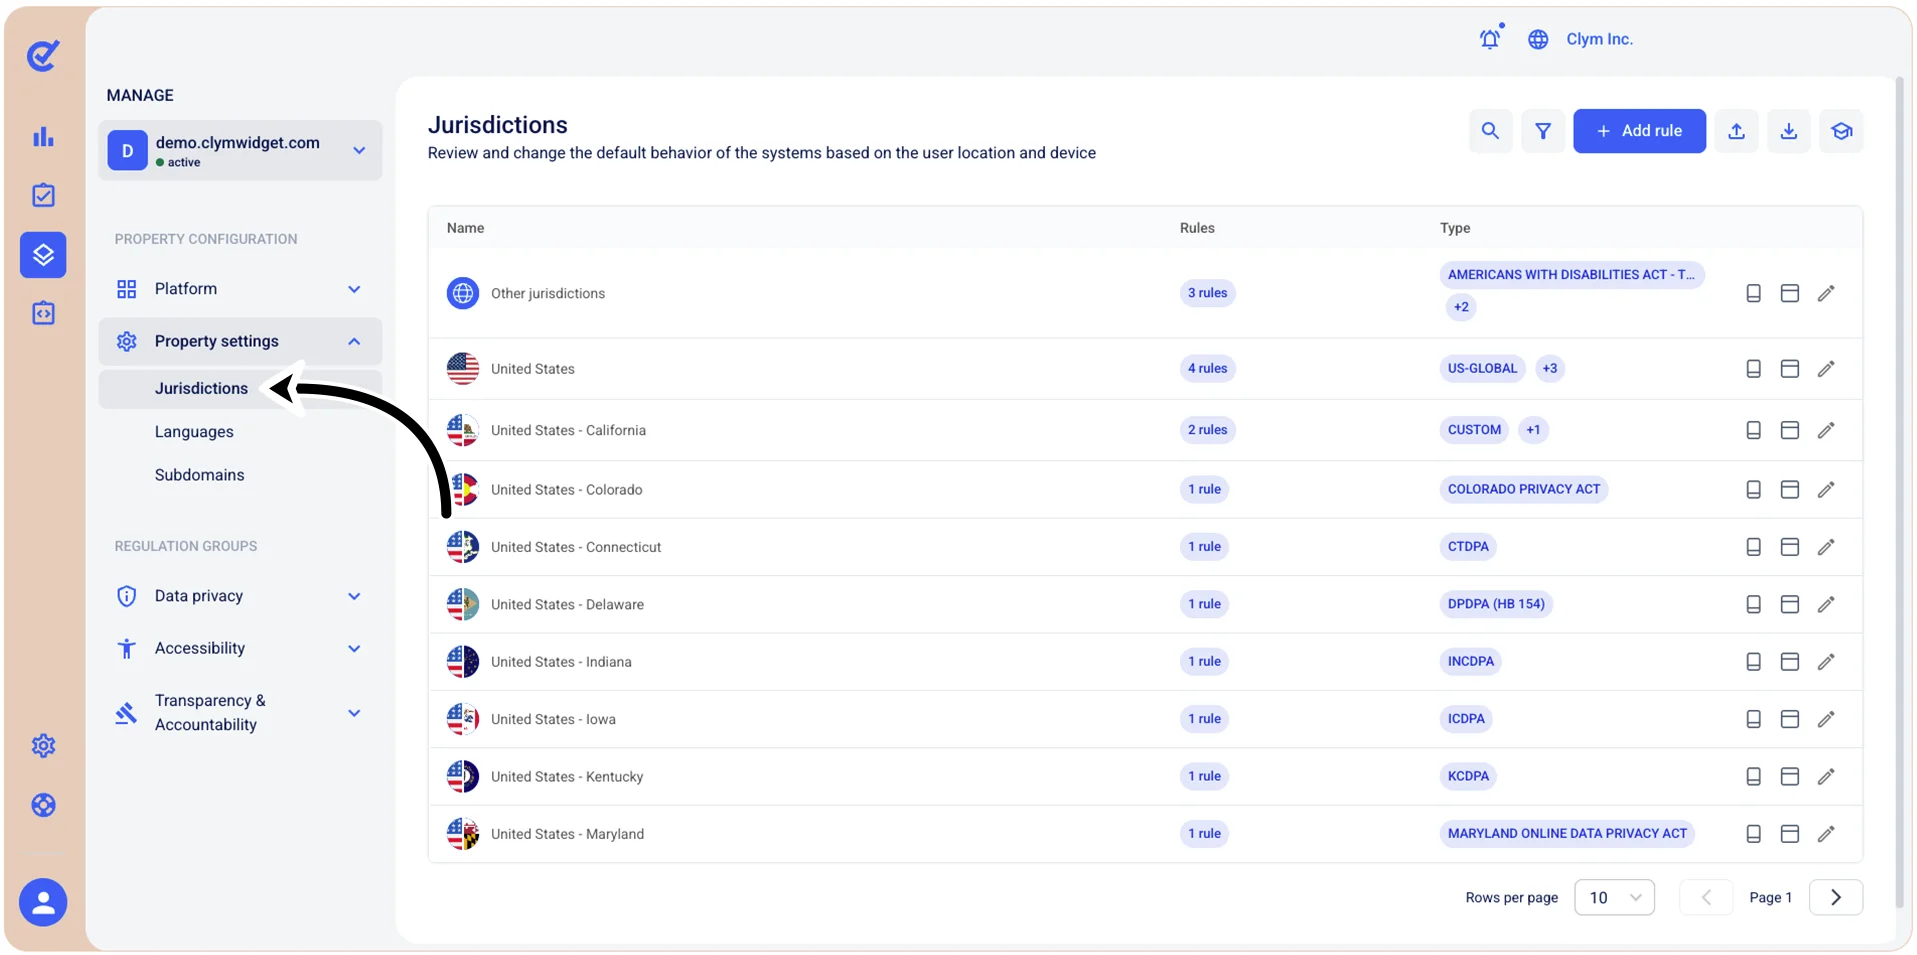
- In the Jurisdictions section, select either Add Rule or
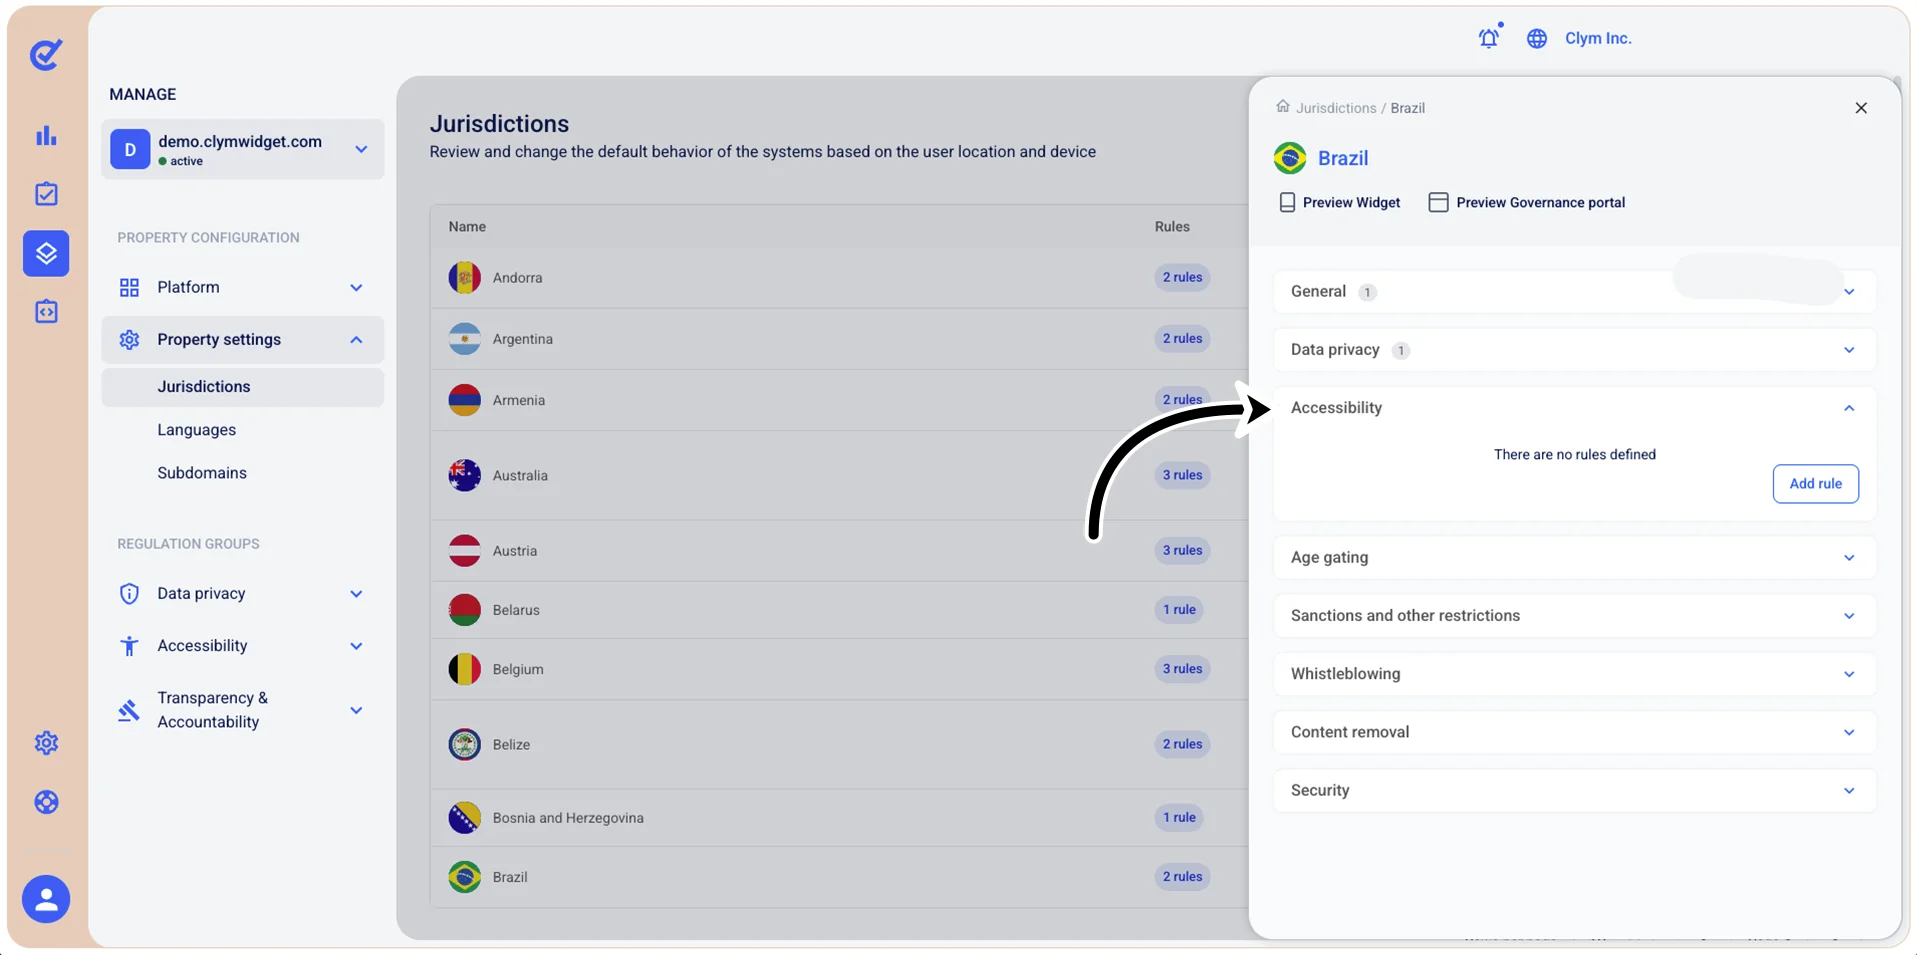
 Edit next to the desired existing rule. Then, expand Accessibility and select Add rule.
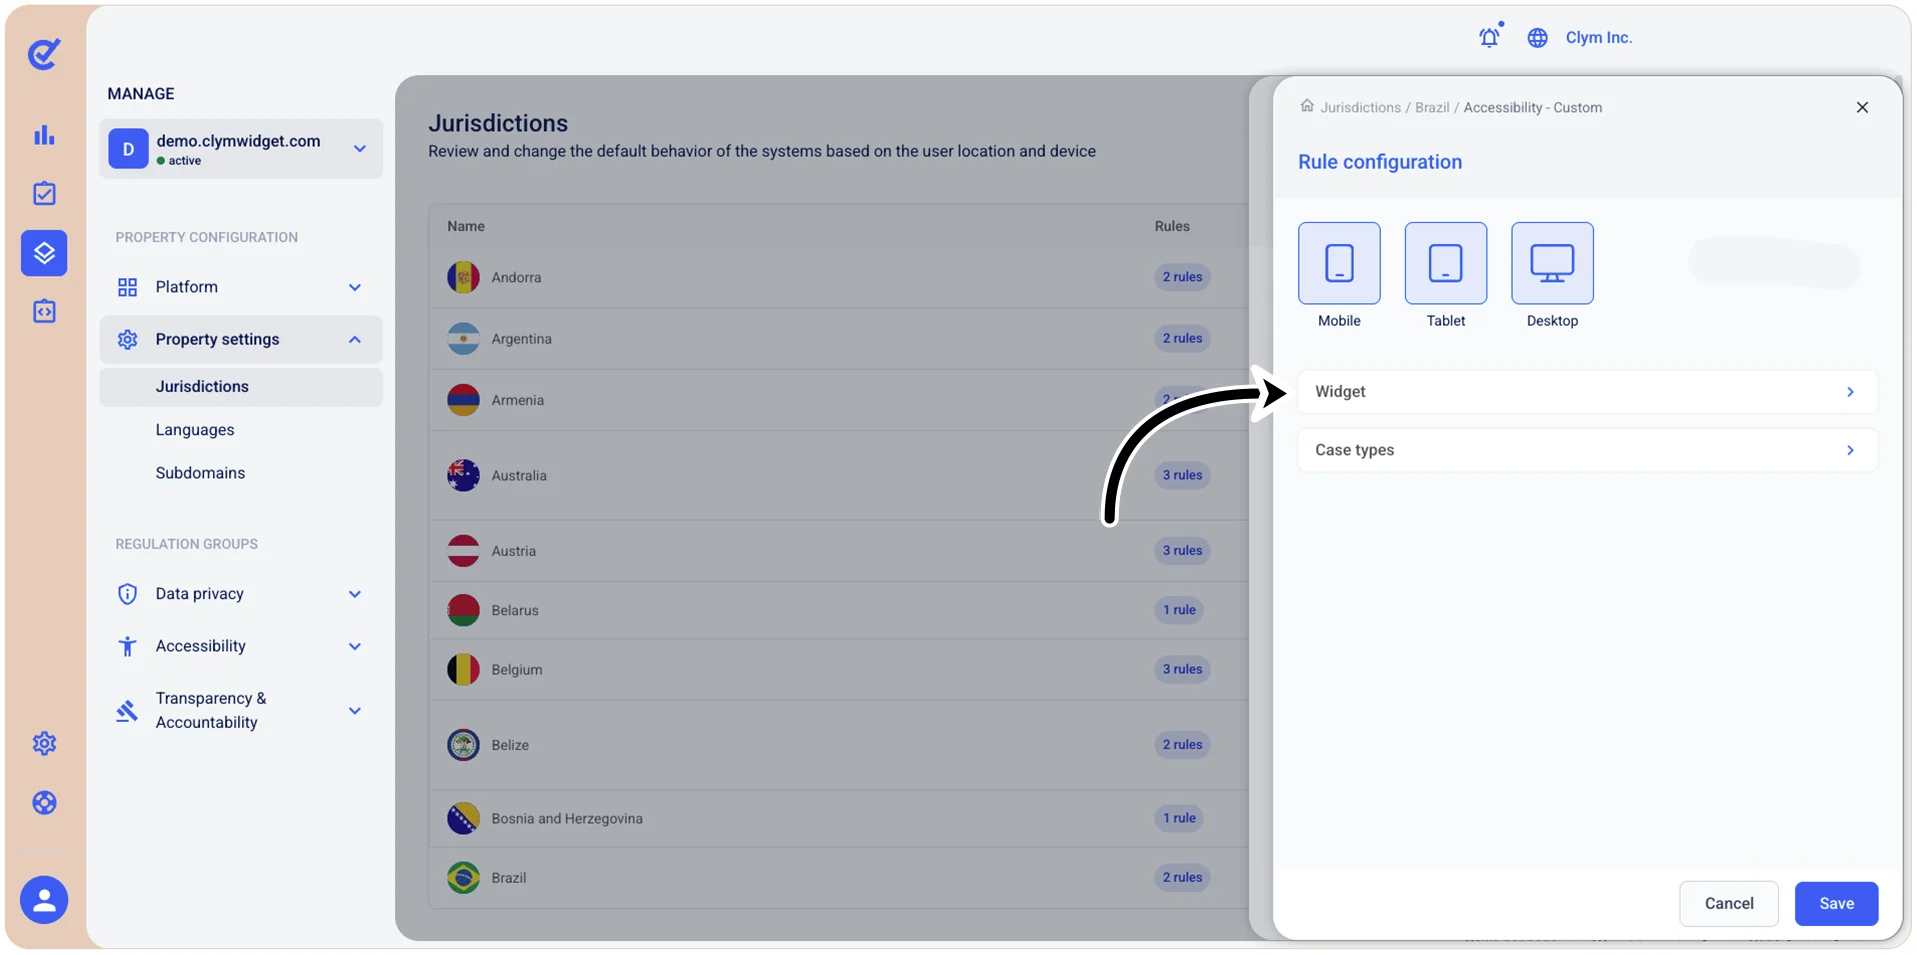
- Under Rule configuration, the highlighted mobile, tablet, and desktop icons mean that the widget will be displayed on all these three mediums; to prevent the widget from being displayed on any of these mediums, simply clear the desired selection(s). You can make combinations of multiple mediums, such as both tablet and mobile, or both tablet and desktop, or mobile only. Then, select Widget below the mobile/tablet/desktop icons to configure the accessibility settings.
- Next, toggle on Enable accessibility features to make the layout accessible to users with special needs.
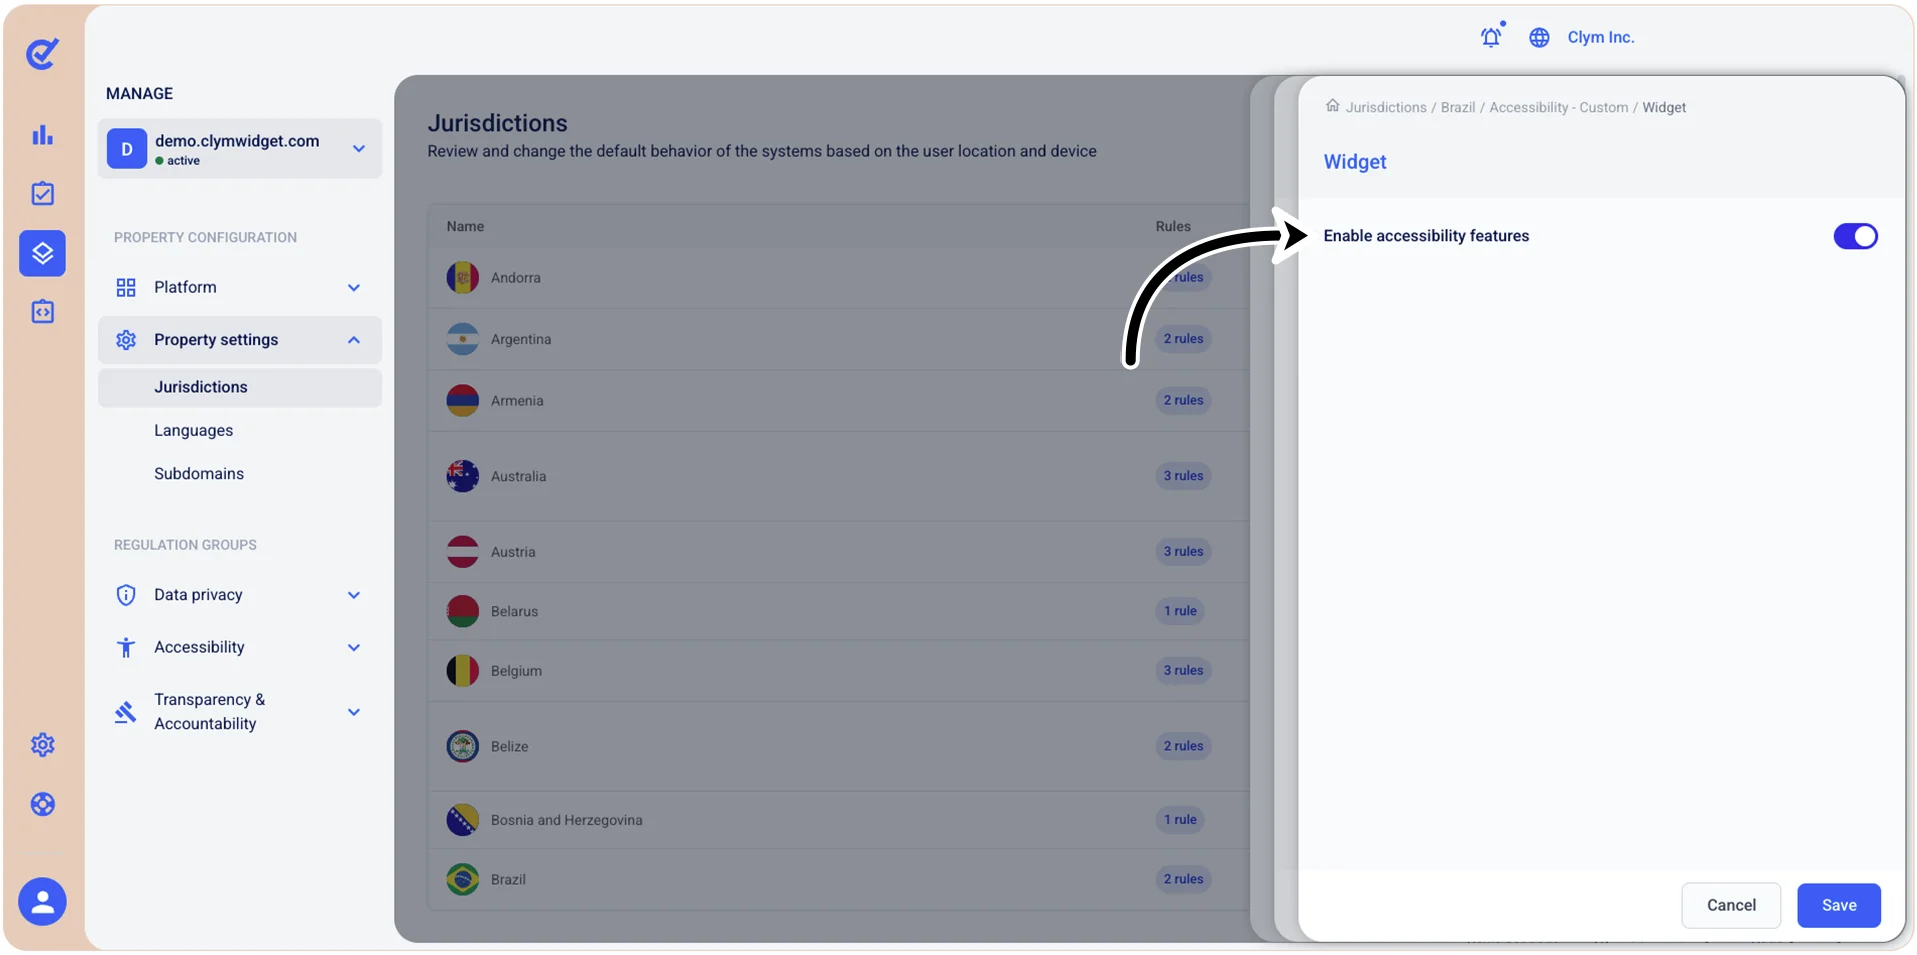
- When finished, select Save to return to Rule configuration.
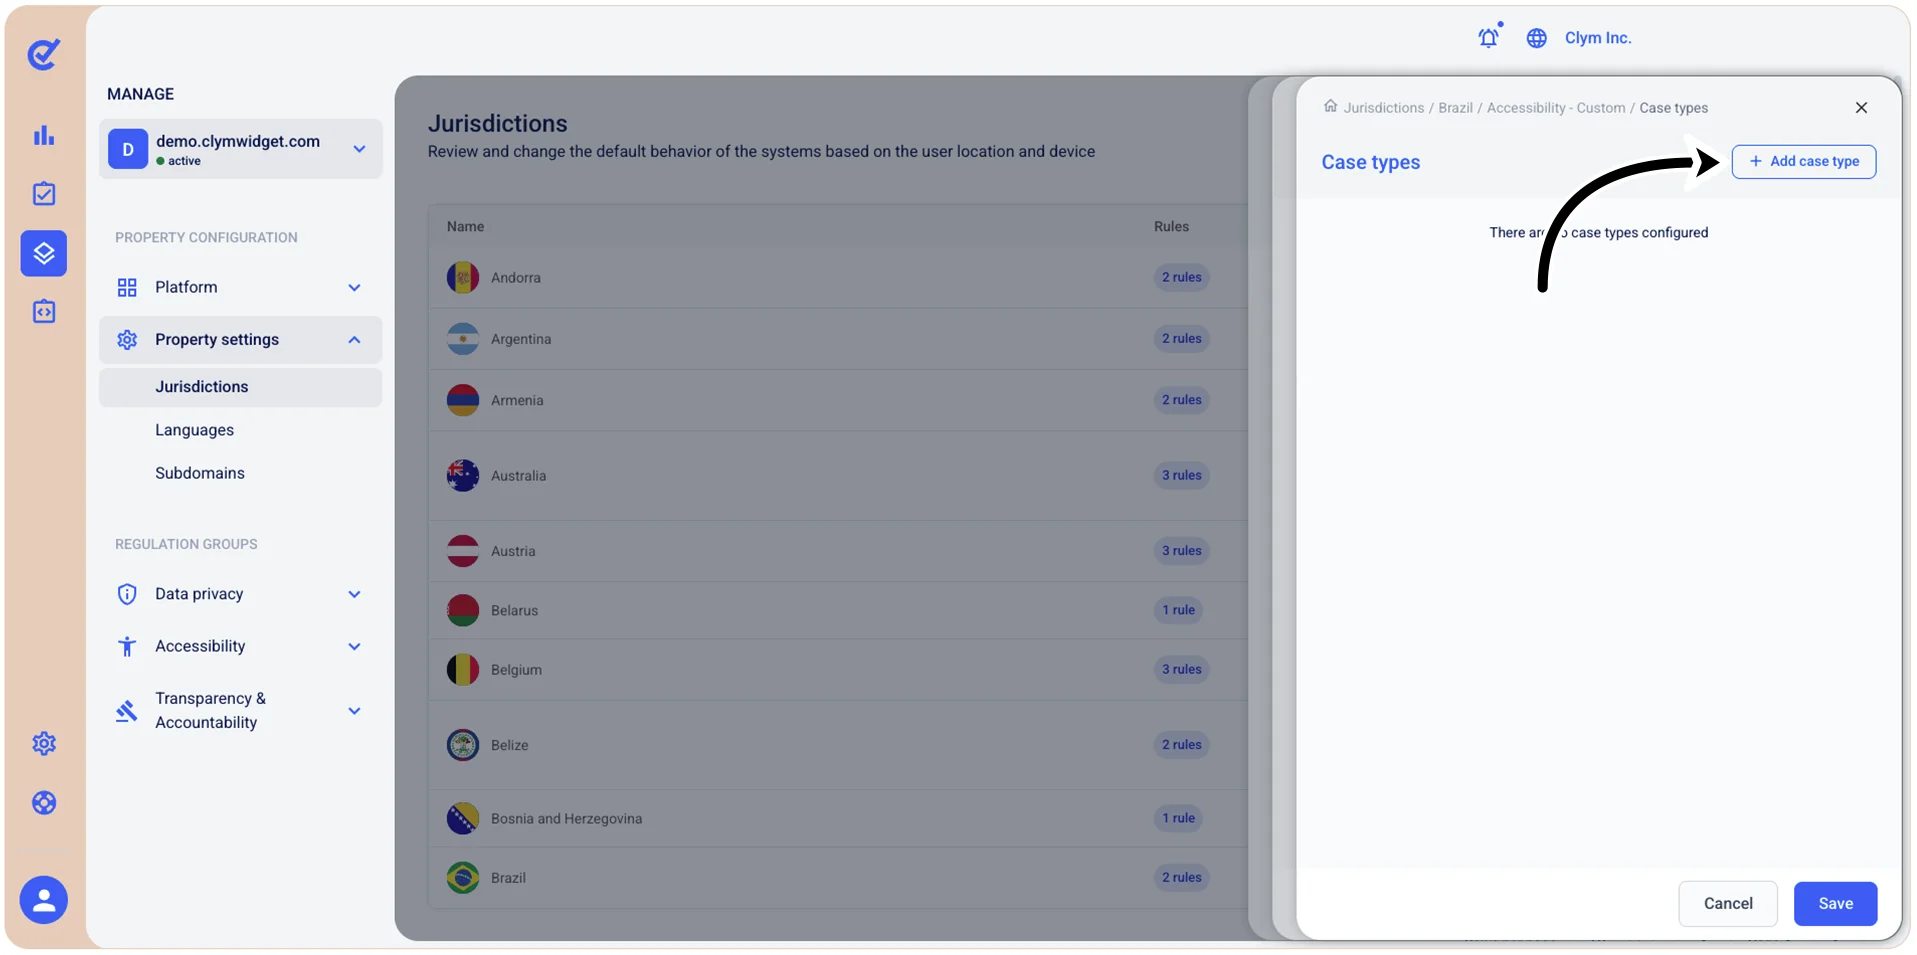
- Under Rule configuration, select Case types. To create a case type, select Add case type.
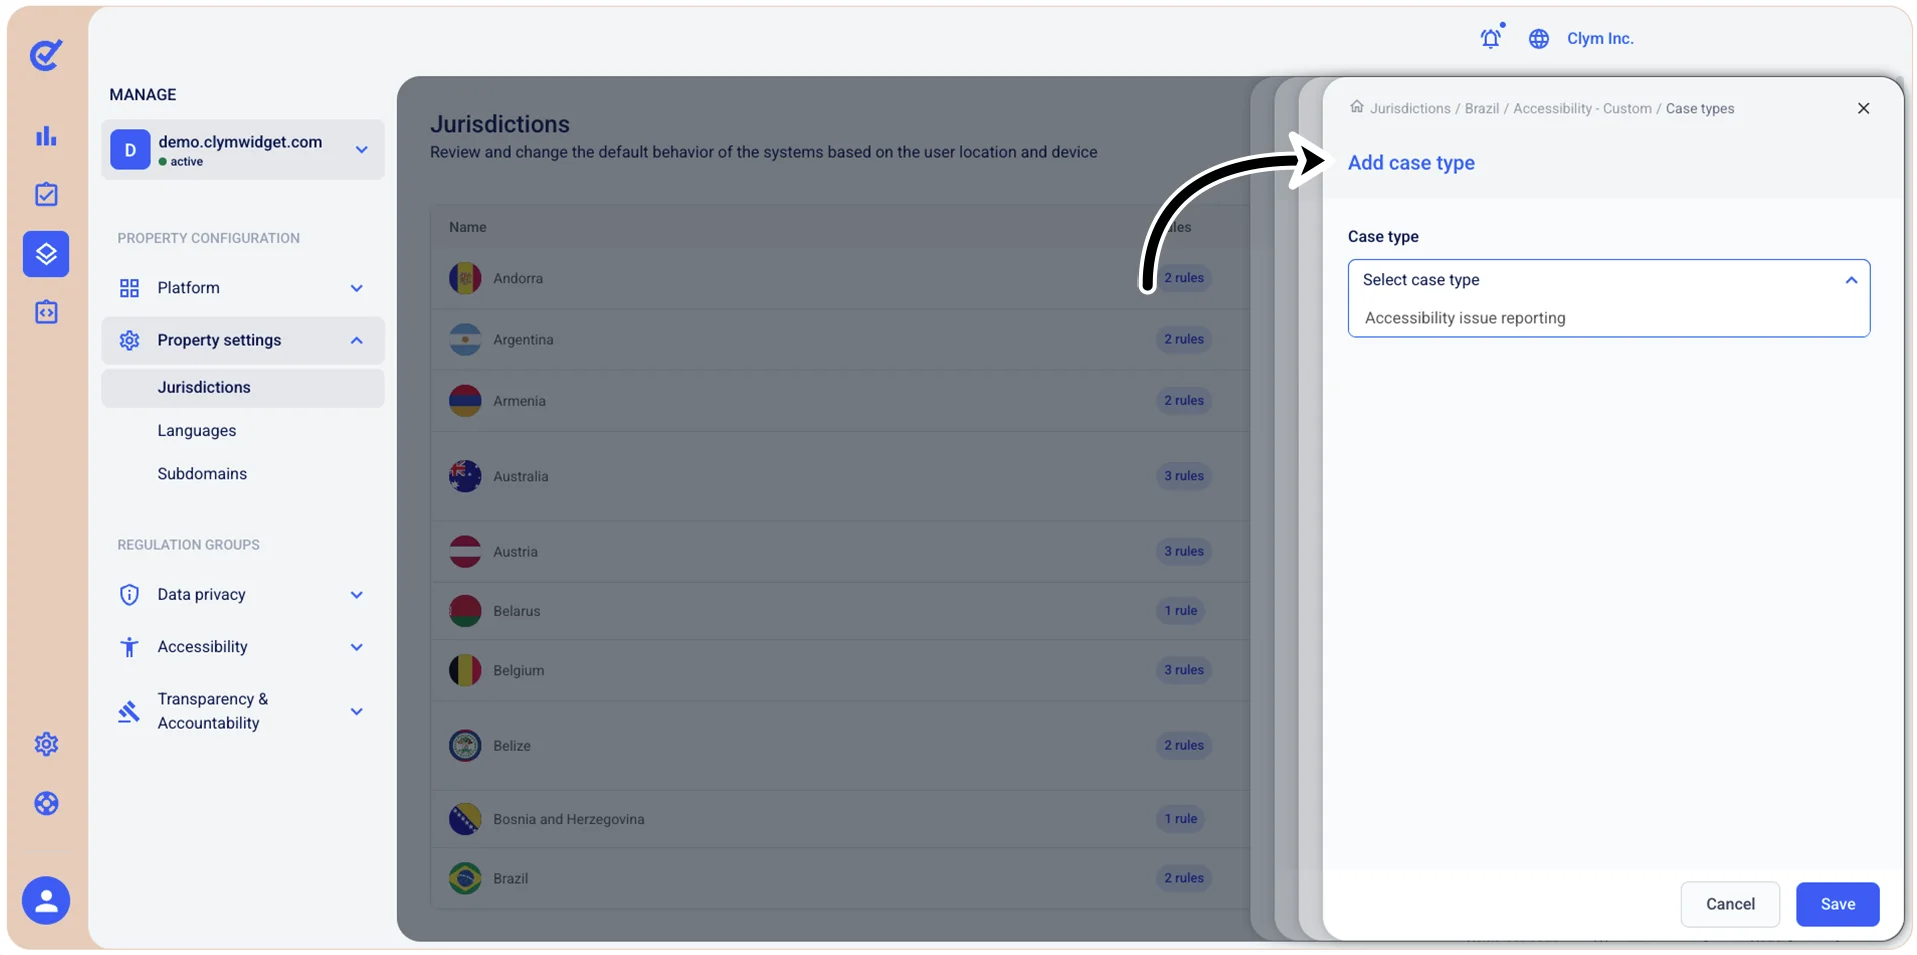
- Under Add case type, select the type of case you want to create. Then, configure the parameters of your Accessibility case type (for example, how long before the first response, the resolution interval and the archive period).
- When finished, select Save to return to Rule configuration.