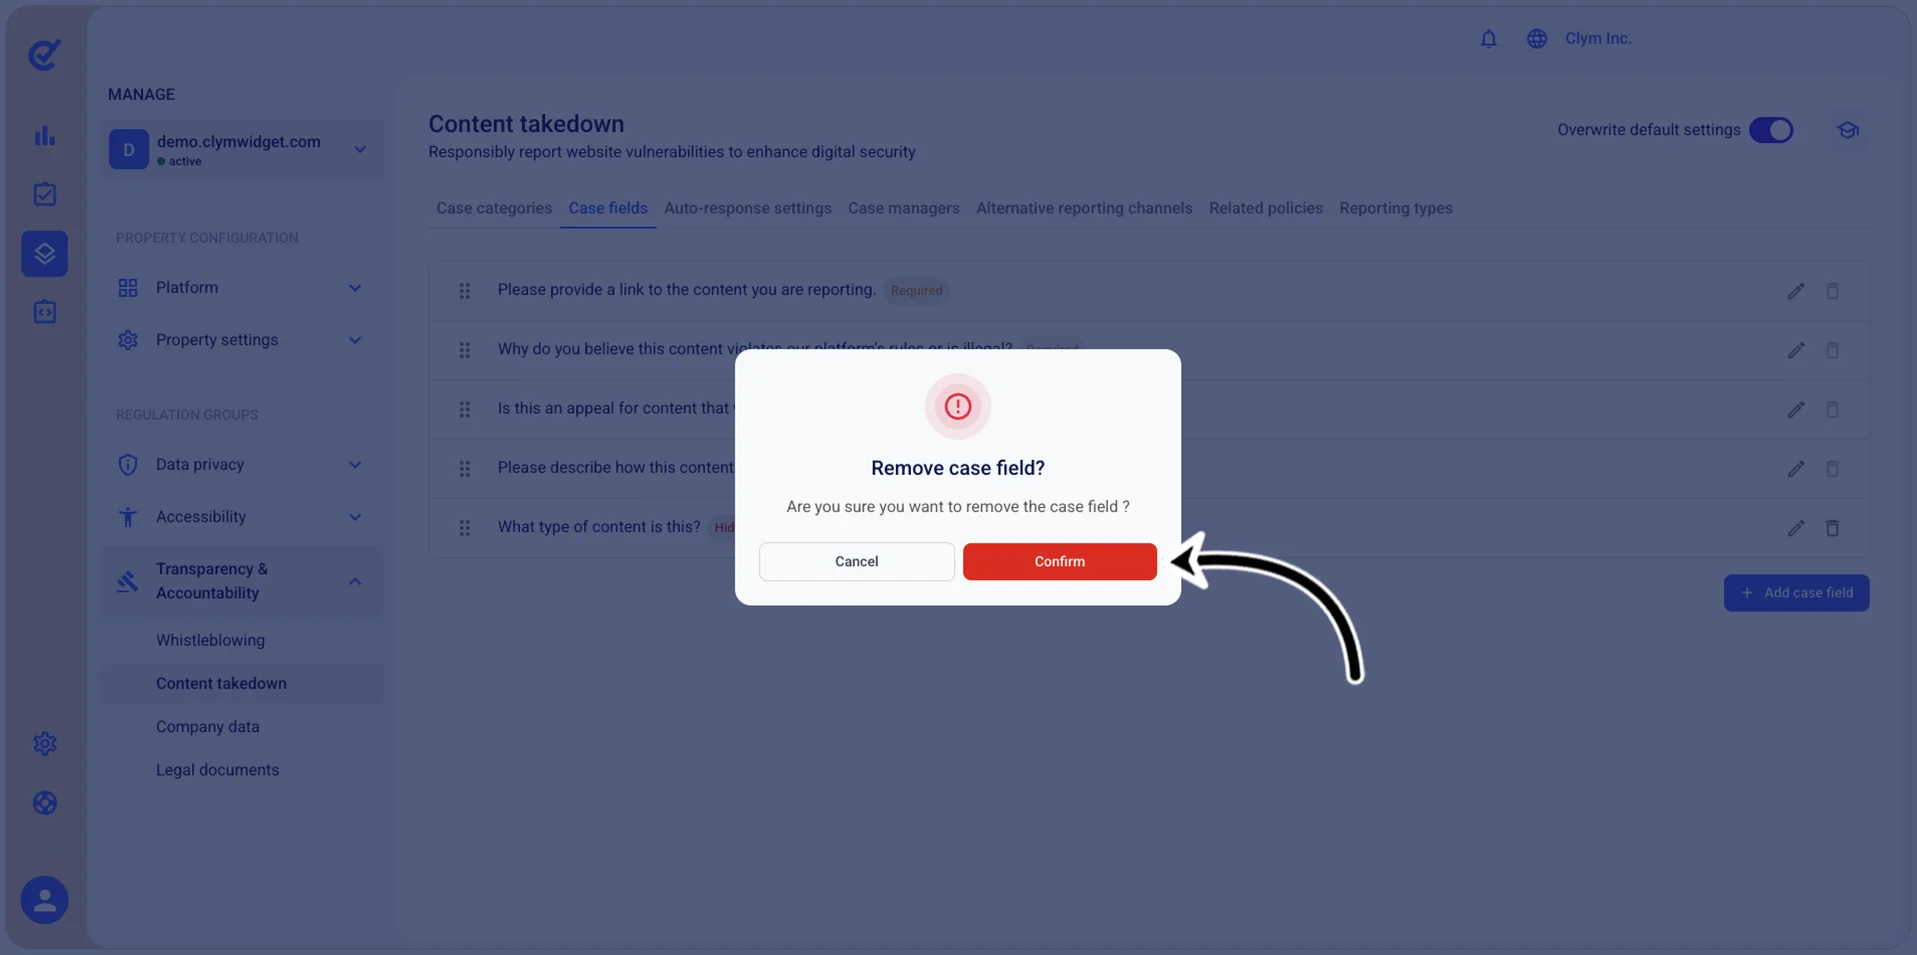
Manage content takedown request case fields
Whenever filling a content takedown case, reporters need to fill in certain relevant details about the case. You can configure which of these fields, called case fields, are relevant for the requests in the Case fields section and decide whether or not they should be available in the content takedown request.
Important!
- To be able to customize this section, you need to toggle on Overwrite default settings.
- When configuring this section, make sure that you select Save on the tab you just configured before moving on to another tab.
You can add, modify, reposition and remove these case fields.
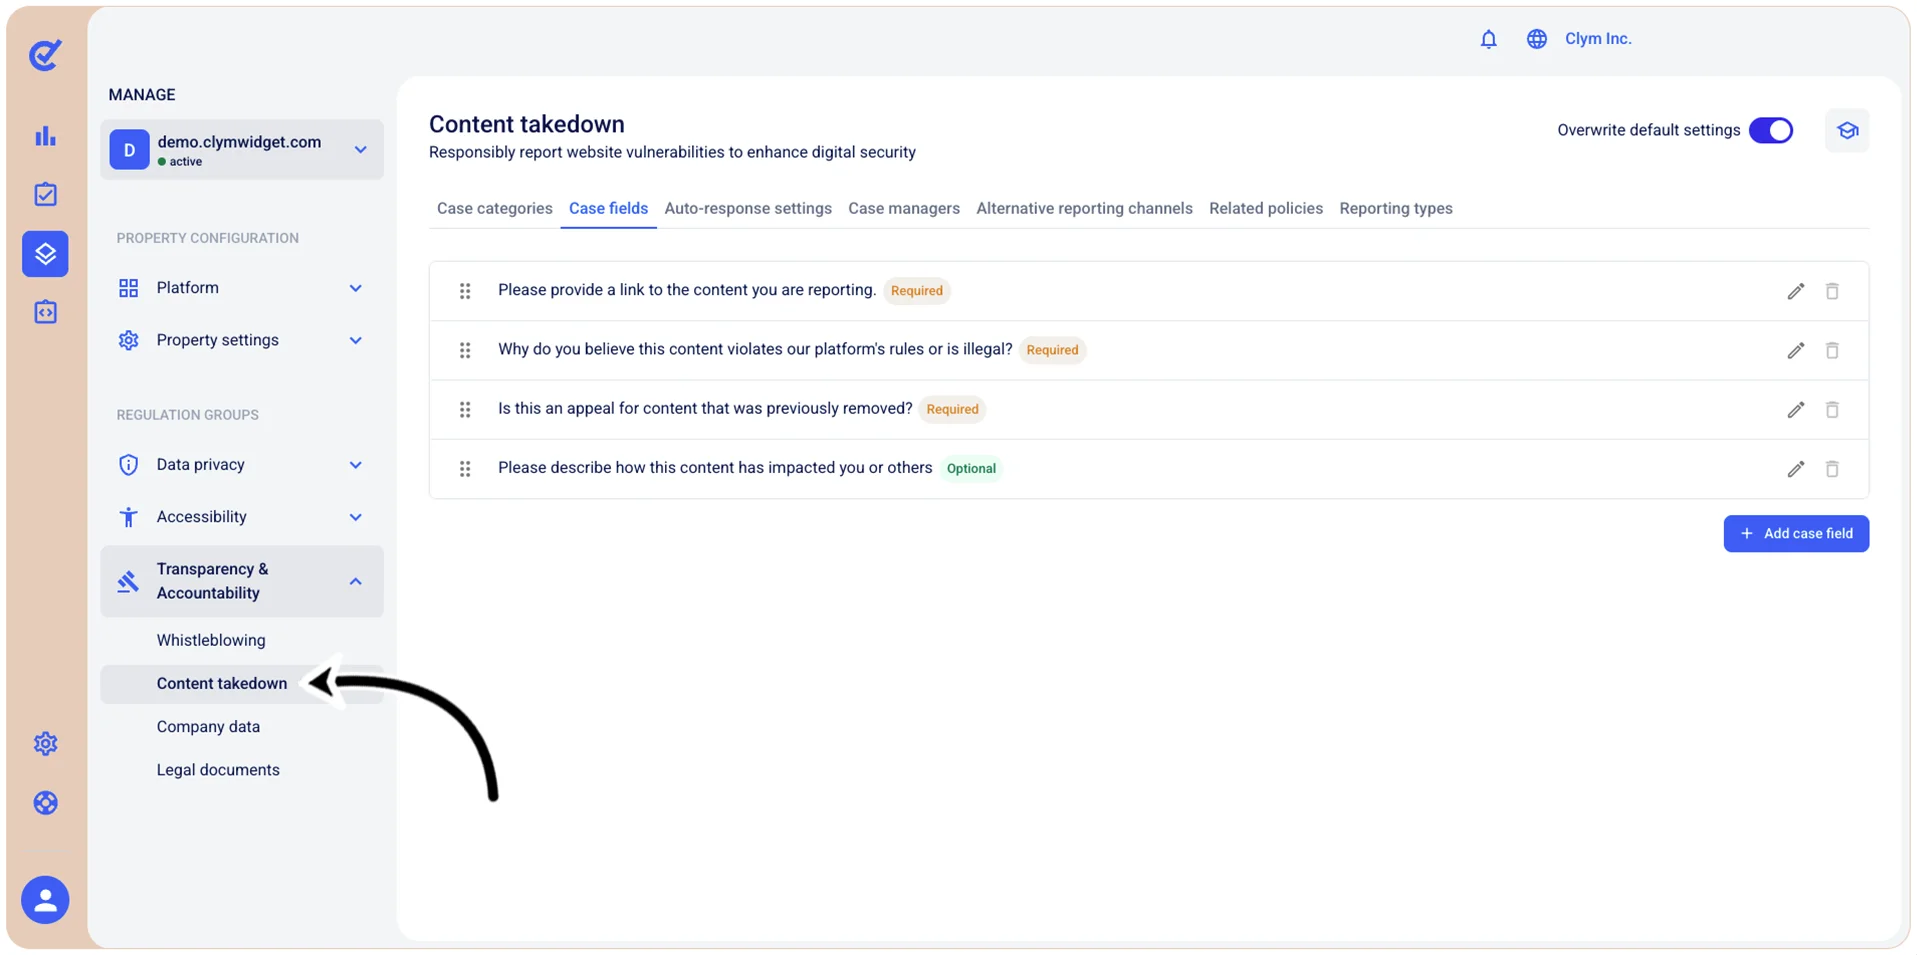
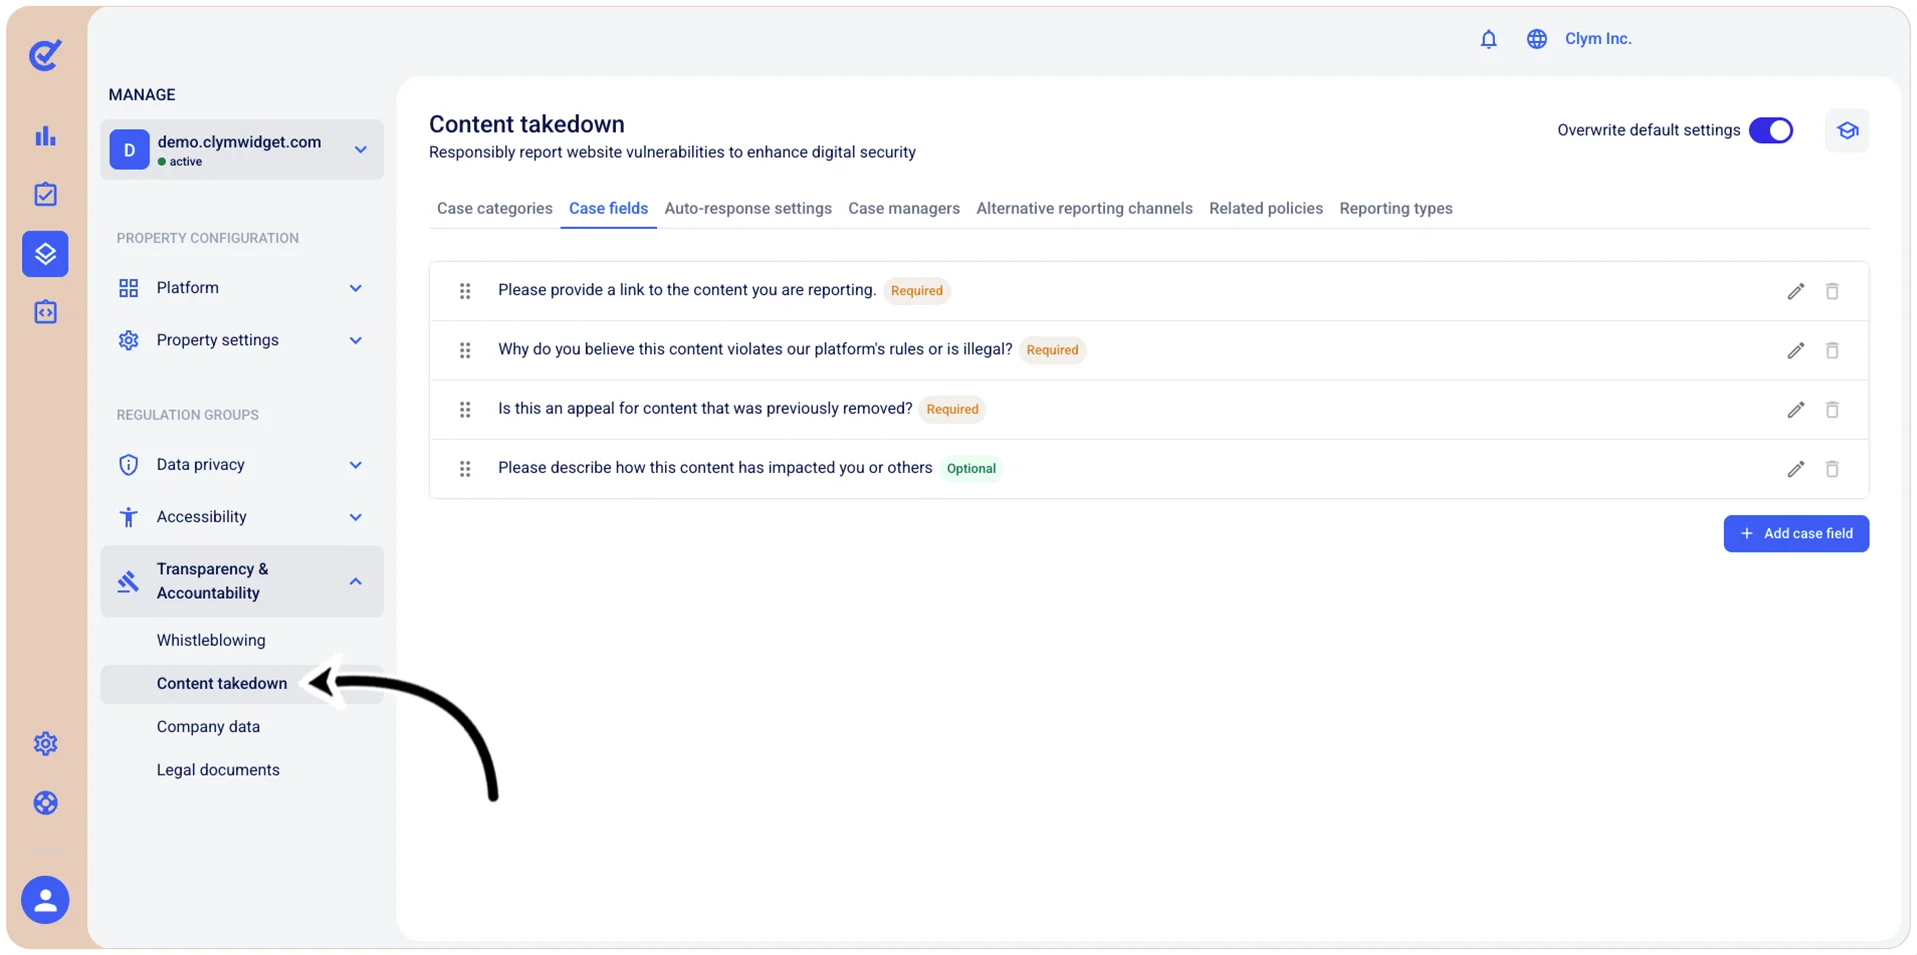
To access the content takedown Case fields section, go to  Manage>Transparency & Accountability>Content takedown.
Add a content takedown case field
In the Control Center, you can easily add a content takedown request case field.
Important!
- To be able to customize this section, you need to toggle on Overwrite default settings.
- When configuring this section, make sure that you select Save on the tab you just configured before moving on to another tab.
To add a content takedown case field:
- Go to Manage>Transparency & Accountability>Content takedown.
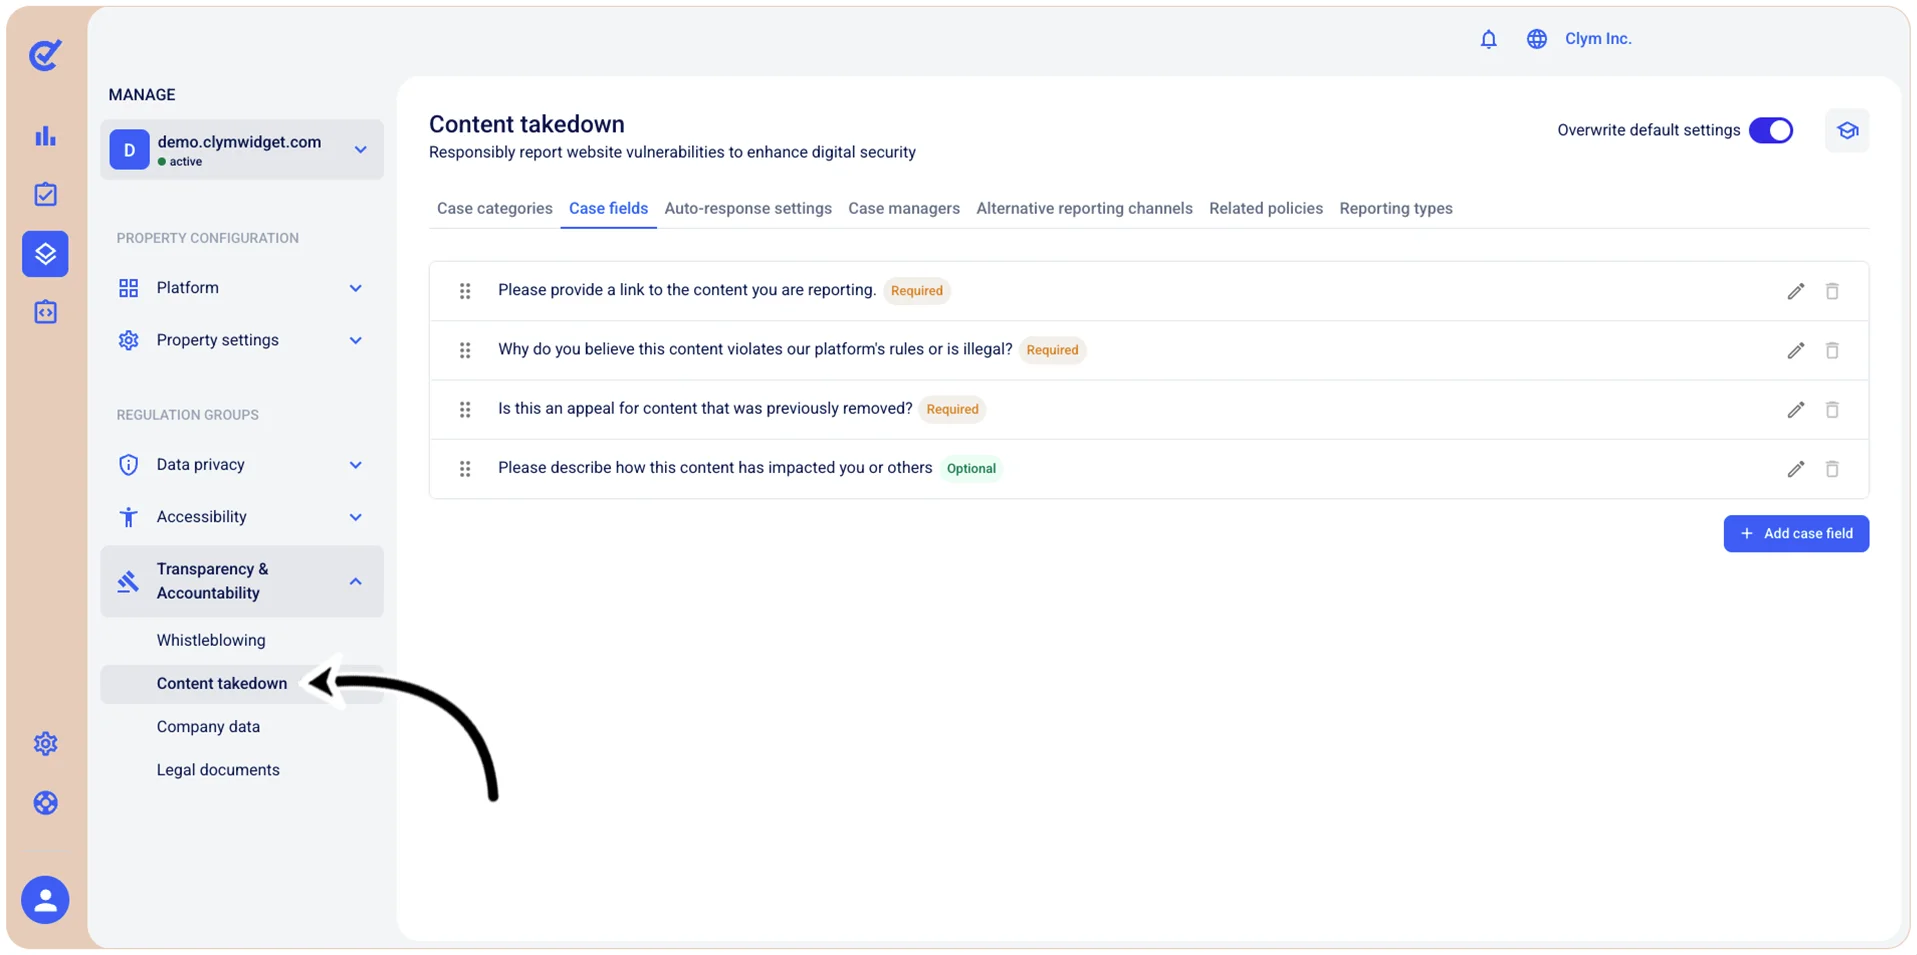
- In the Case fields tab, select +Add case field.
- In the Add case field section, configure the fields, as follows. Depending on your selection at this stage, the options available to you may vary.
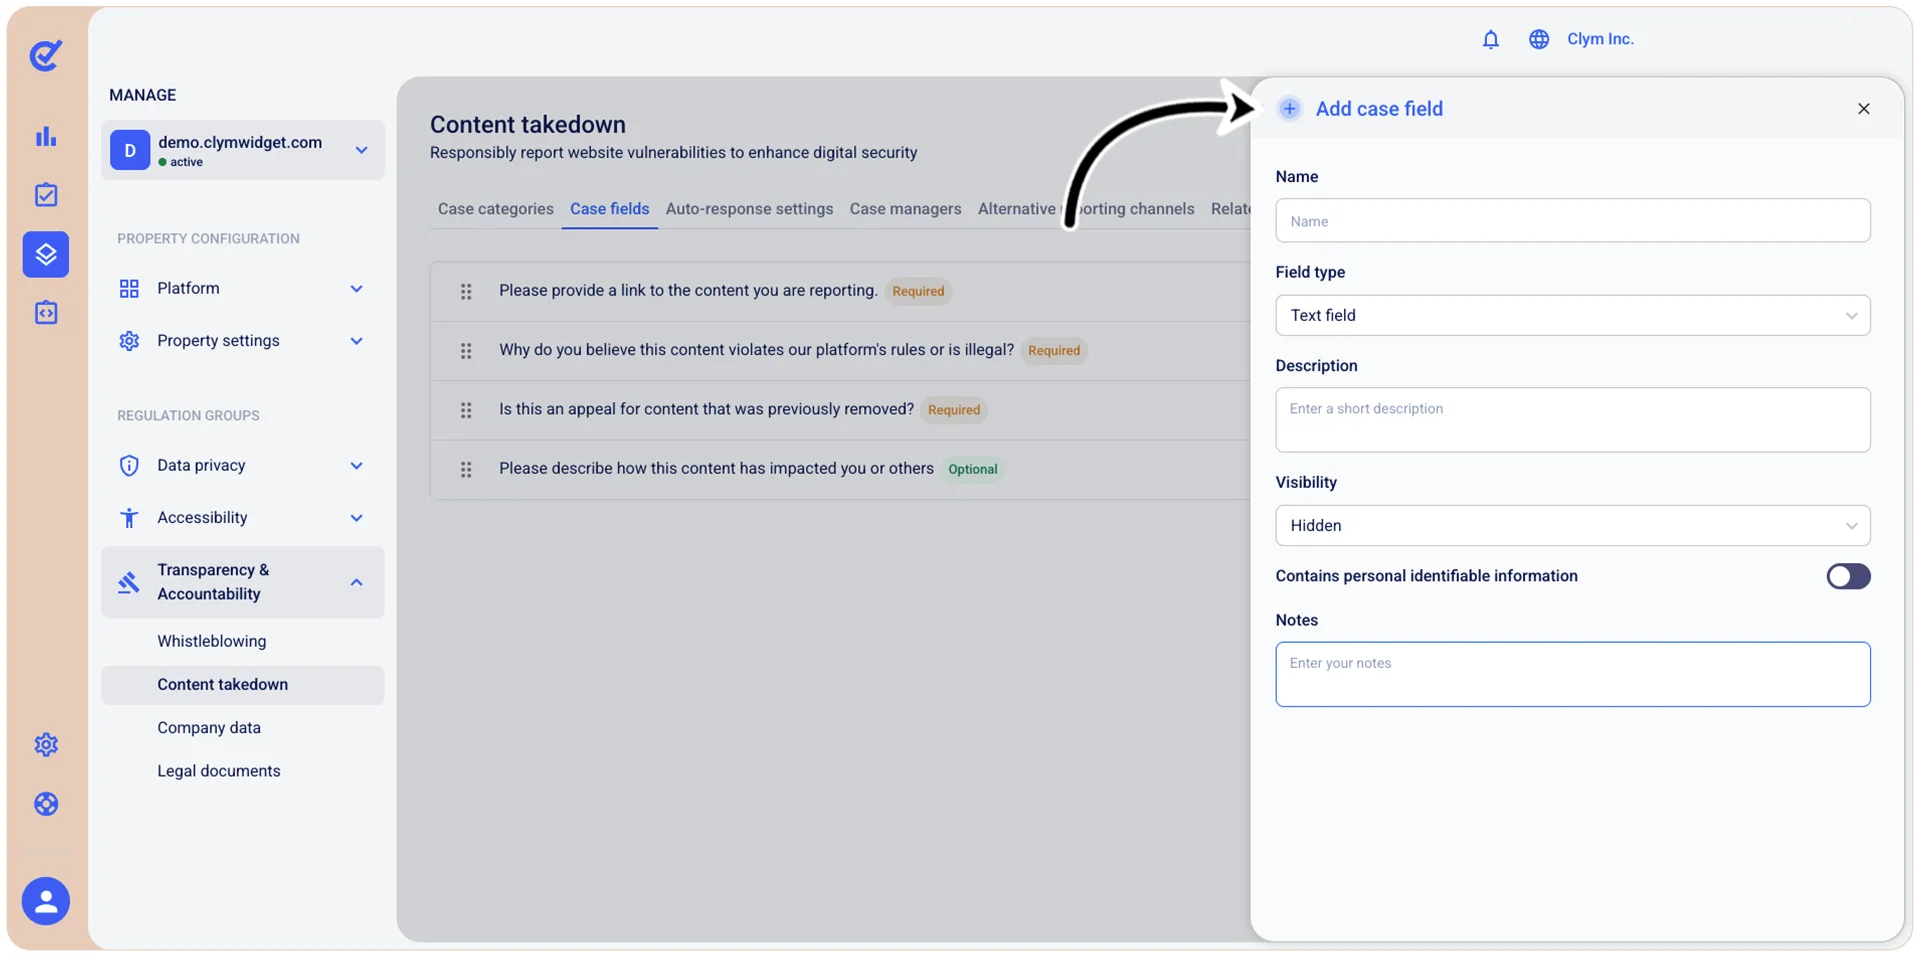
- Name: Enter a descriptive name for this custom case field.
- Field type: Select the desired type of input field to create (for example, Text field/Dropdown/Switch and so on). The visibility level you select here will be displayed next to the case field.
If you select Dropdown:
- Description: Enter a short description of what information should be entered in this field or how it should be used.
- Visibility: Select whether or not this case field will be hidden, optional, or required. The visibility level you select here will be displayed next to the case field.
- Contains personal identifiable information: Toggle on to indicate whether this field collects or stores personally identifiable information.
- Notes: Enter internal notes or additional context about this field.
When finished, select Save. Your newly-created case field is displayed in the Case fields tab.
Edit content takedown case fields
In the Control center, you can easily modify the case fields of a content takedown.
Important!
- To be able to customize this section, you need to toggle on Overwrite default settings.
- When configuring this section, make sure that you select Save on the tab you just configured before moving on to another tab.
To edit a content takedown case field:
- Go to Manage>Transparency & Accountability>Content takedown.
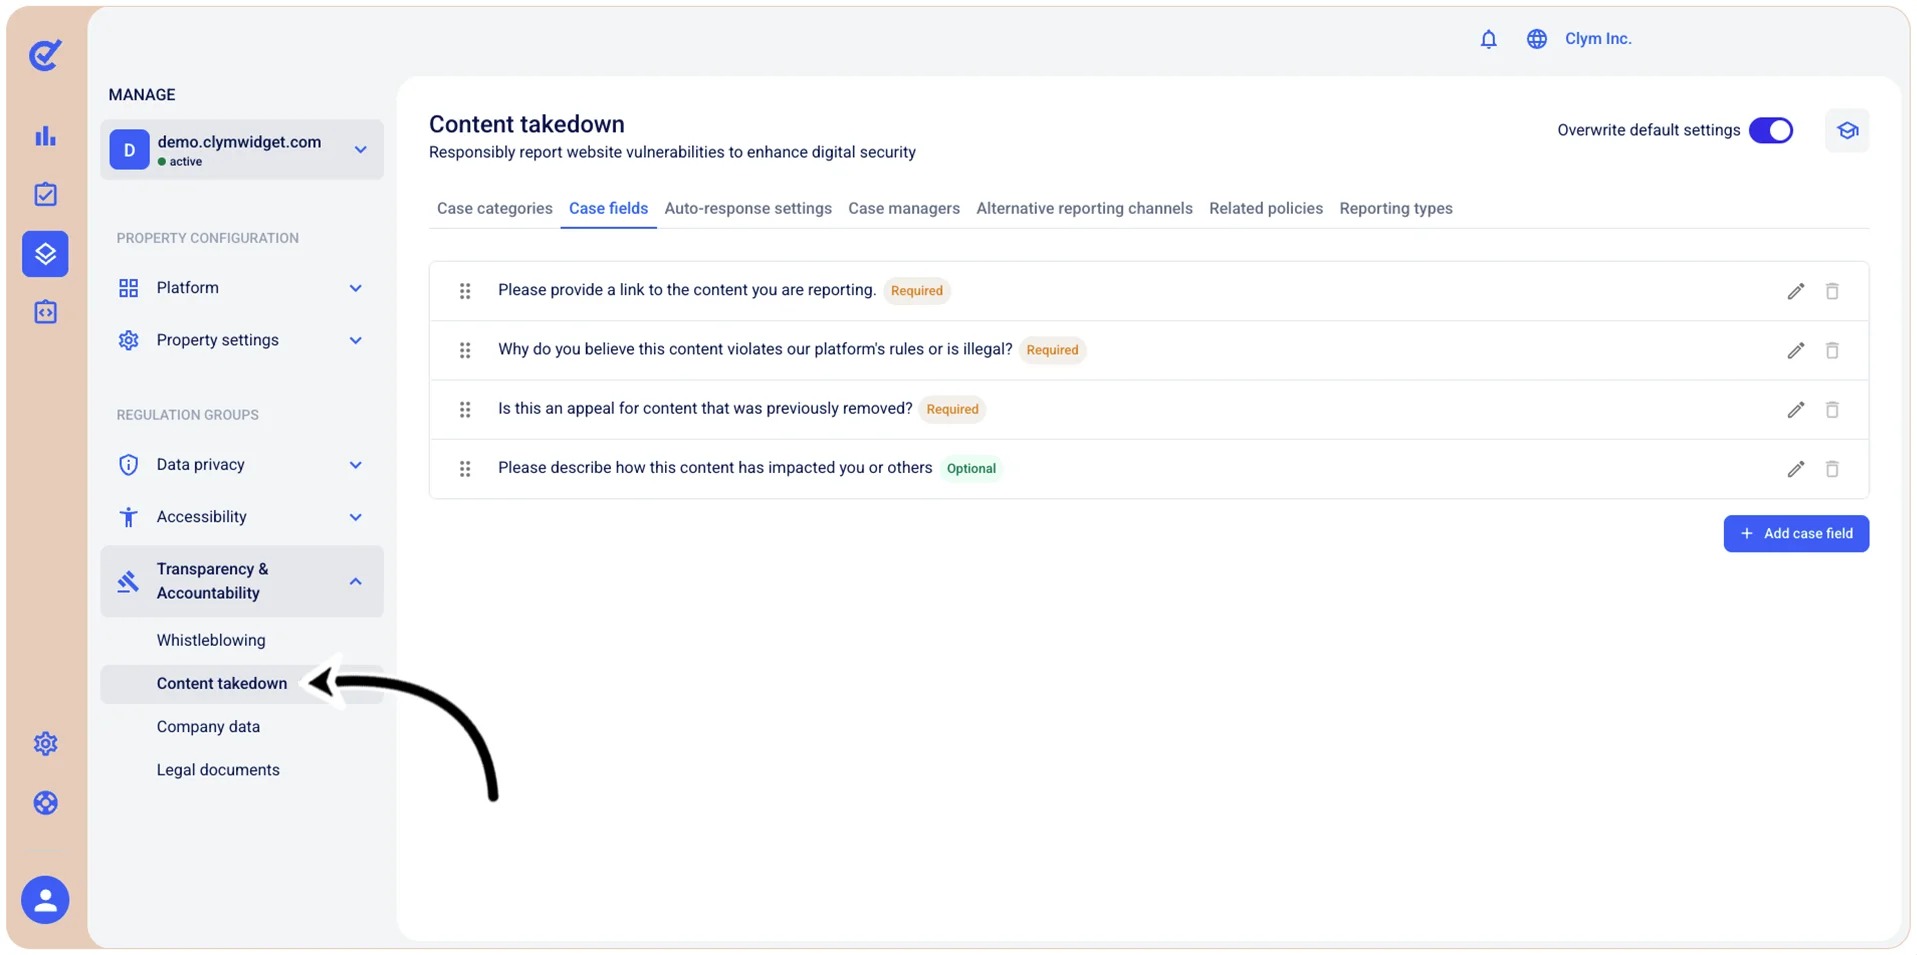
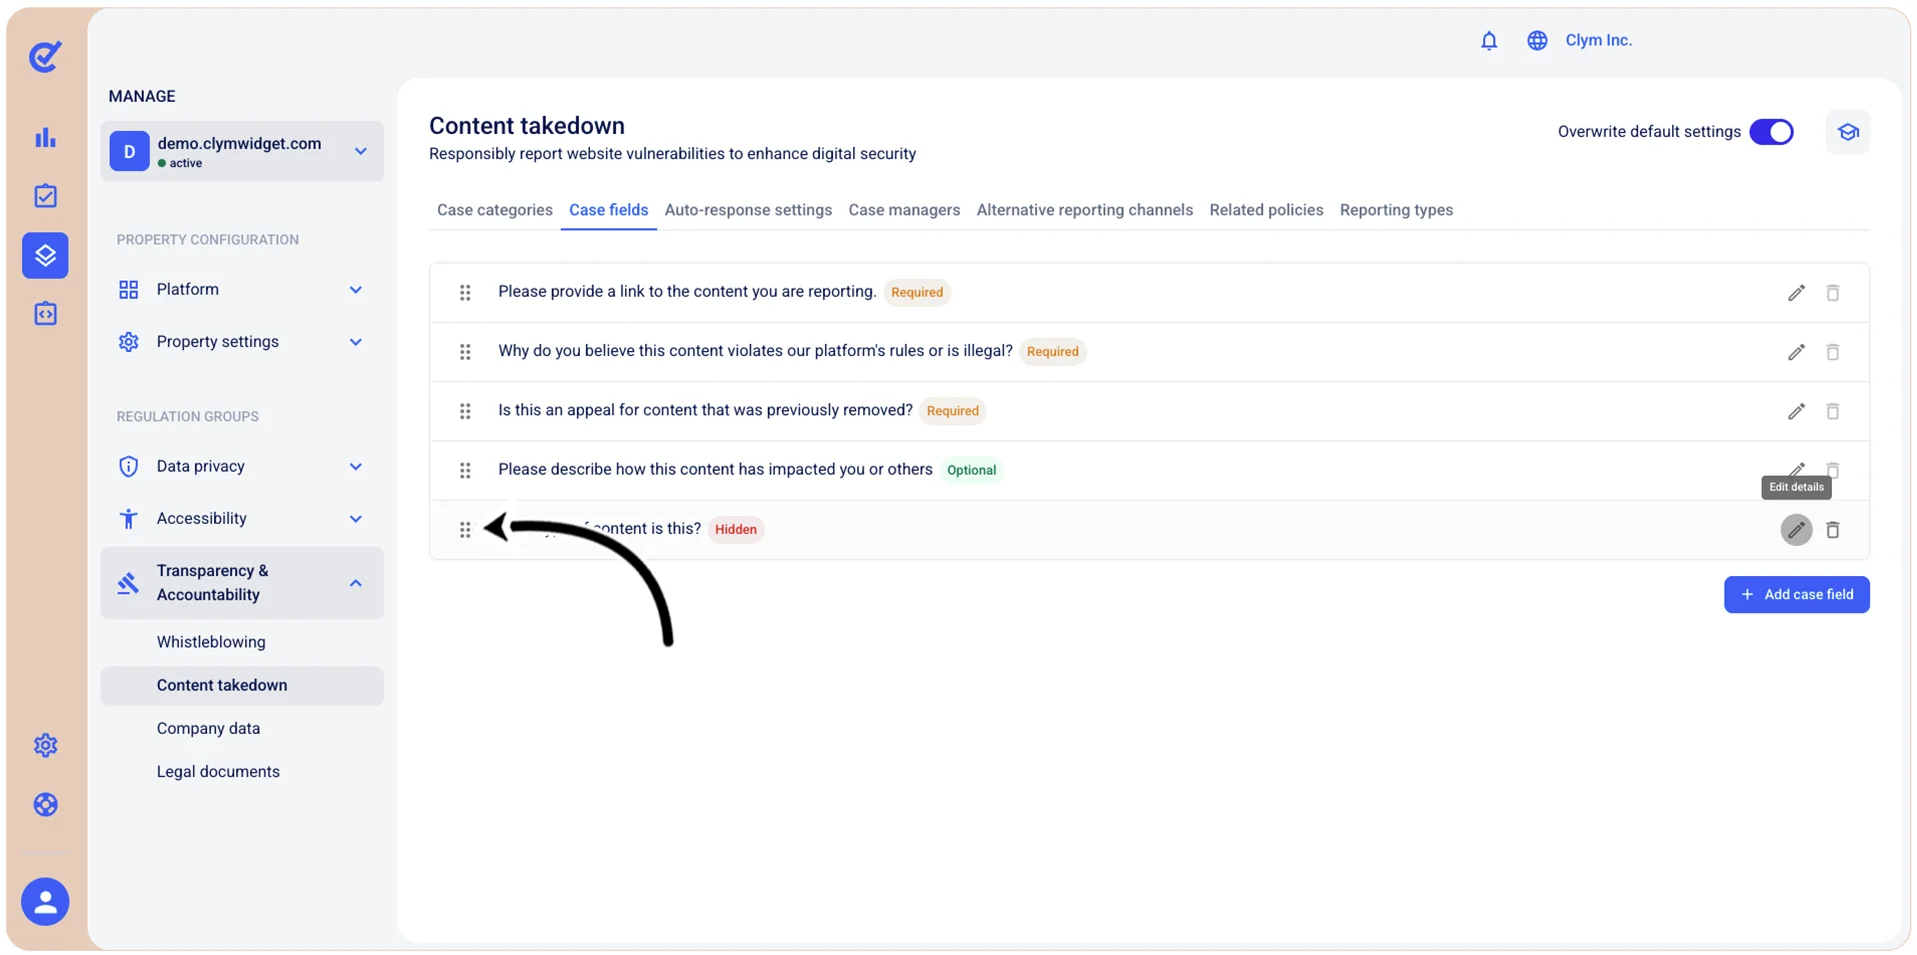
- In the Case fields tab, select
 Edit next to the case field you want to modify.
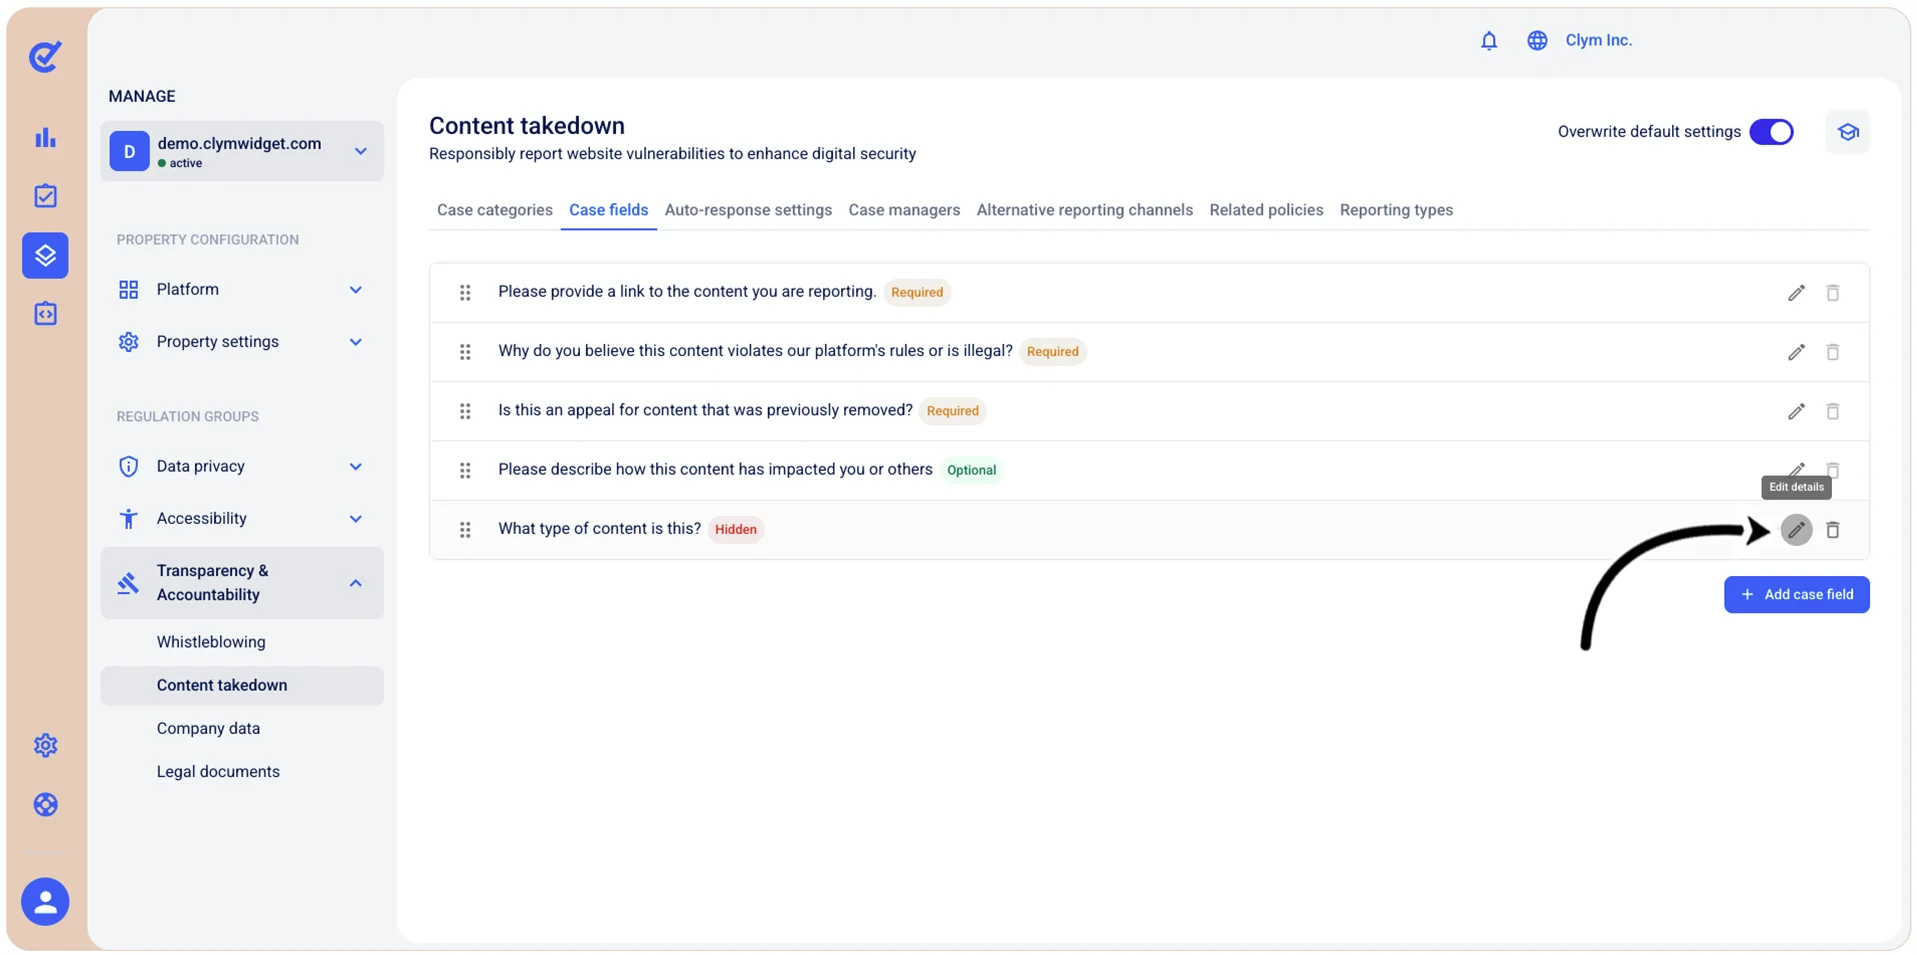
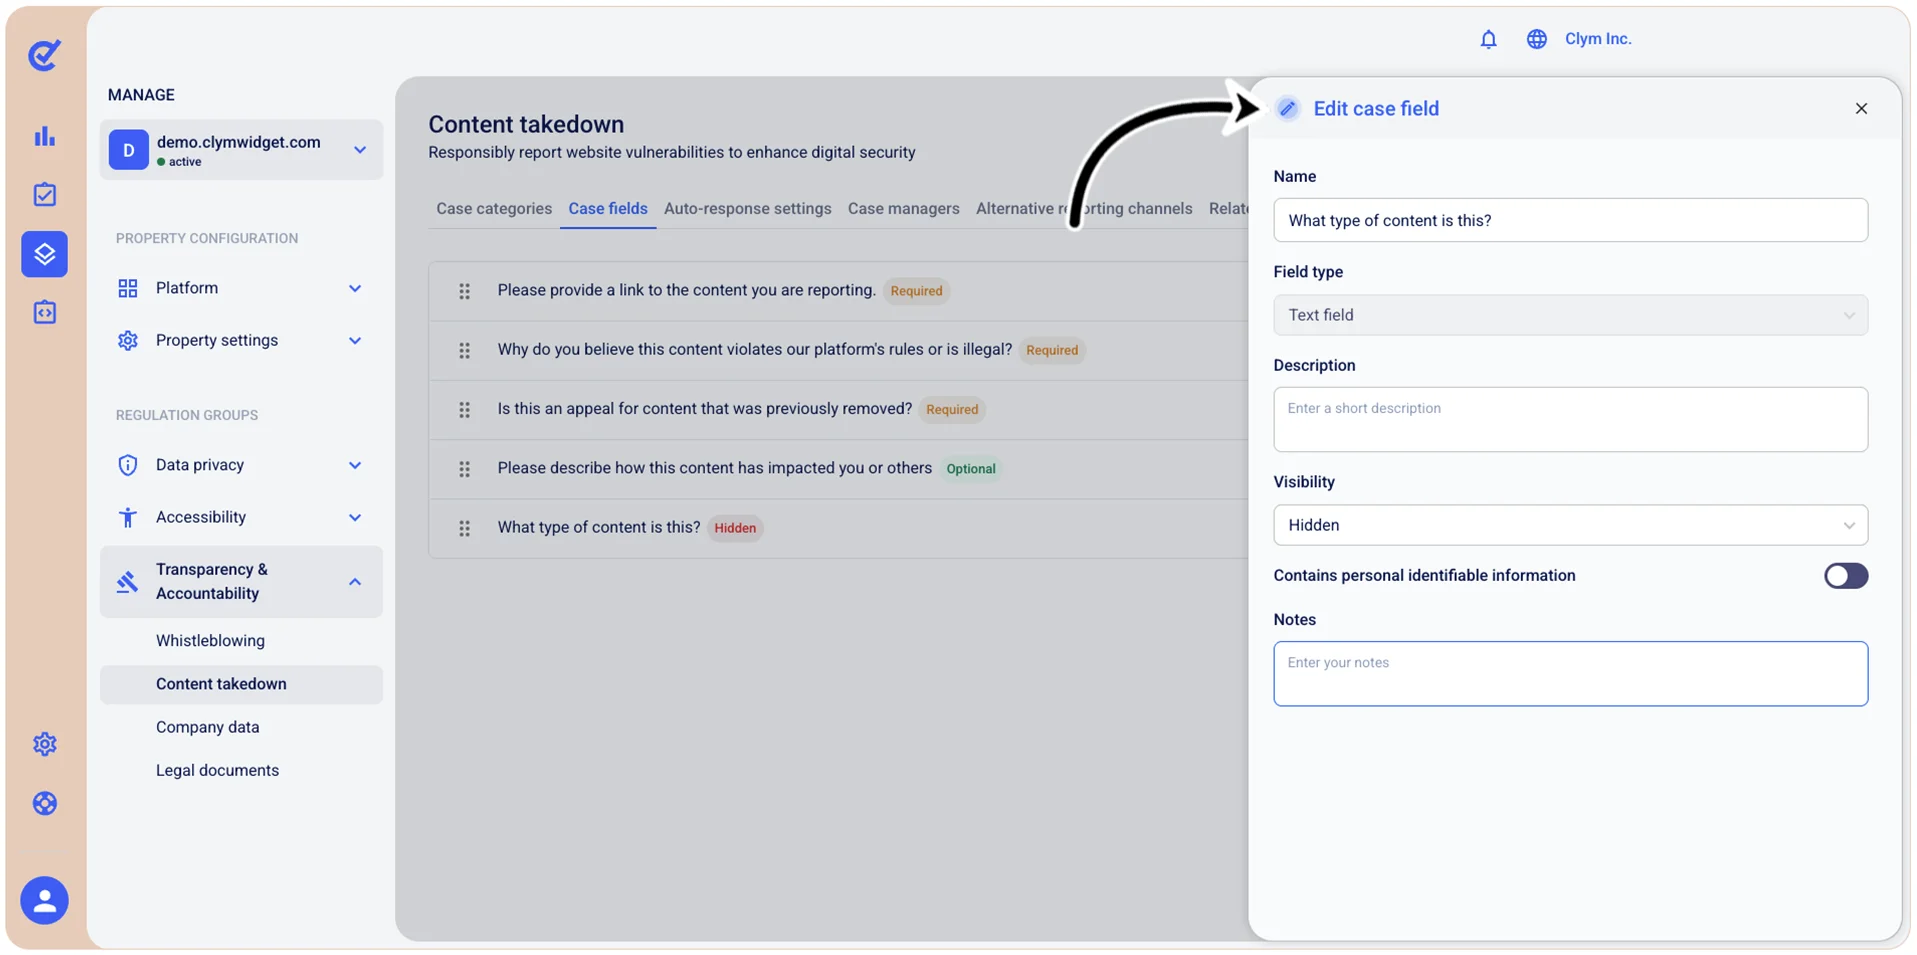
- In the Edit case field section, configure the desired fields.
- When finished, select Save.
Reposition content takedown case fields
Depending on your organization’s needs, you can reposition a content takedown case field in the hierarchy it is displayed on the UI.
Important!
- To be able to customize this section, you need to toggle on Overwrite default settings.
- When configuring this section, make sure that you select Save on the tab you just configured before moving on to another tab.
To reposition a case field:
- Go to Manage>Transparency & Accountability>Content takedown.
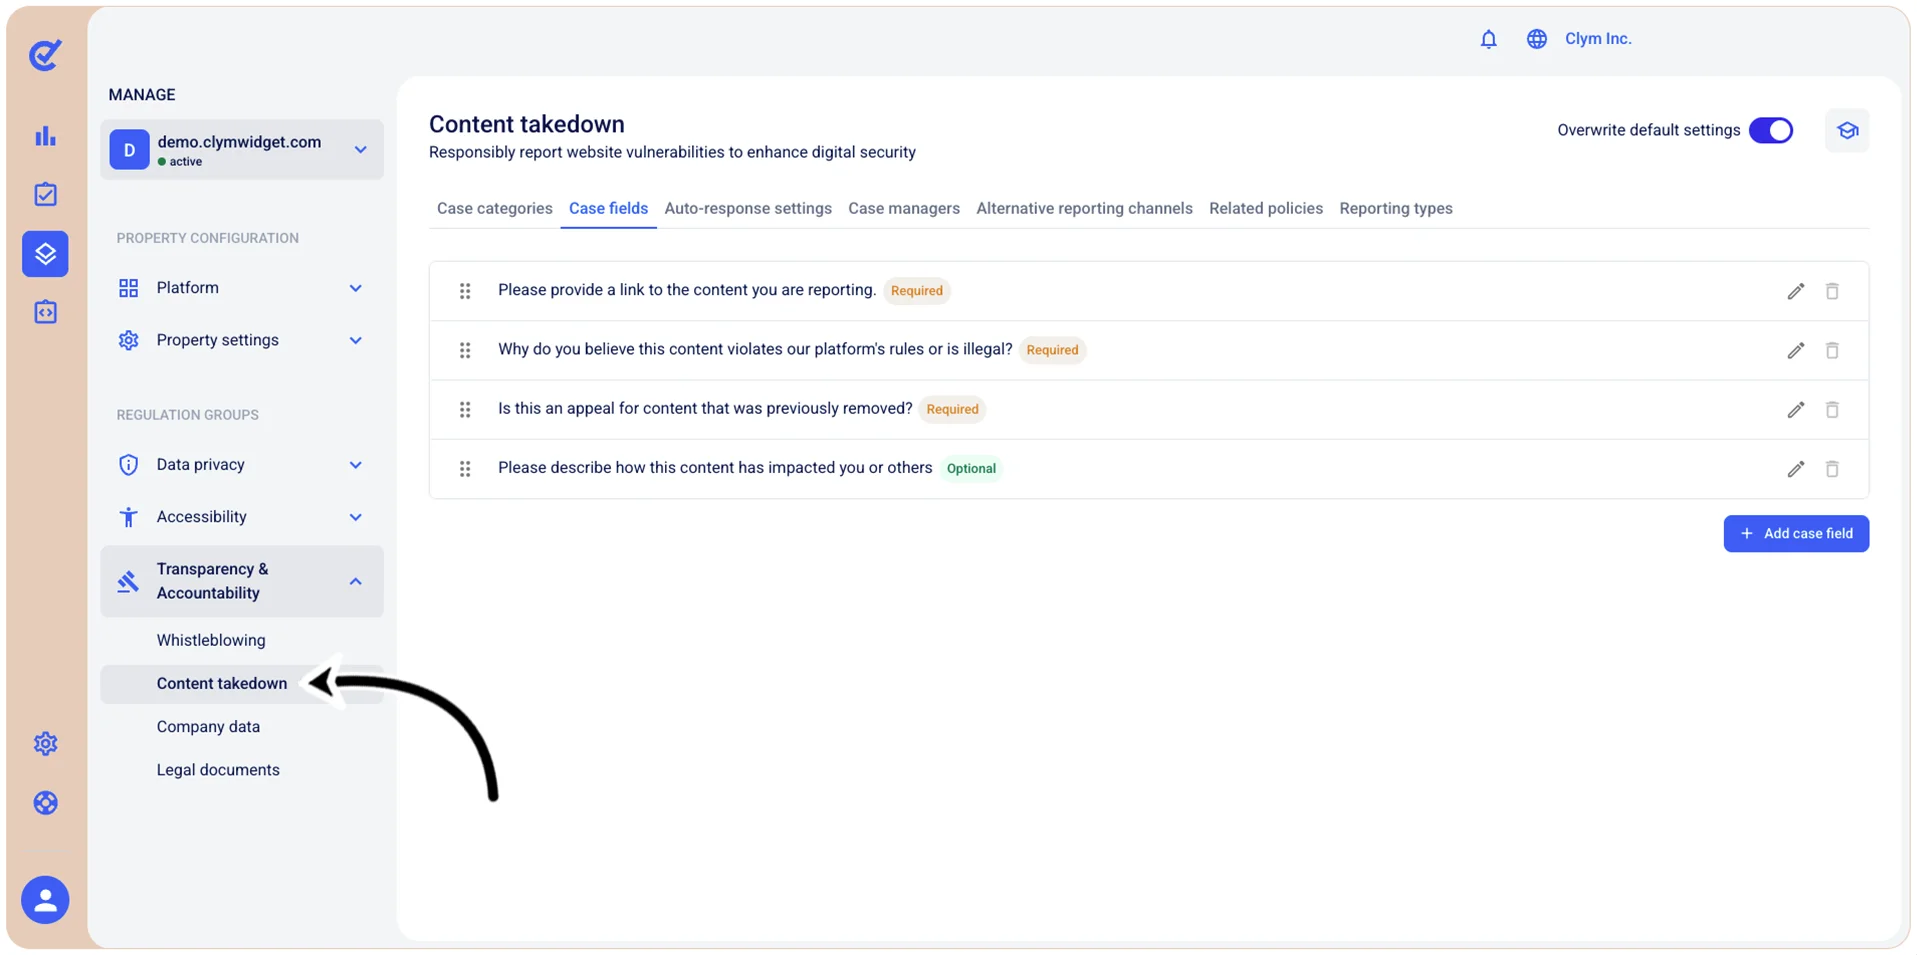
- In the Case fields tab, use drag-and-drop to reposition the desired case category in the list.
Delete content takedown case fields
You can remove the case fields that your organization no longer needs.
Important!
- To be able to customize this section, you need to toggle on Overwrite default settings.
- When configuring this section, make sure that you select Save on the tab you just configured before moving on to another tab.
Note: You can only remove the case fields that you created, not the built-in ones. If however you want some fields removed from the UI, you can hide their visibility when modifying a case field.
To delete a content takedown case fields:
- Go to Manage>Transparency & Accountability>Content takedown.
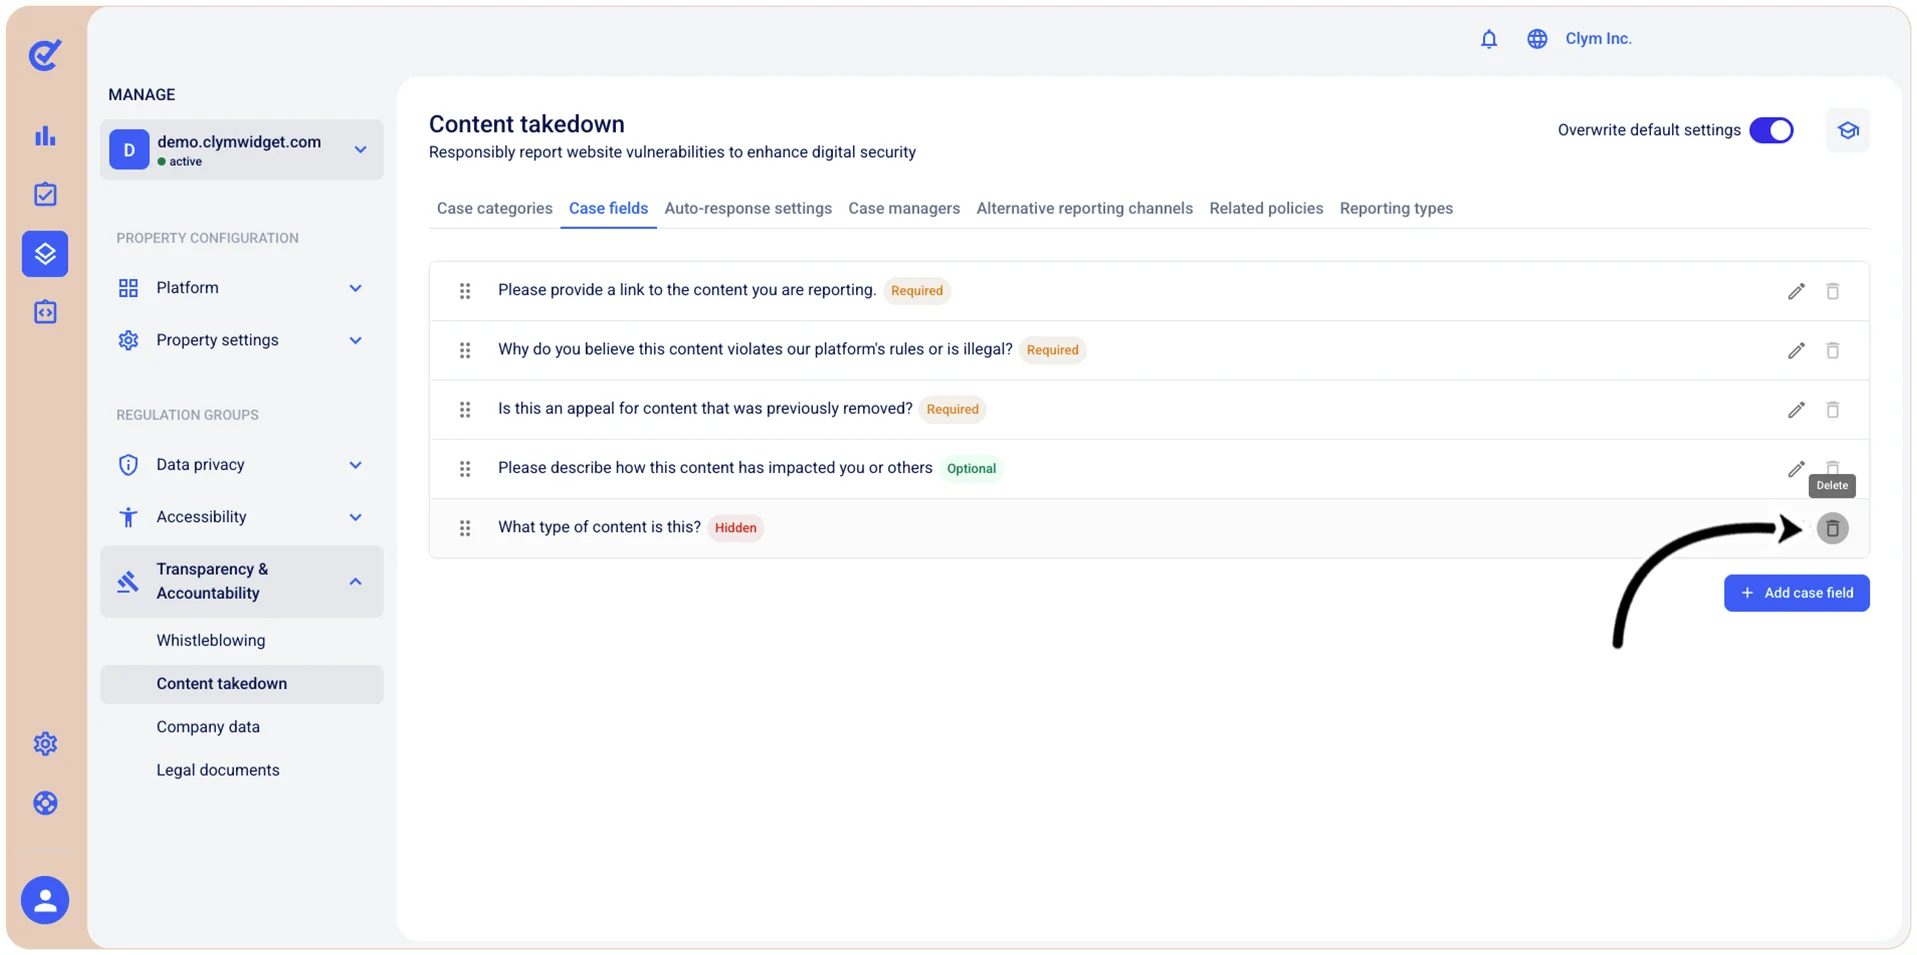
- In the Case fields tab, select
 Delete next to the case field that you want to remove.
- In the confirmation message, select Confirm.