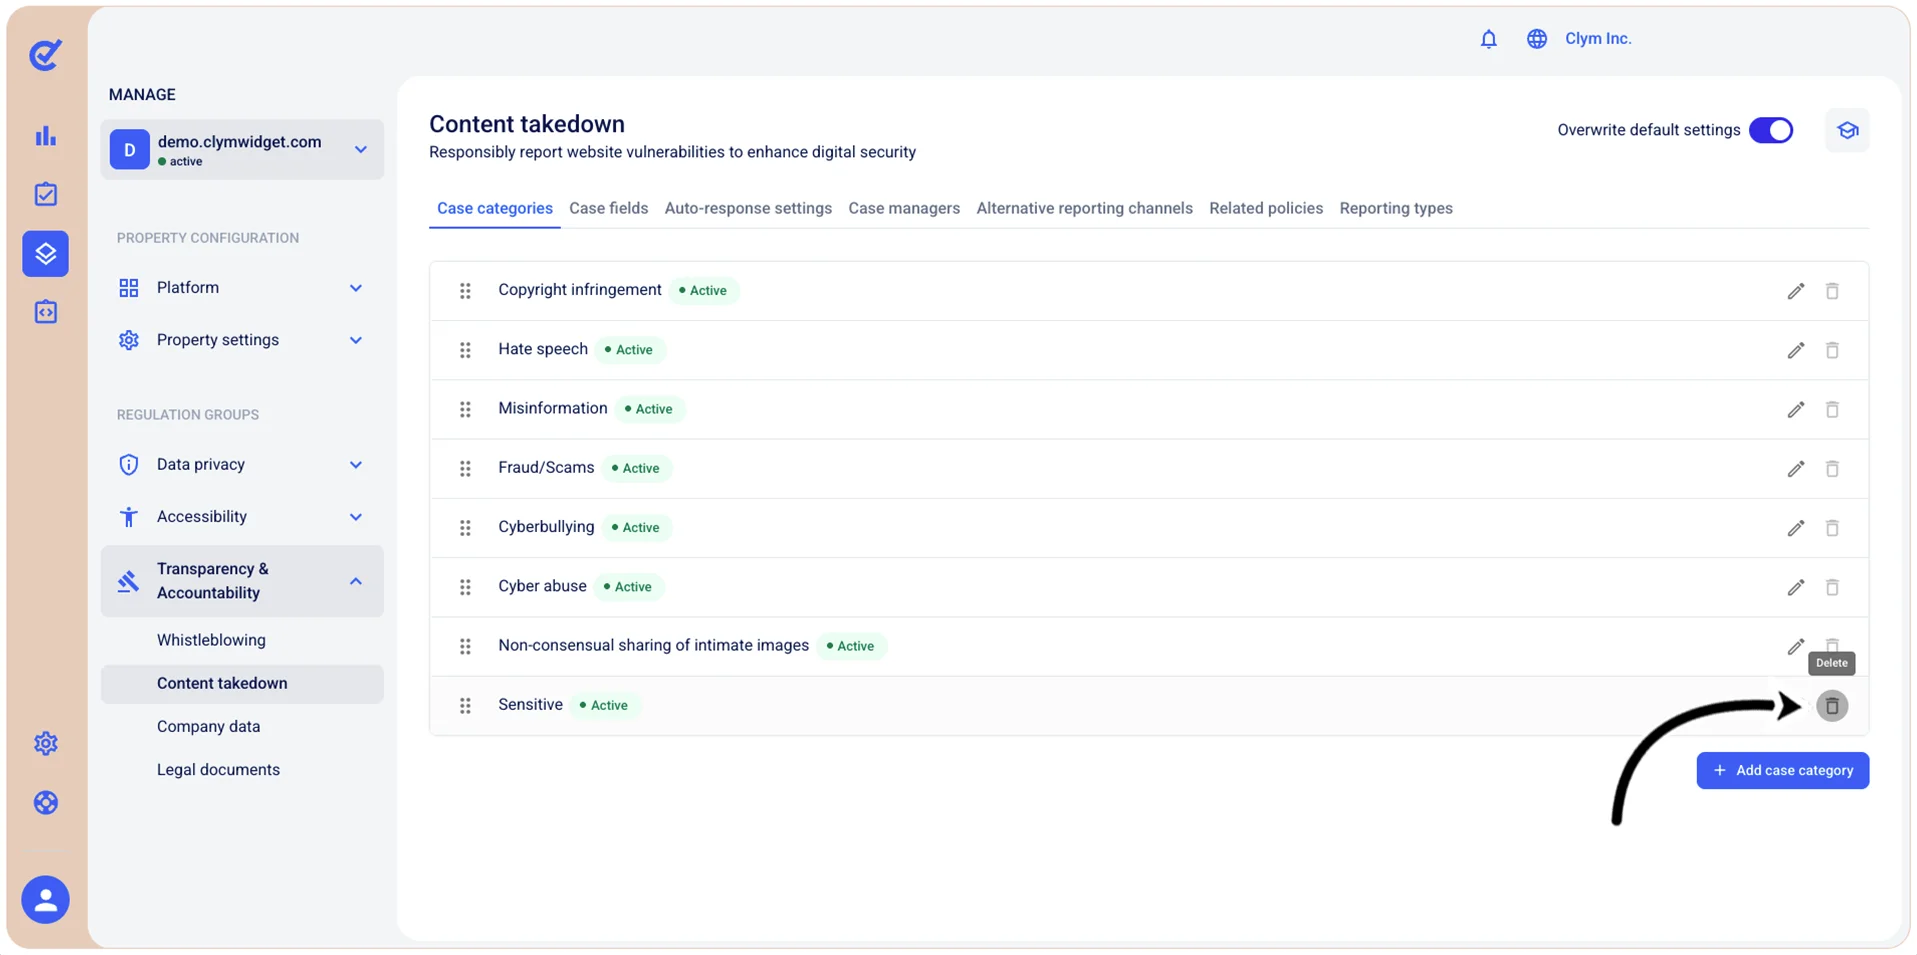
Configure the case categories for content takedown requests
Whenever submitting a case, a reporter needs to fill in a request to describe the nature of the case. The request contains several types of vulnerabilities, called case categories, that you can configure to better suit your individual needs.
Important!
- To be able to customize this section, you need to toggle on Overwrite default settings.
- When configuring this section, make sure that you select Save on the tab you just configured before moving on to another tab.
You can add, modify and delete a content takedown case category.
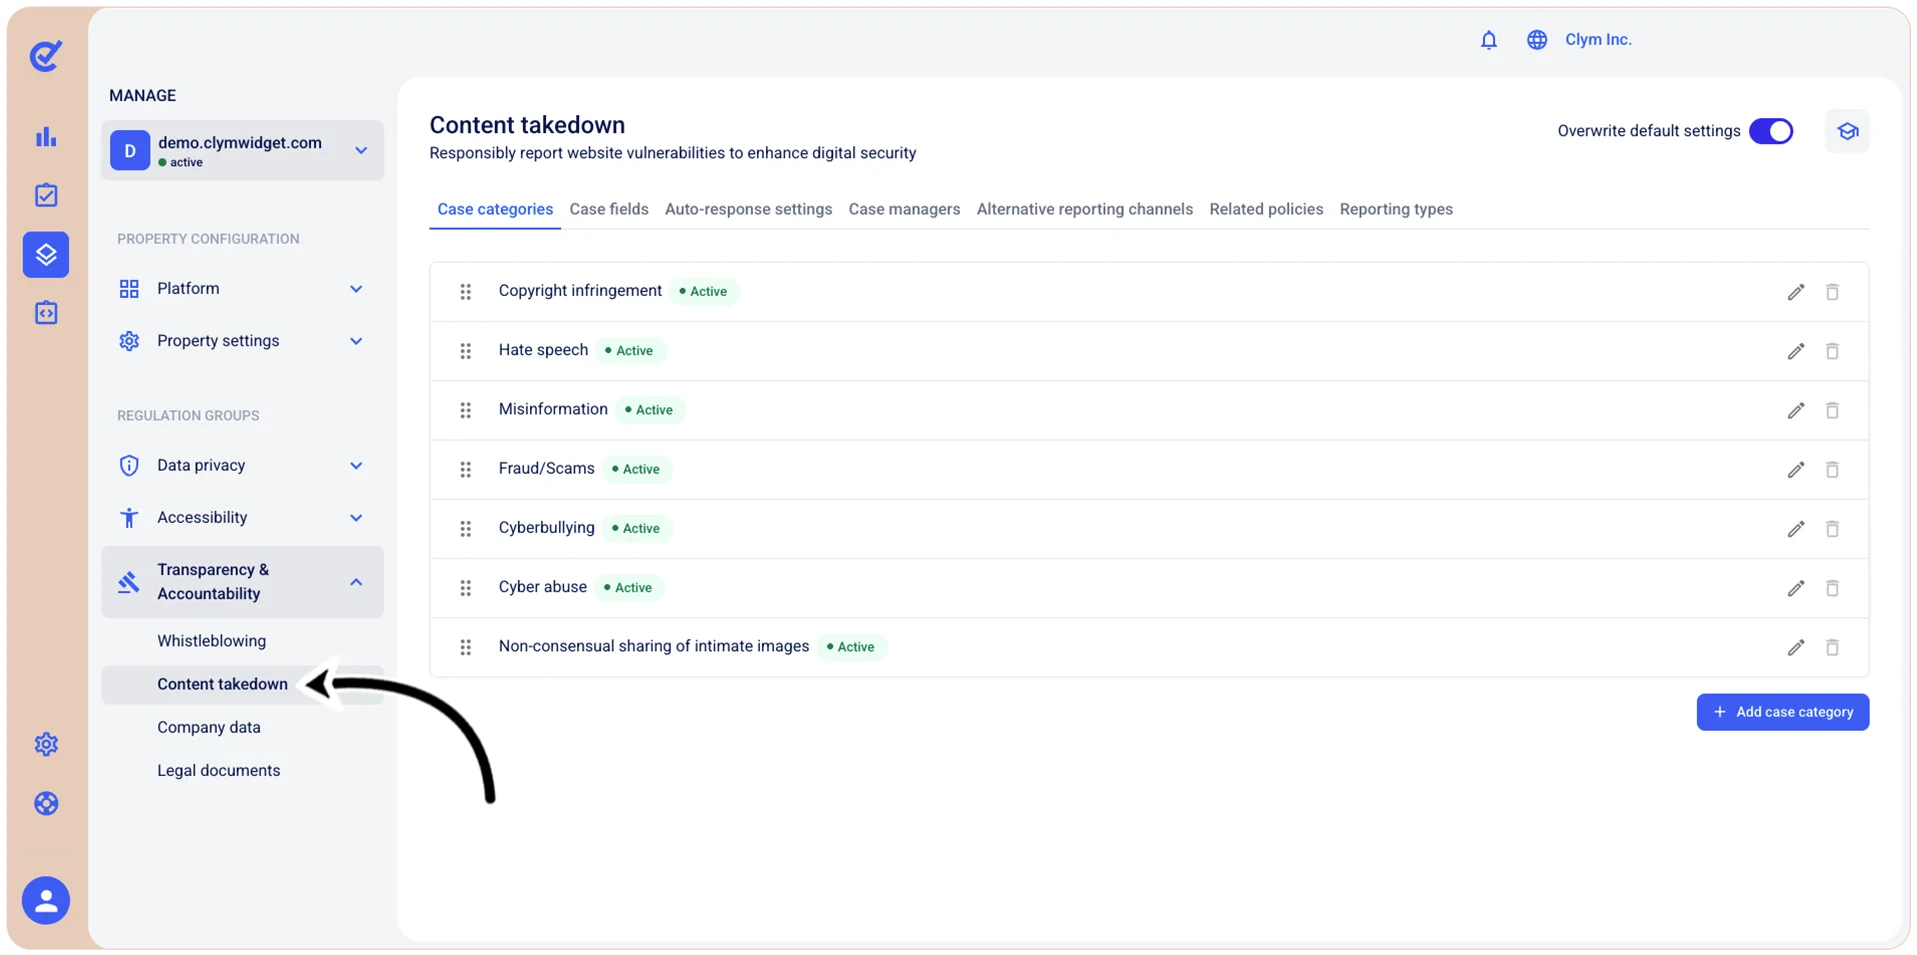
To access the content takedown case categories, go to  Manage>Transparency & Accountability>Content takedown and select the Case categories tab.
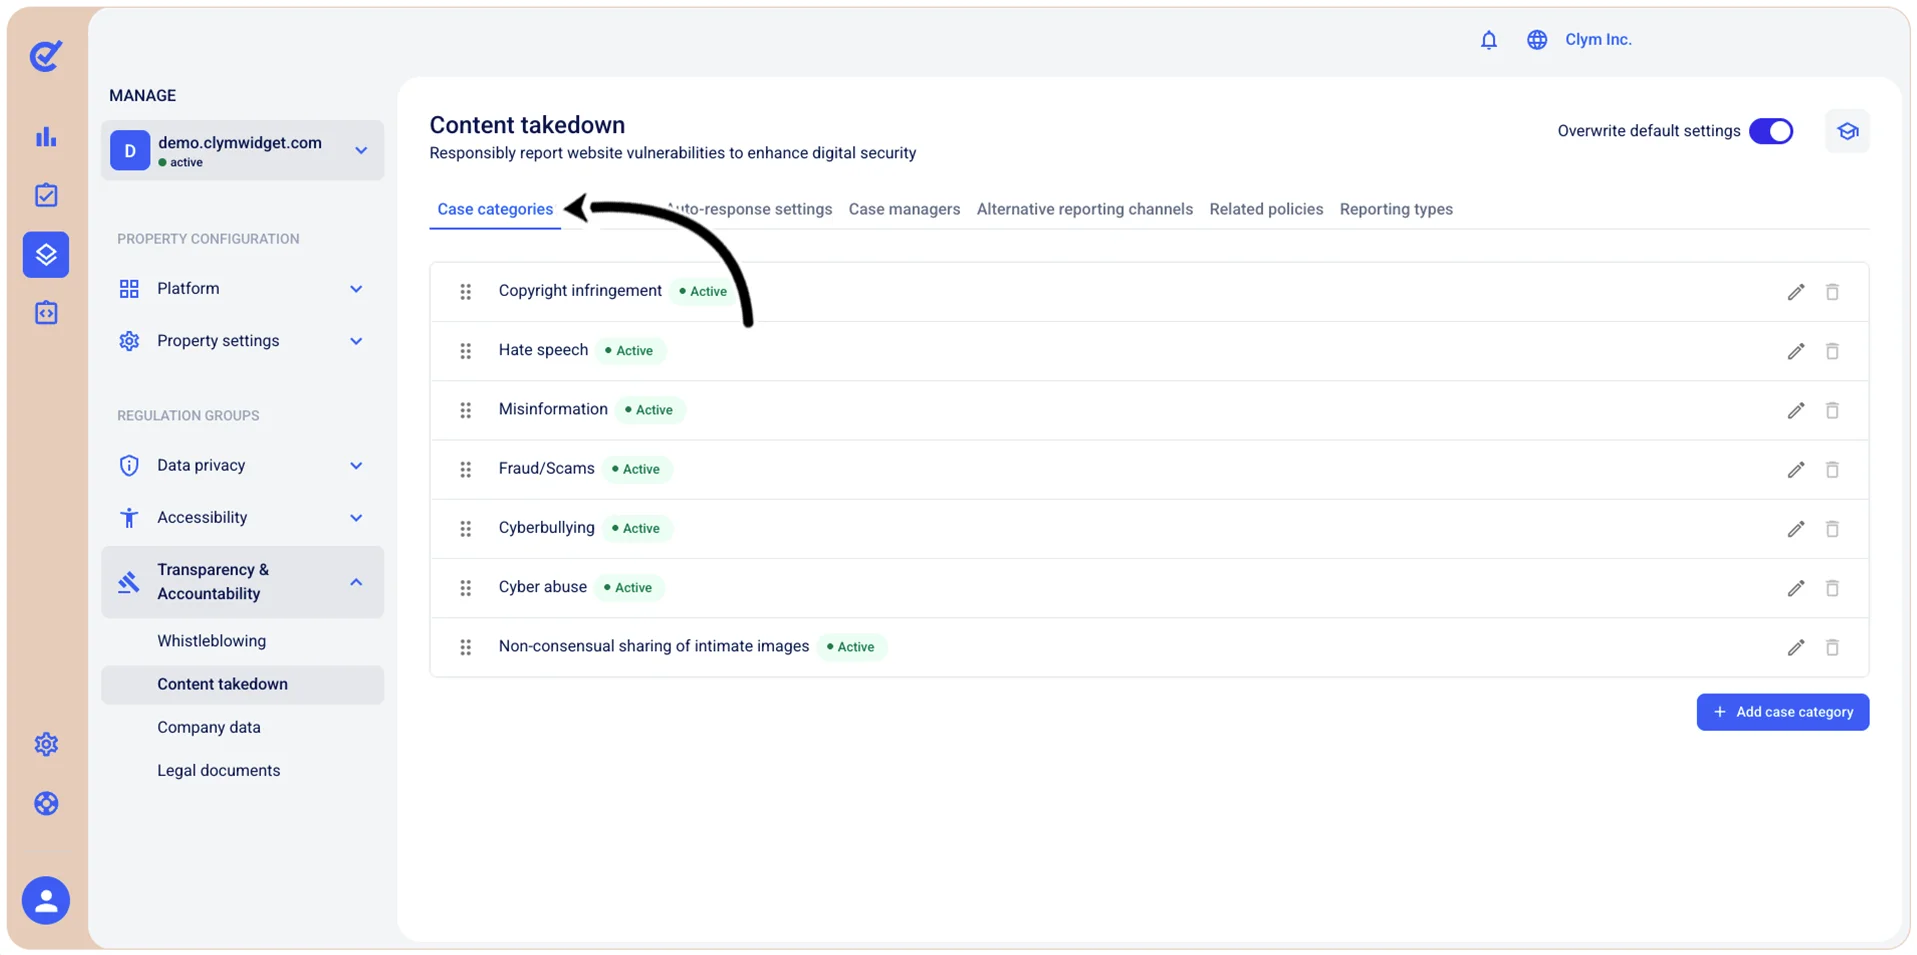
Add a content takedown request case category
In the Control Center, you can easily add a content takedown request case category.
Important!
- To be able to customize this section, you need to toggle on Overwrite default settings.
- When configuring this section, make sure that you select Save on the tab you just configured before moving on to another tab.
To add a new content takedown case category:
- Go to Manage>Transparency & Accountability>Content takedown.
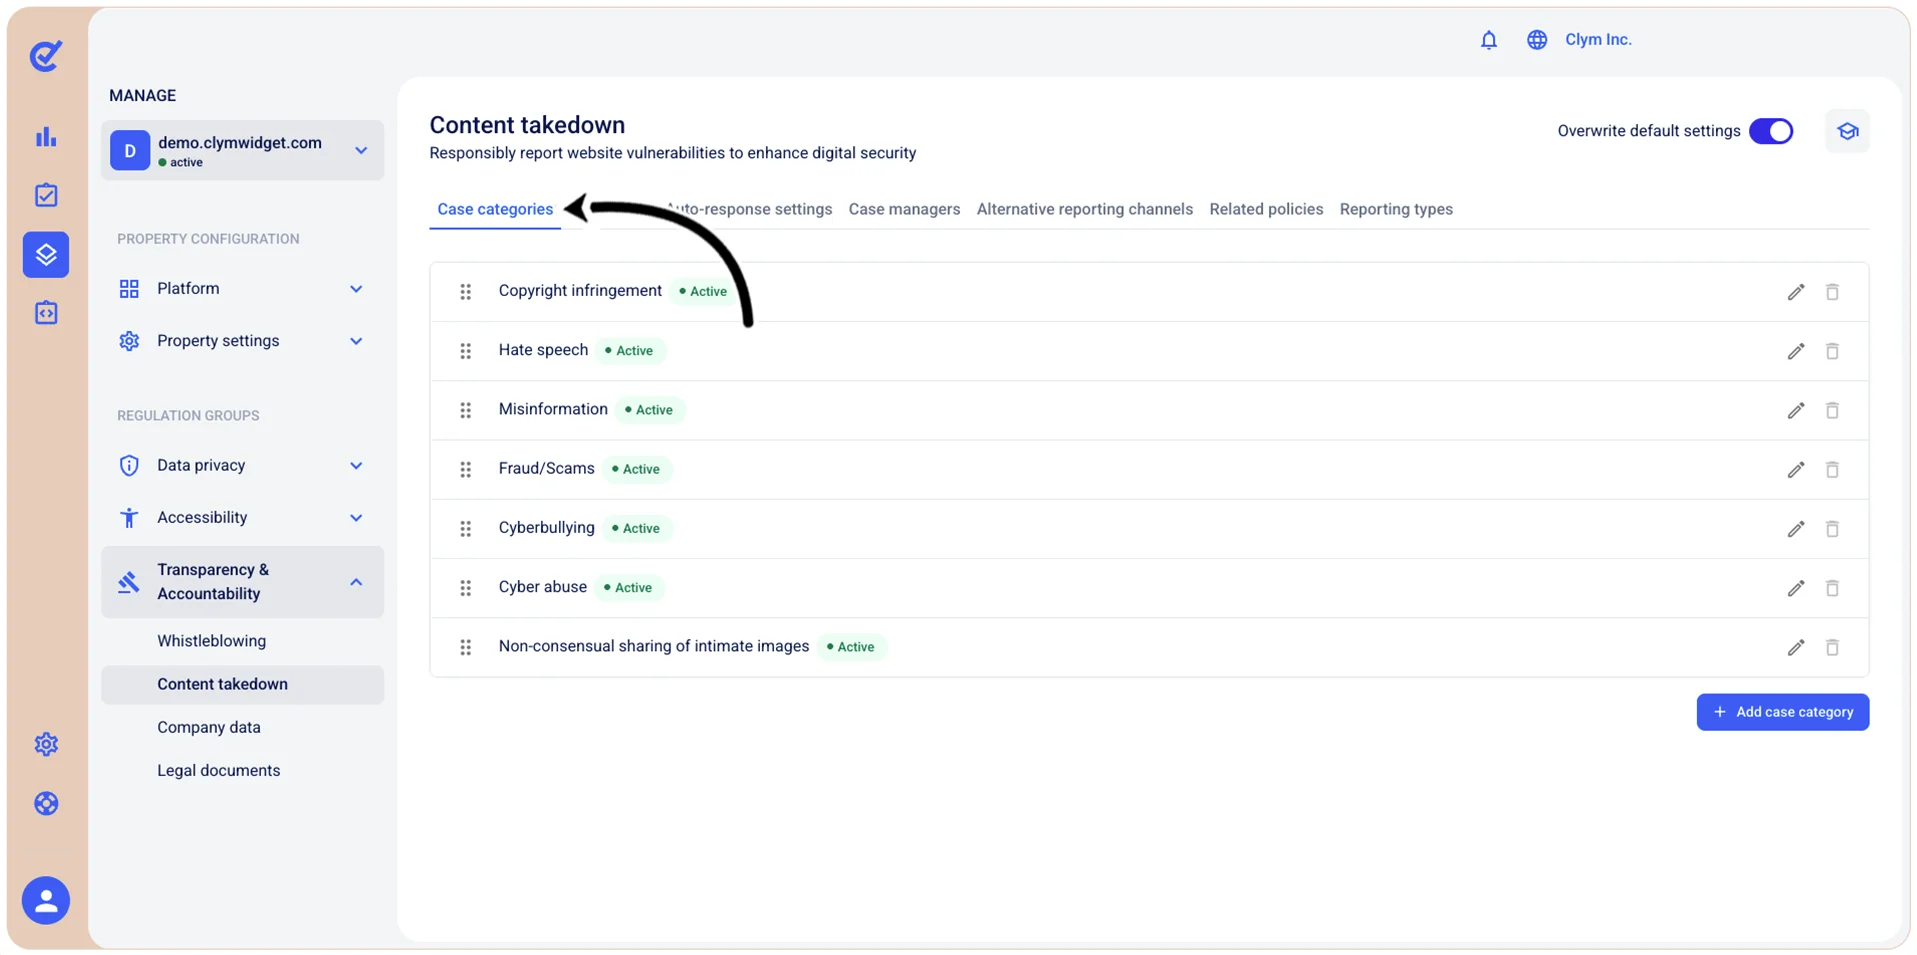
- In the Case categories tab, select +Add case category and then configure the new case category details, as follows:
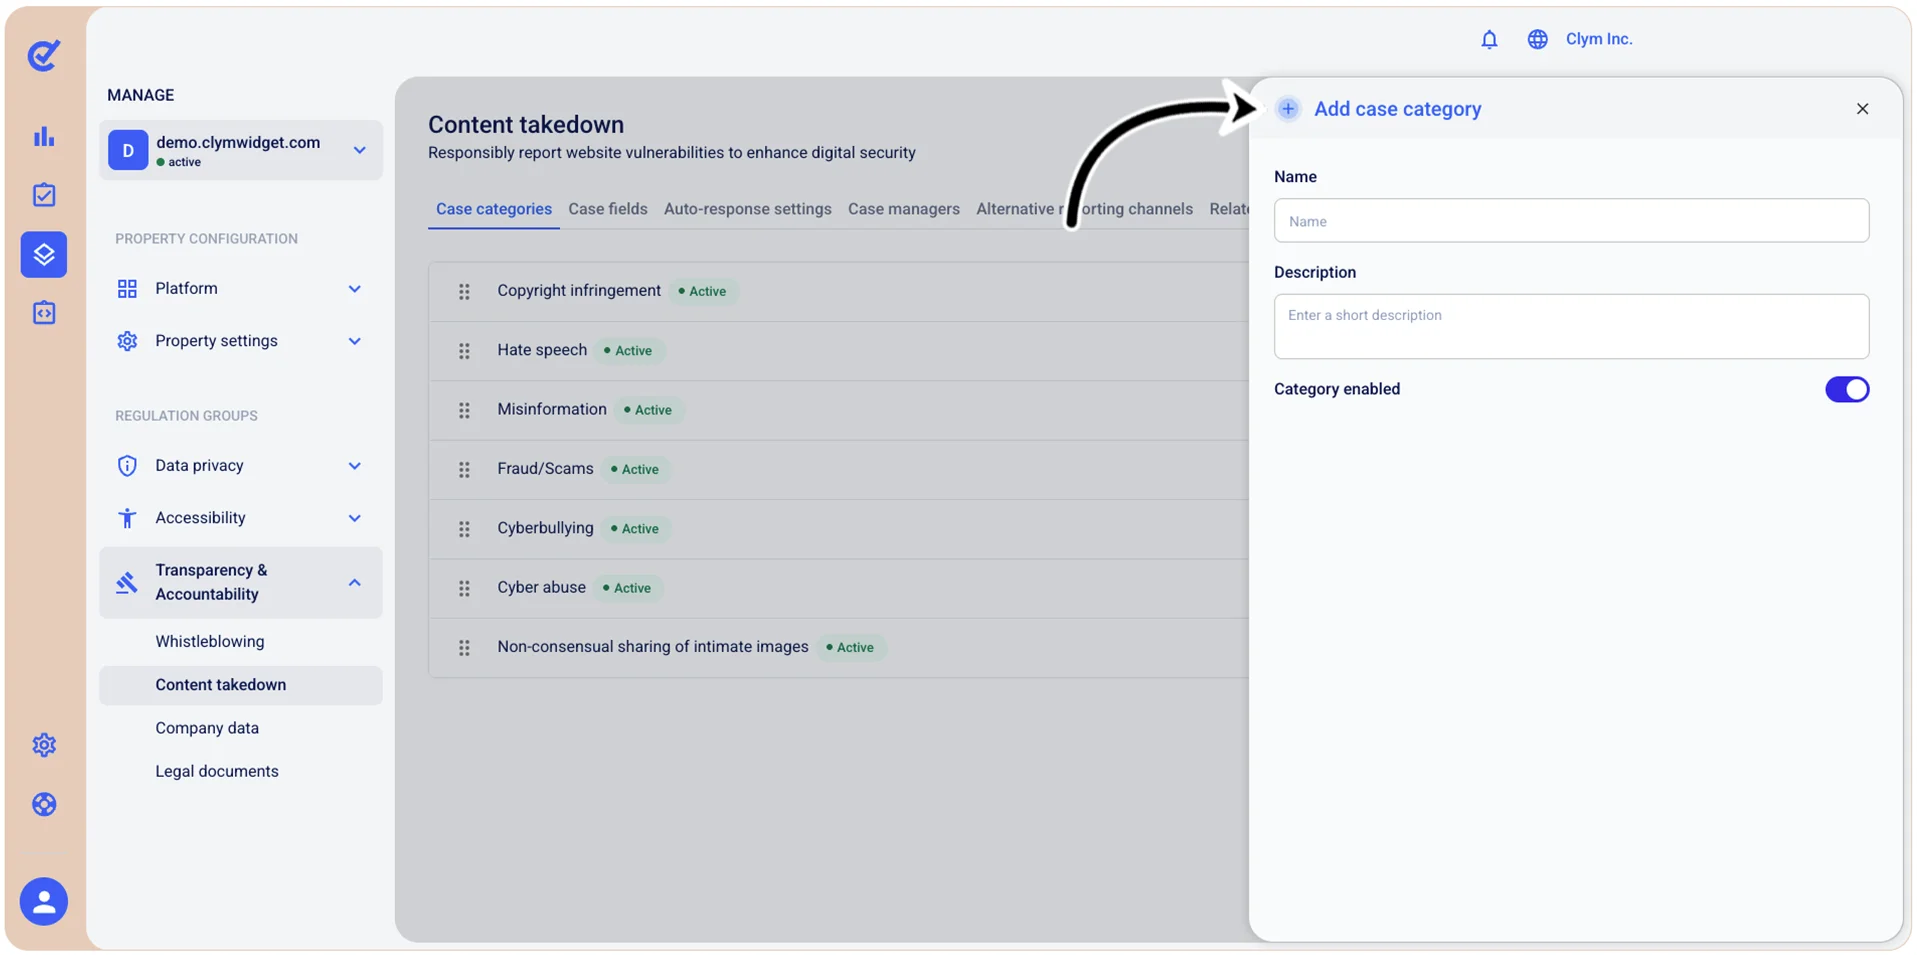
- Name: Give your new case category a descriptive name.
- Description: Give your case category a meaningful description.
- Category enabled: Toggle on to make this case category active.
- When finished, select Save. Your newly-created case category is displayed in the Content takedown section, in the Case categories tab.
Edit a content takedown request case category
In the Control Center, you can easily modify a content takedown request case category to better suit your needs.
Important! To be able to customize this section, you need to toggle on Overwrite default settings.
To edit a content takedown case category:
- Go to Manage>Transparency & Accountability>Content takedown.
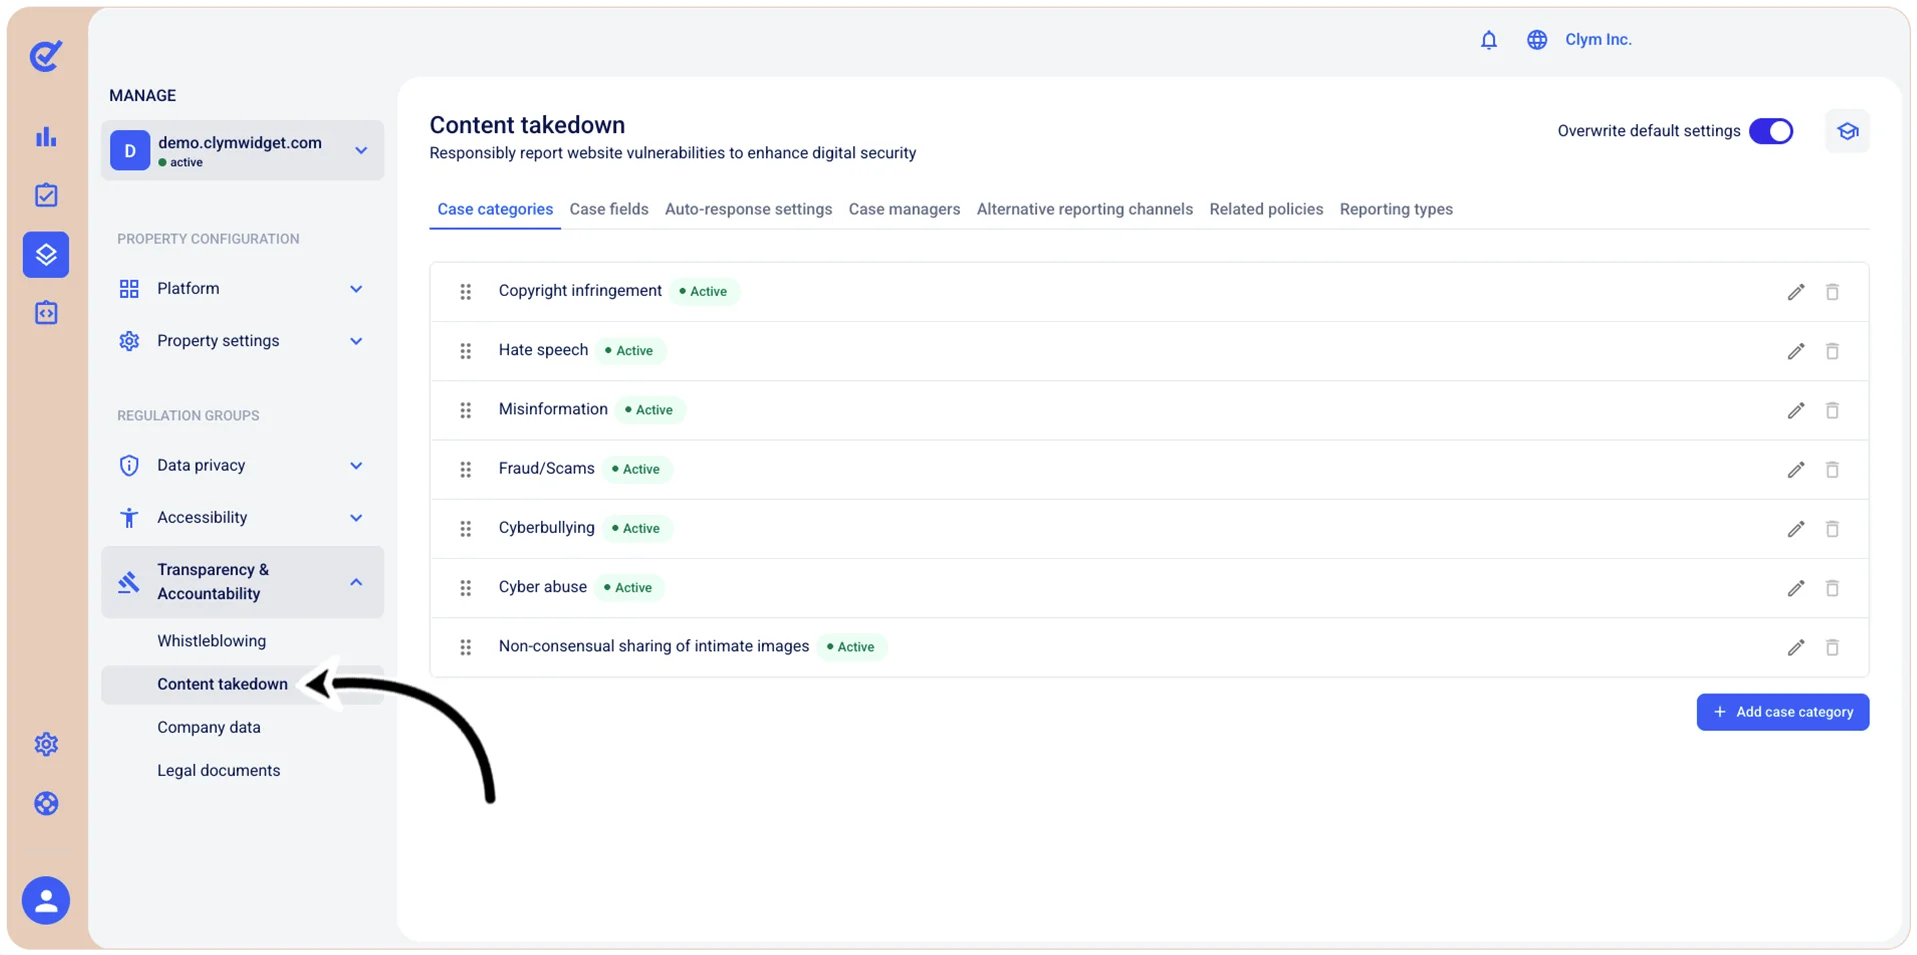
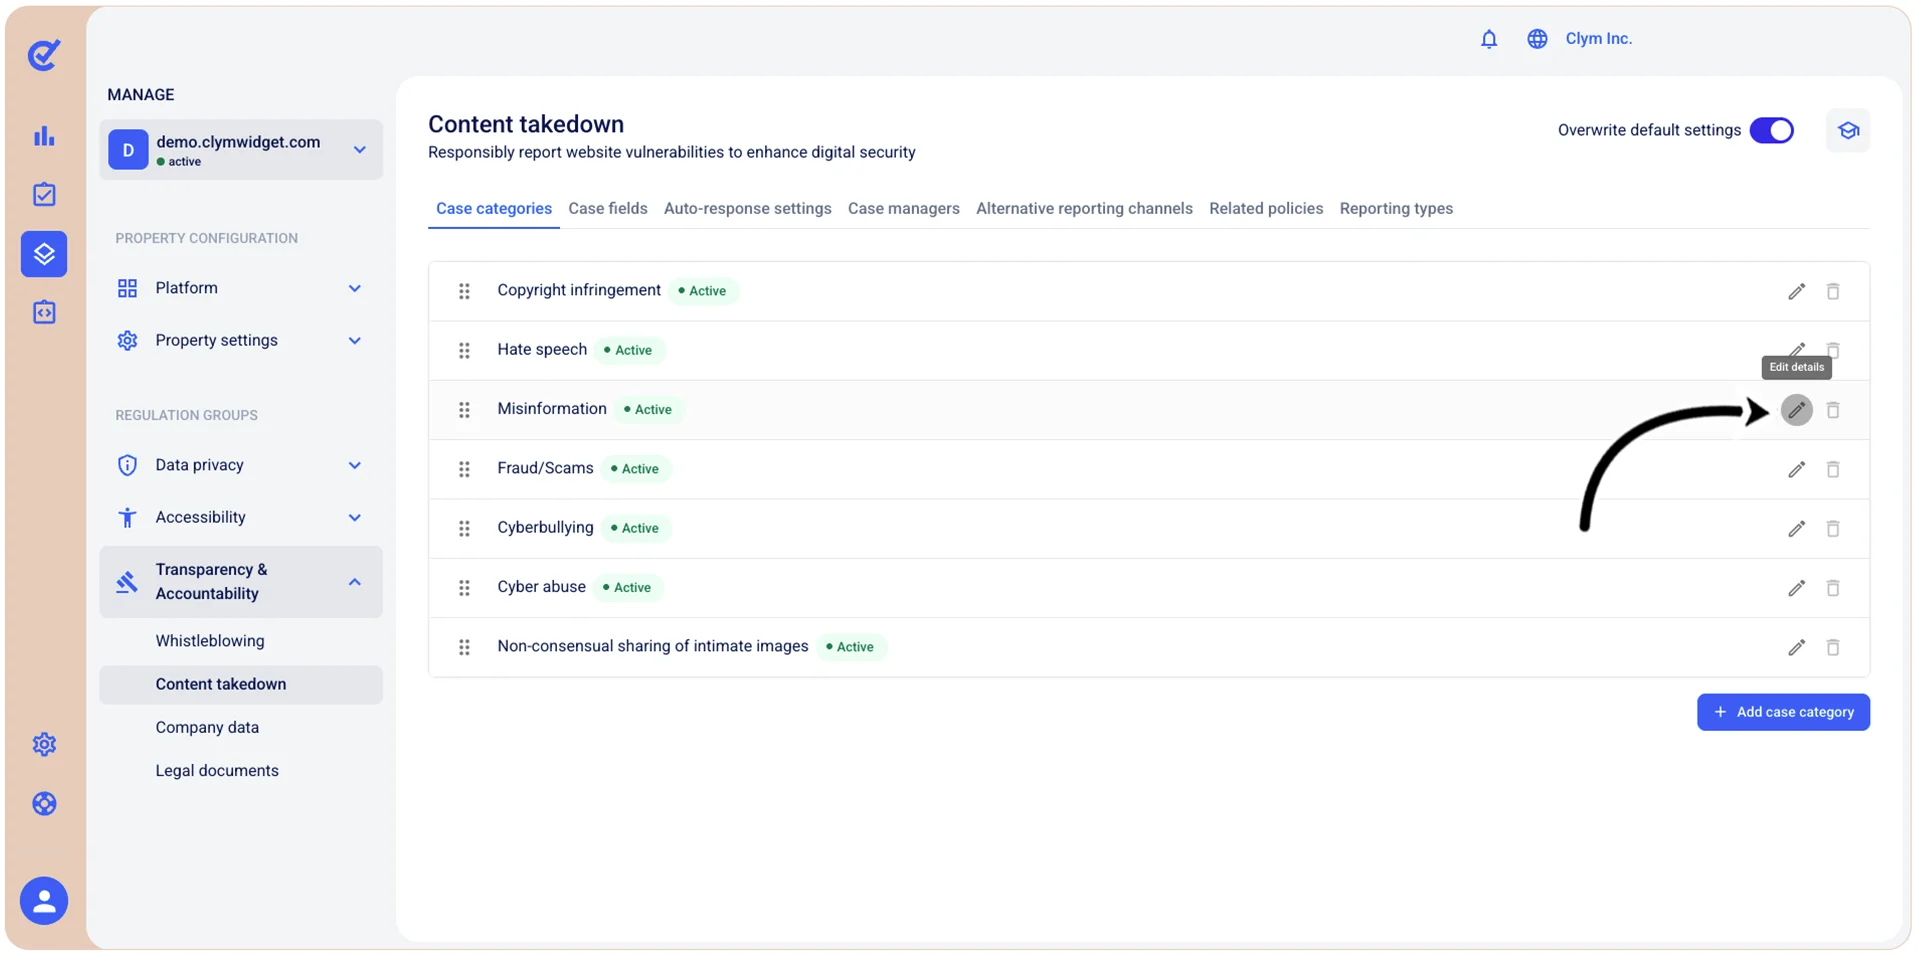
- In the Case categories tab, select
 Edit details next to the desired case category.
- In the Edit case category section, you can rename the case category, change its description, or make it active/inactive by toggling on/off Category enabled.
- When finished, select Save.
Deactivate/Reactivate a content takedown request case category
Depending on your organization’s needs, you can deactivate or reactivate a content takedown case category. The content takedown case category that you can deactivate must be labeled with the Active label. The content takedown case category that you can reactivate must be labeled with the Inactive label. Deactivating a content takedown case category does not remove it, but only makes it unavailable until you reactivate it.
Important!
- To be able to customize this section, you need to toggle on Overwrite default settings.
- When configuring this section, make sure that you select Save on the tab you just configured before moving on to another tab.
To deactivate/reactivate a case category:
- Go to Manage>Transparency & Accountability>Content takedown.
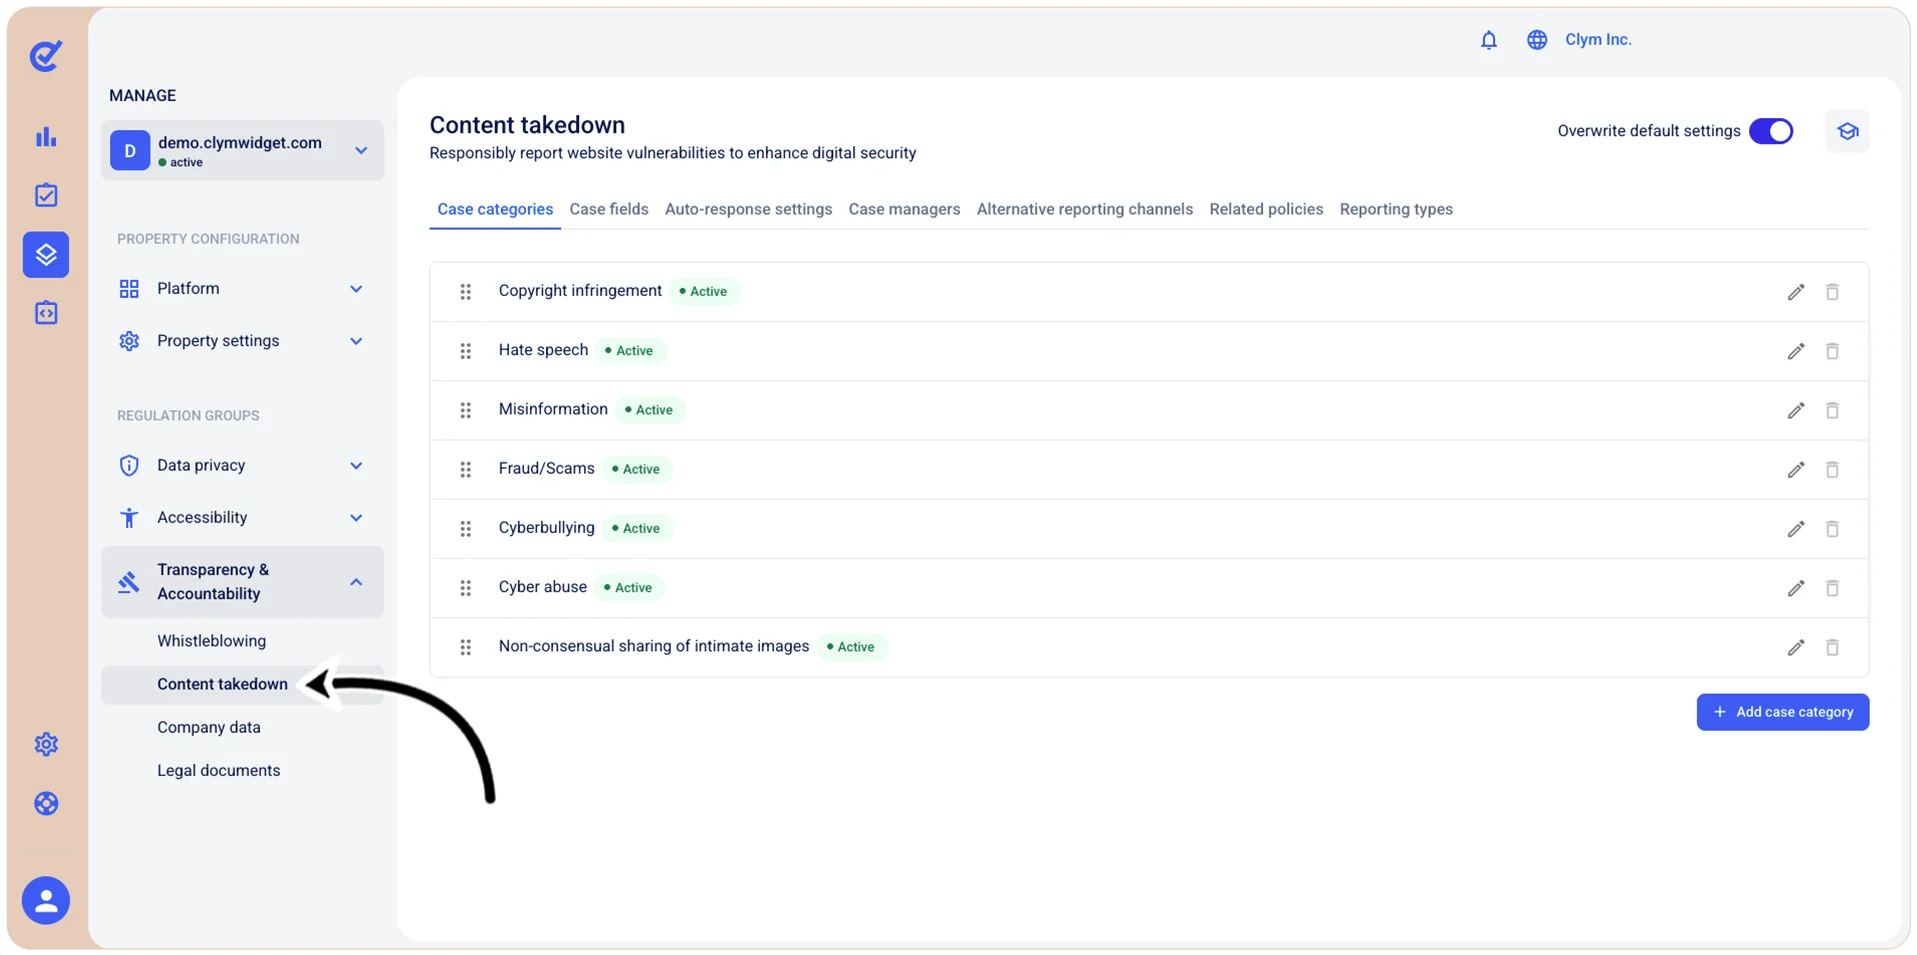
- In the Case categories tab, select Edit details next to the desired case category.
- In the Edit case category section, toggle on Category enabled to make the case category active, or toggle off Category enabled to make the case category inactive.
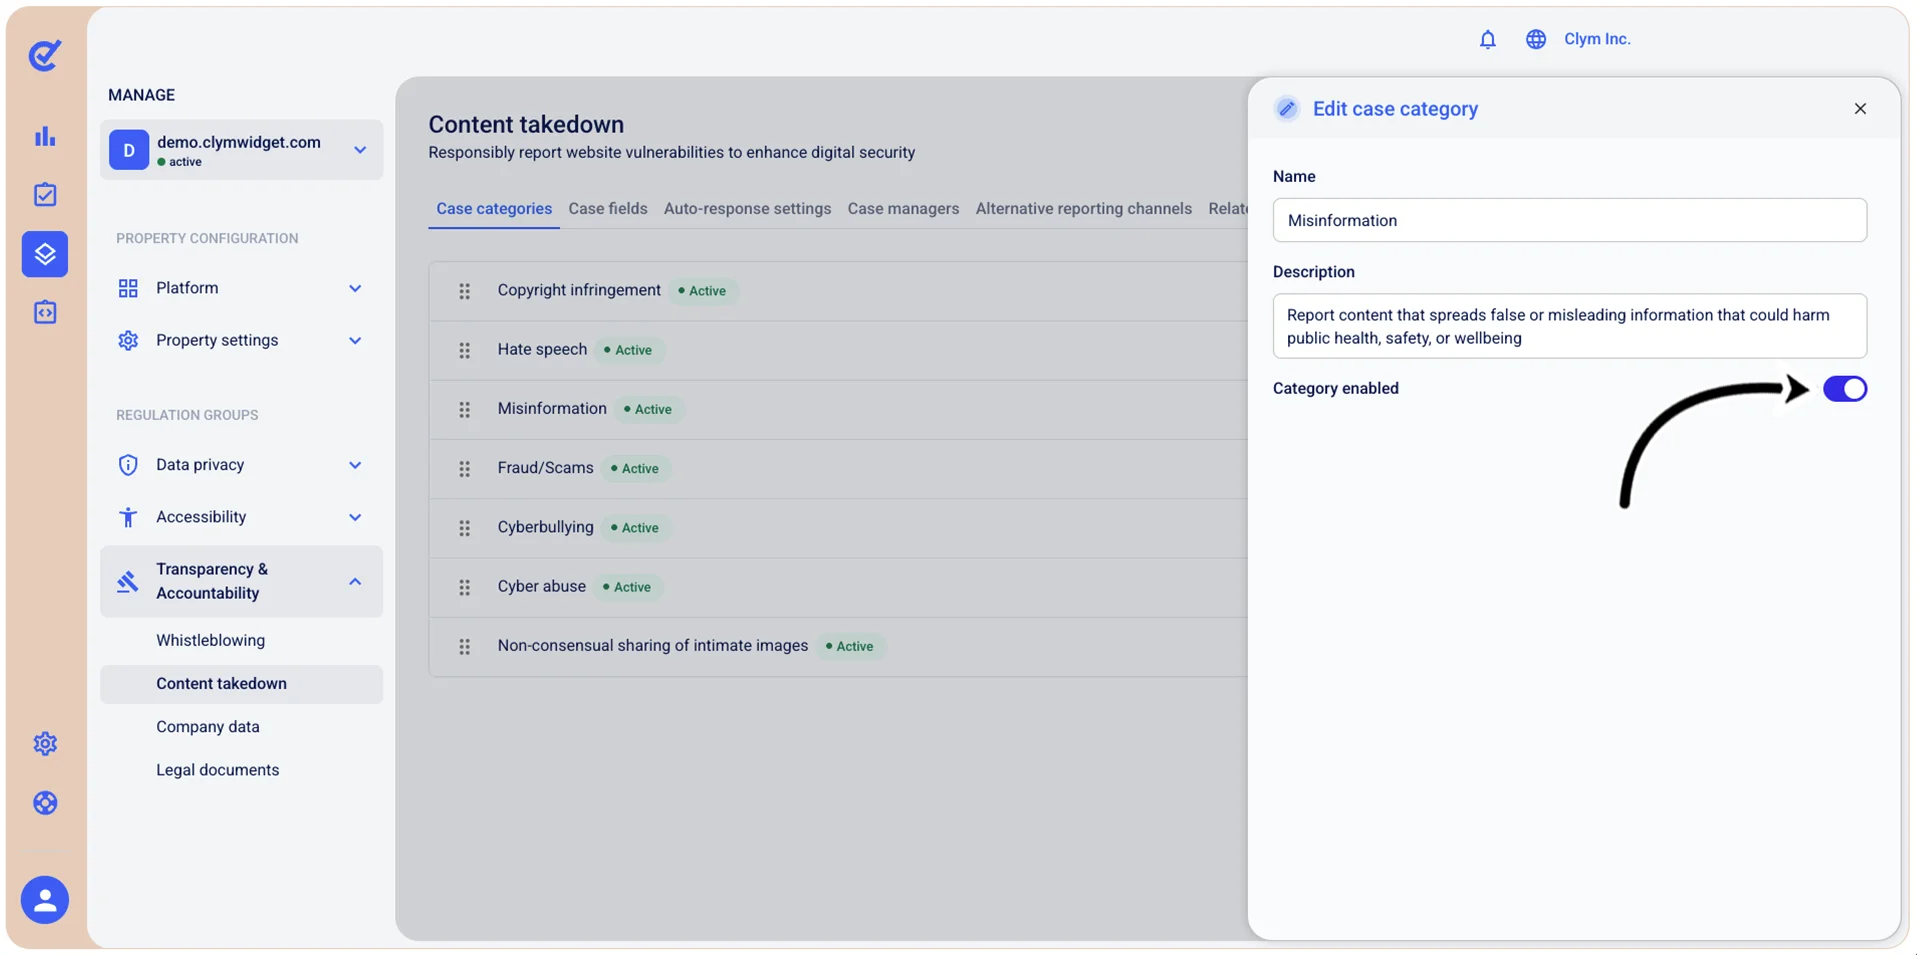
- When finished, select Save.
Reposition a content takedown request case category
Depending on your organization’s needs, you can reposition a content takedown case category in the hierarchy it is displayed on the UI.
Important!
- To be able to customize this section, you need to toggle on Overwrite default settings.
- When configuring this section, make sure that you select Save on the tab you just configured before moving on to another tab.
To reposition a case category:
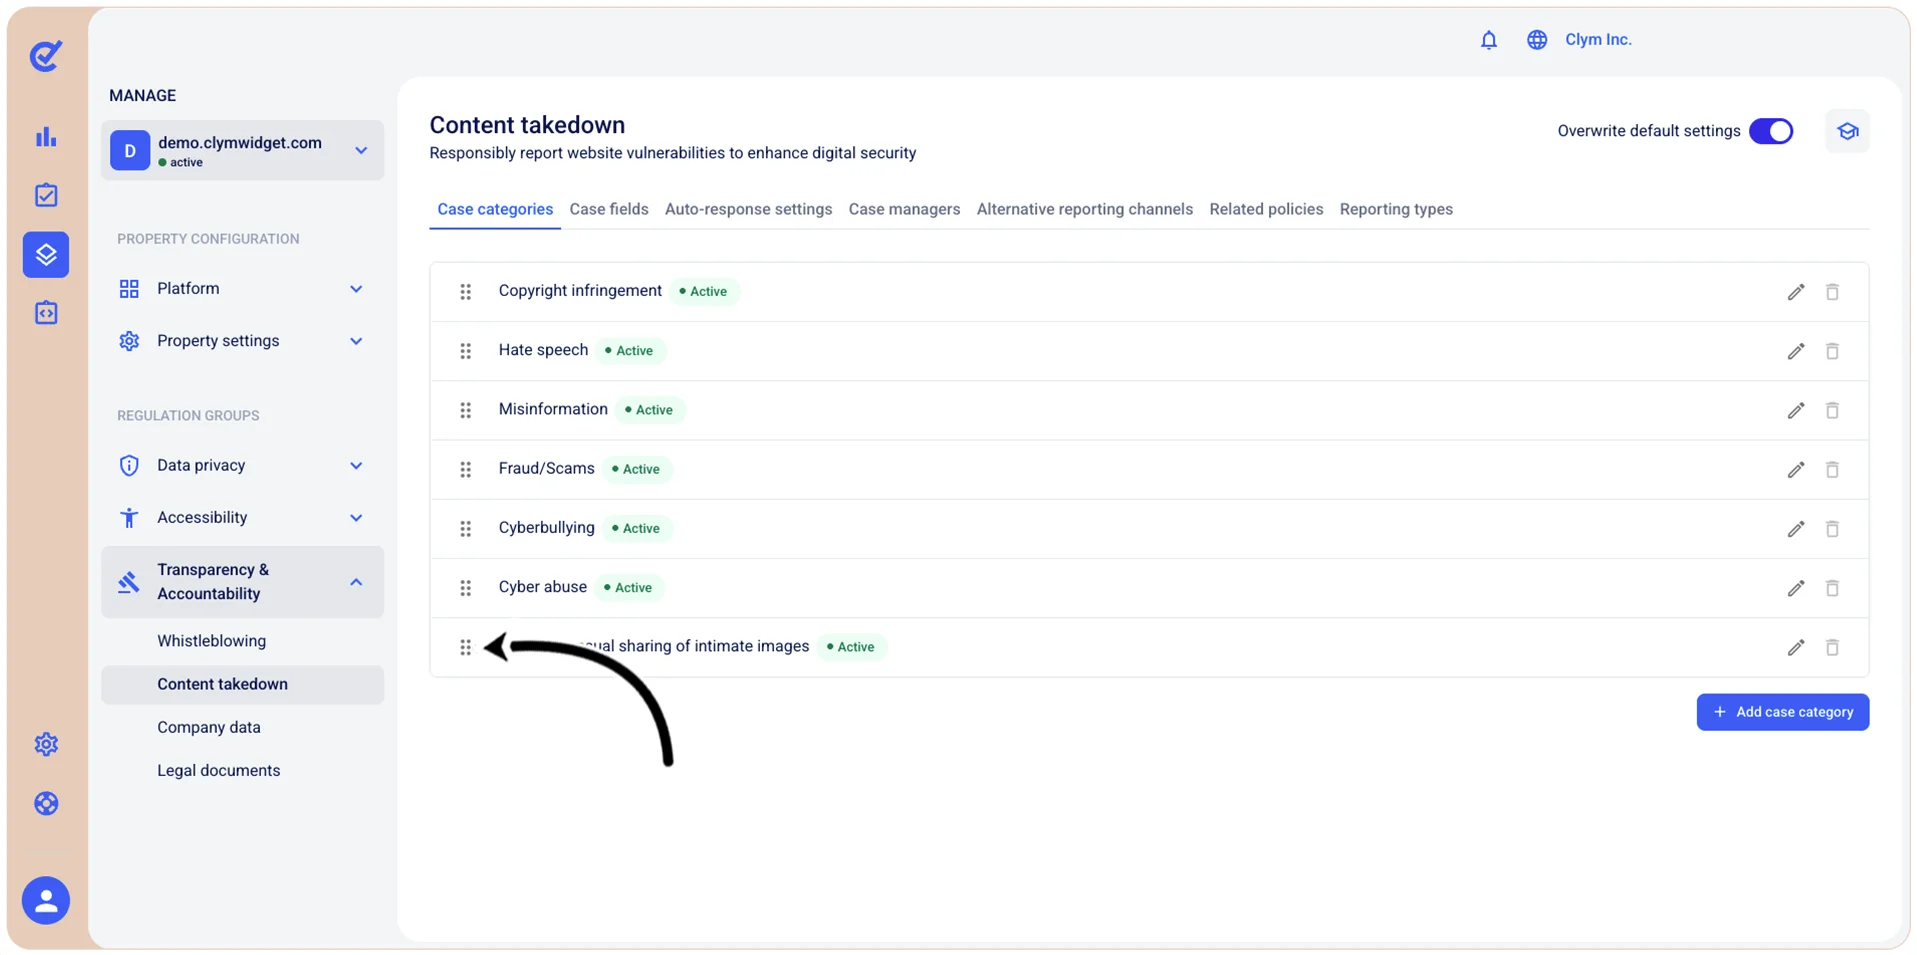
- Go to Manage>Transparency & Accountability>Content takedown.
- In the Case categories tab, use the drag handle (⋮⋮) to rearrange the desired item in the list.
Delete a content takedown request case category
In the Control Center, you can remove the case categories that your organization no longer needs.
Important!
- To be able to customize this section, you need to toggle on Overwrite default settings.
- When configuring this section, make sure that you select Save on the tab you just configured before moving on to another tab.
Note: You can only remove the case categories that you created, not the built-in ones.
To remove a Content takedown case category:
- Go to Manage>Transparency & Accountability>Content takedown.
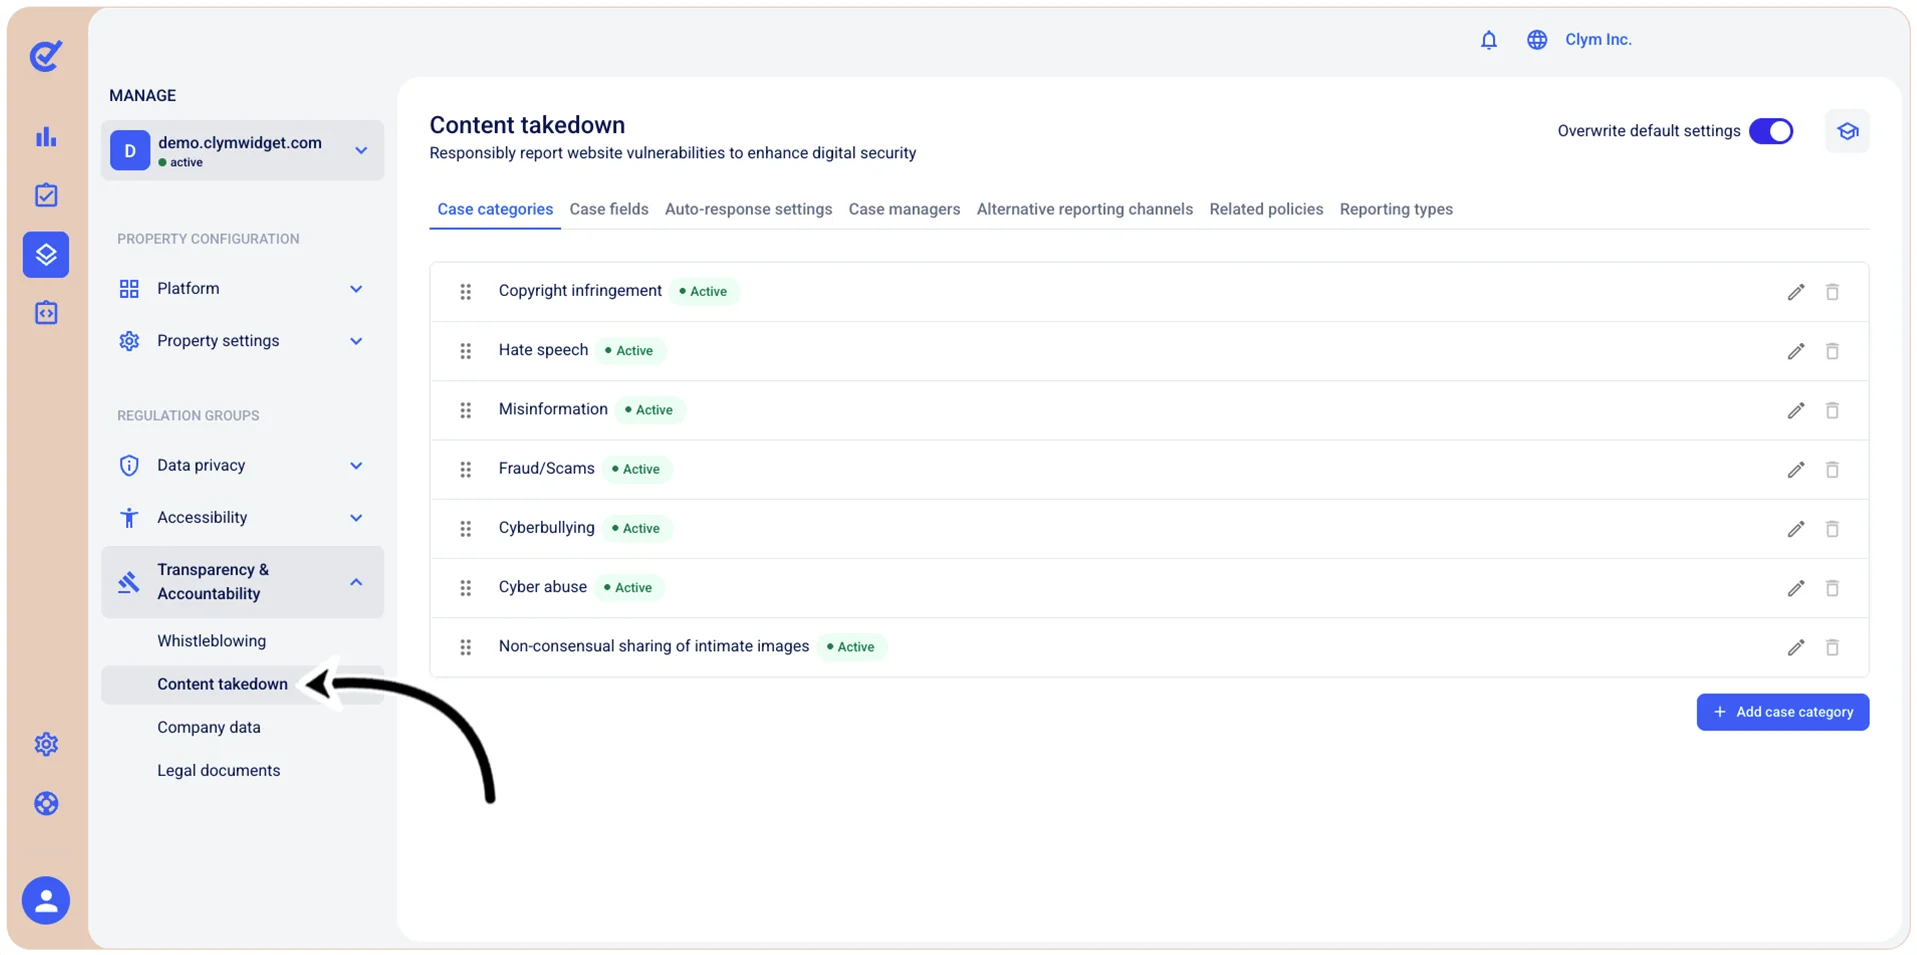
- In the Case categories tab, select
 Delete next to the case category that you want to remove.
 - In the confirmation message, select Confirm.