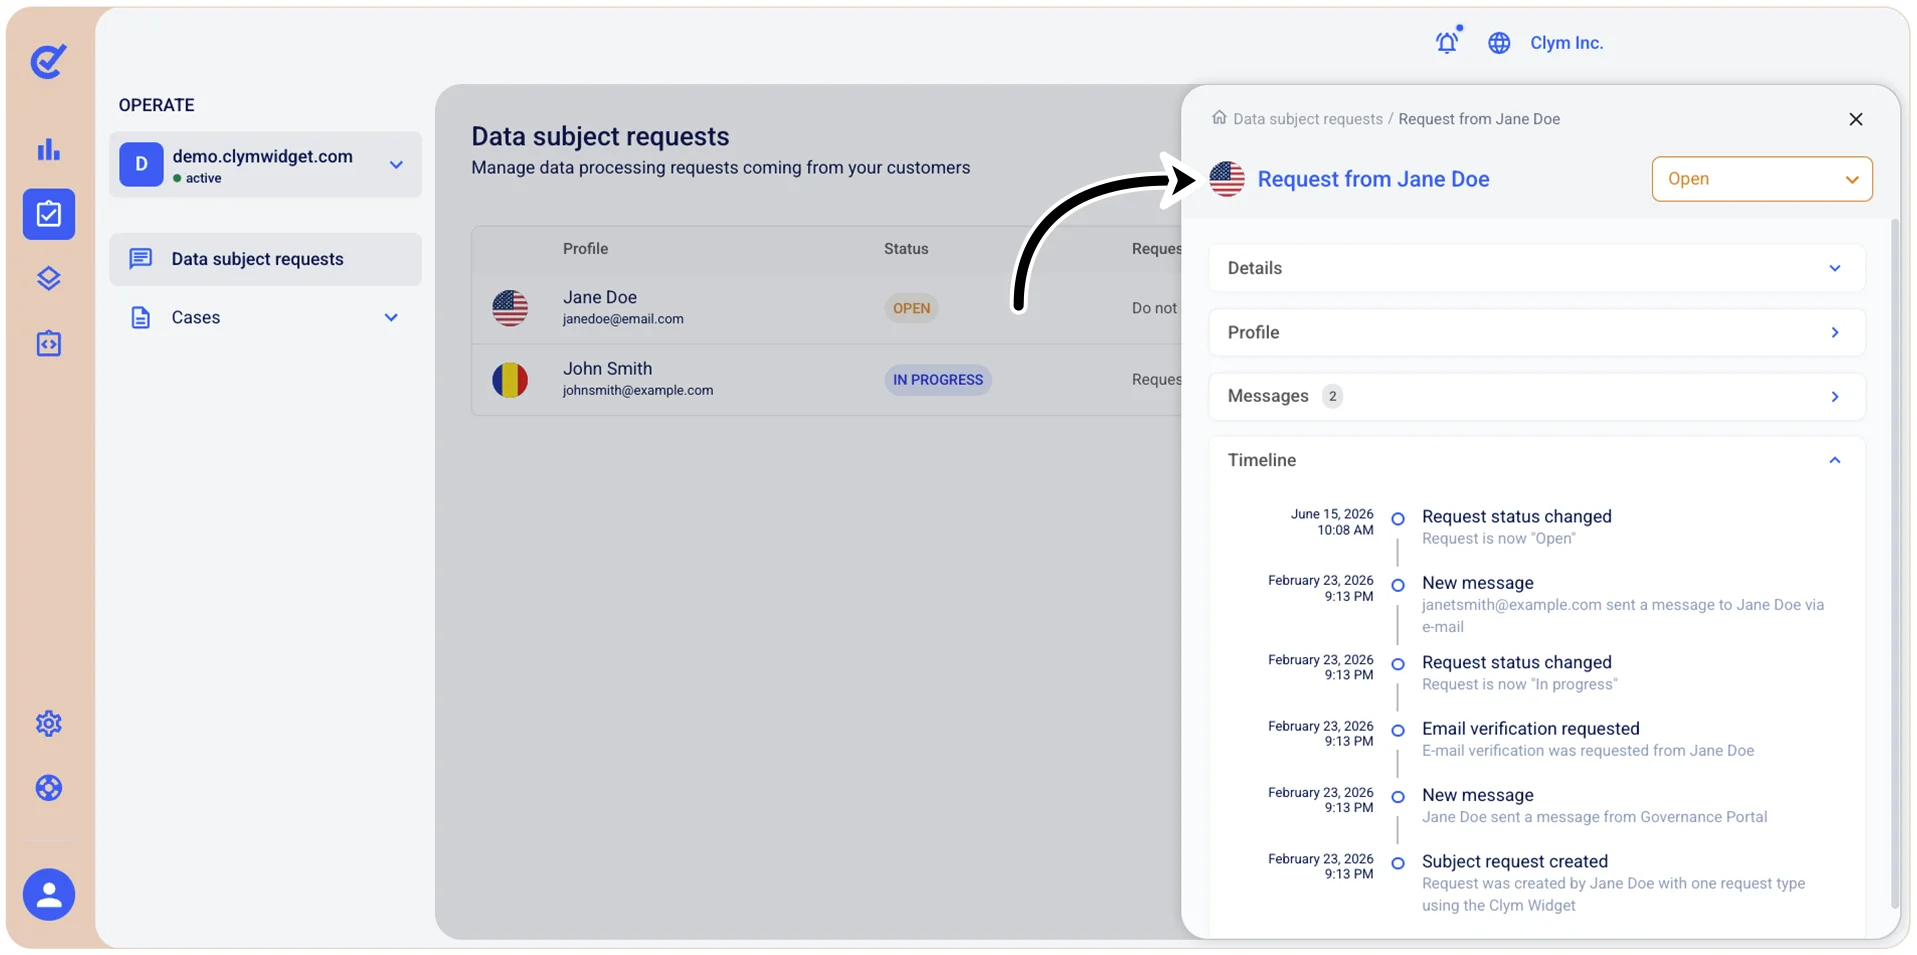
View a DSR
To stay compliant, your organization must respond to various requests by specific deadlines. Each regulation has different requirements for how long your organization has to handle requests. The Control center not only provides you with a platform to view, manage, and respond to your requests, but also keeps track of your impending deadlines across regulations.
To view a DSR:
- Go to
 Operate>Data Subject Requests.
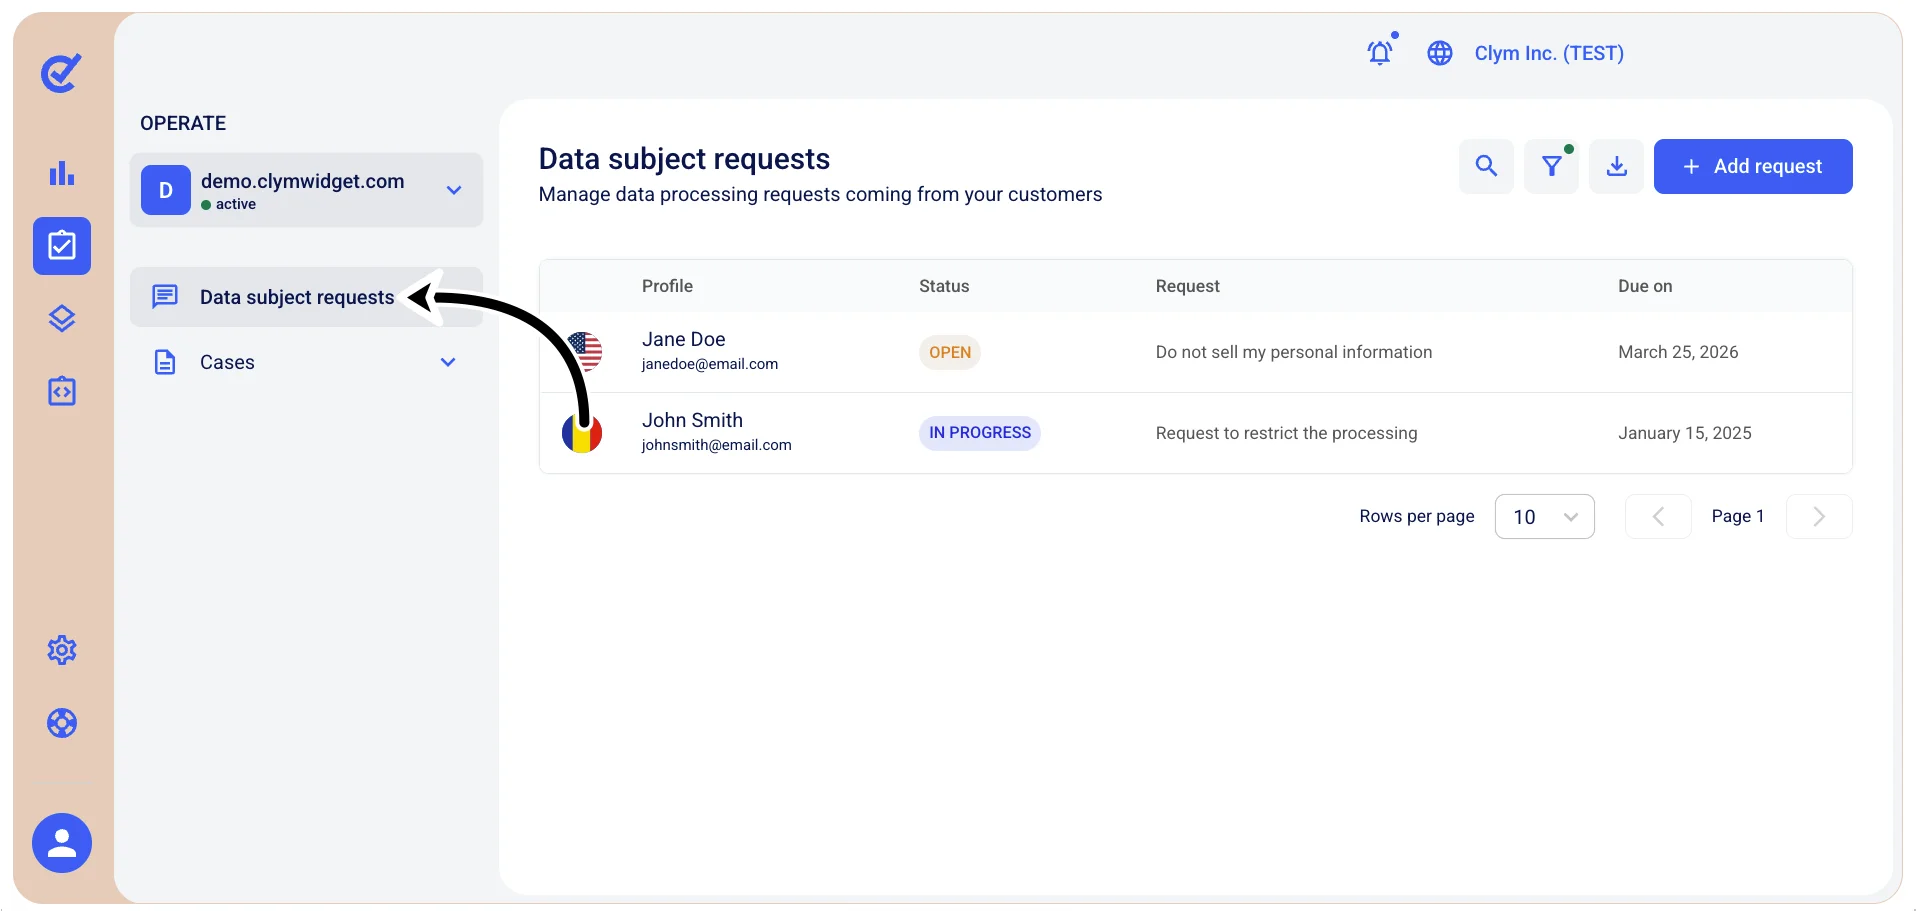
- In the Data subject requests section, select the desired DSR.
- In the Request from
right-side section, use the combo list to filter among Pending/In progress/Open/Closed DSRs. You can expand and collapse the Data subject request categories, as follows:
a. Details: Displays the general information of the DSR.
- Request group: Displays the category or type of privacy right being exercised (for example, Data portability request, Deletion request, Access request).
- Request: Shows the specific action requested by the data subject (for example, subjects can opt out of personal data processing).
- Source channel: Indicates how the data subject submitted their request (for example, via the widget).
- Created on: The date and time when the data subject request was received or created in the system. This timestamp is important for tracking compliance with response deadlines.
- Due on: The deadline by which this request must be completed to comply with applicable privacy regulations. This date is calculated based on legal requirements (for example, 30 days under GDPR, 45 days under CCPA) from the creation date.
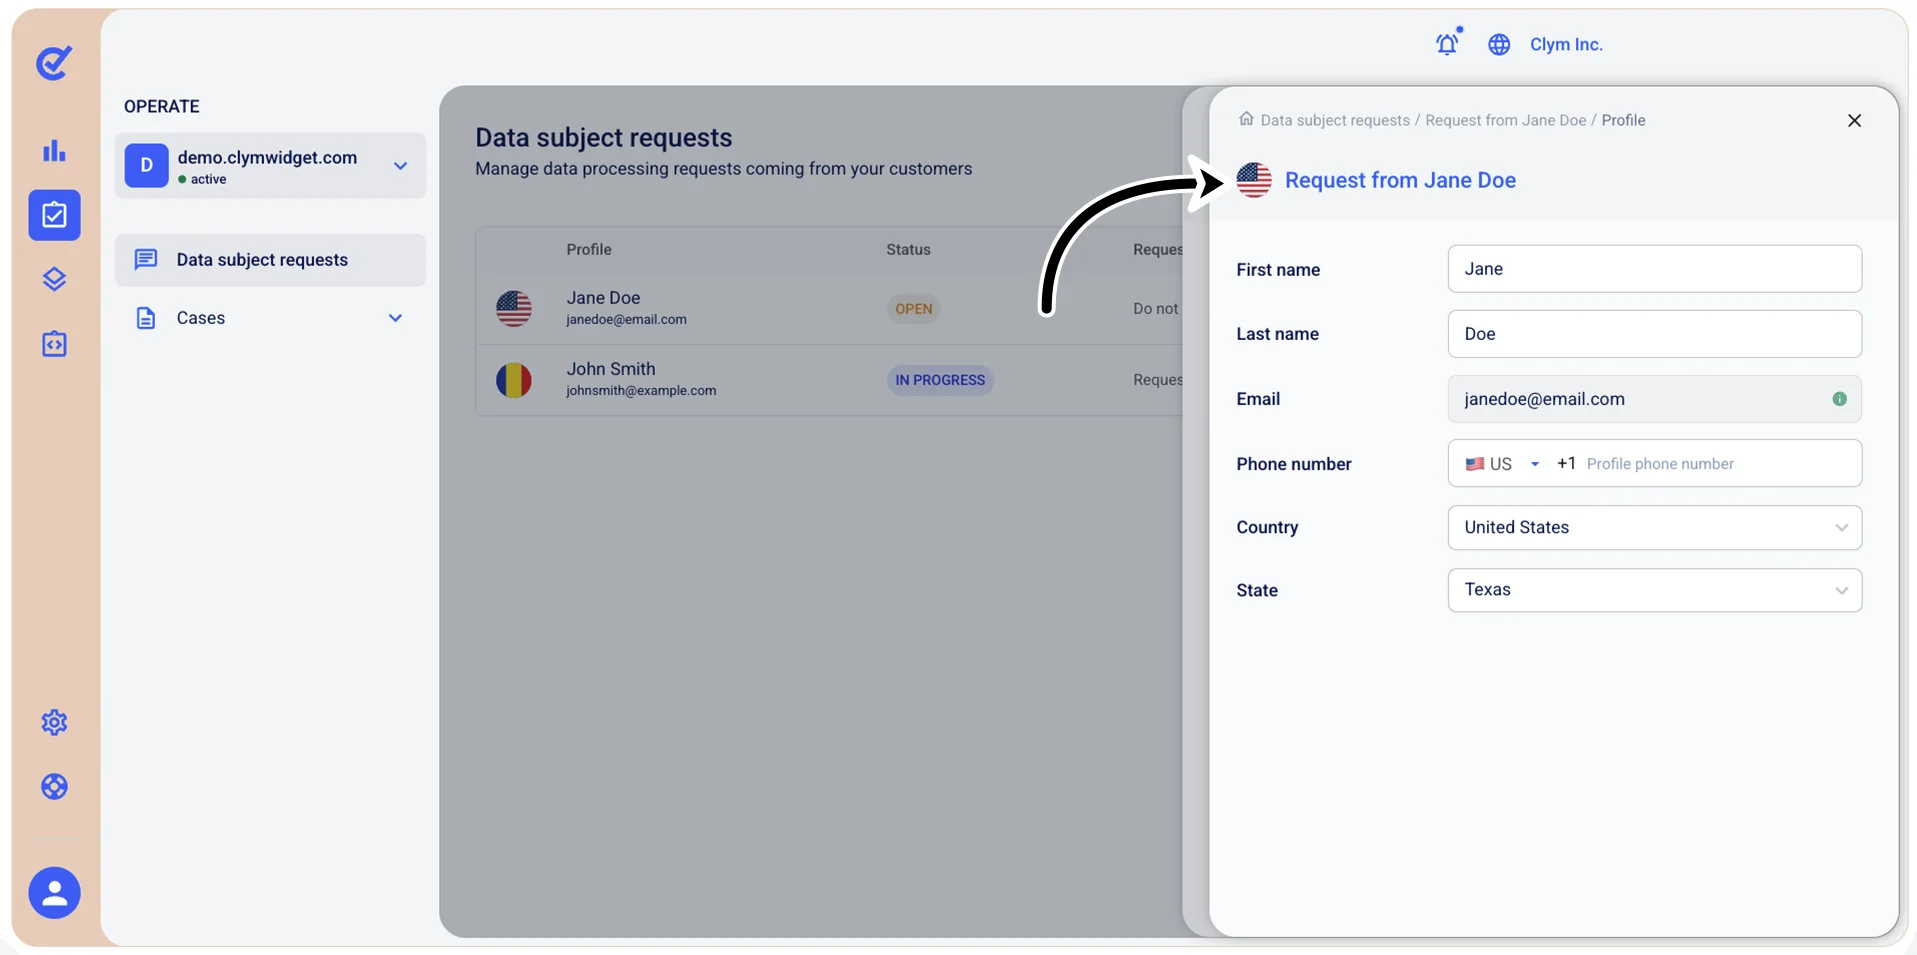
b. Profile: Select to view the available personal information that the data subject has shared with your organization (for example, first and last name, email, phone number and so on). If you need to modify the editable fields, when finished, select Save.
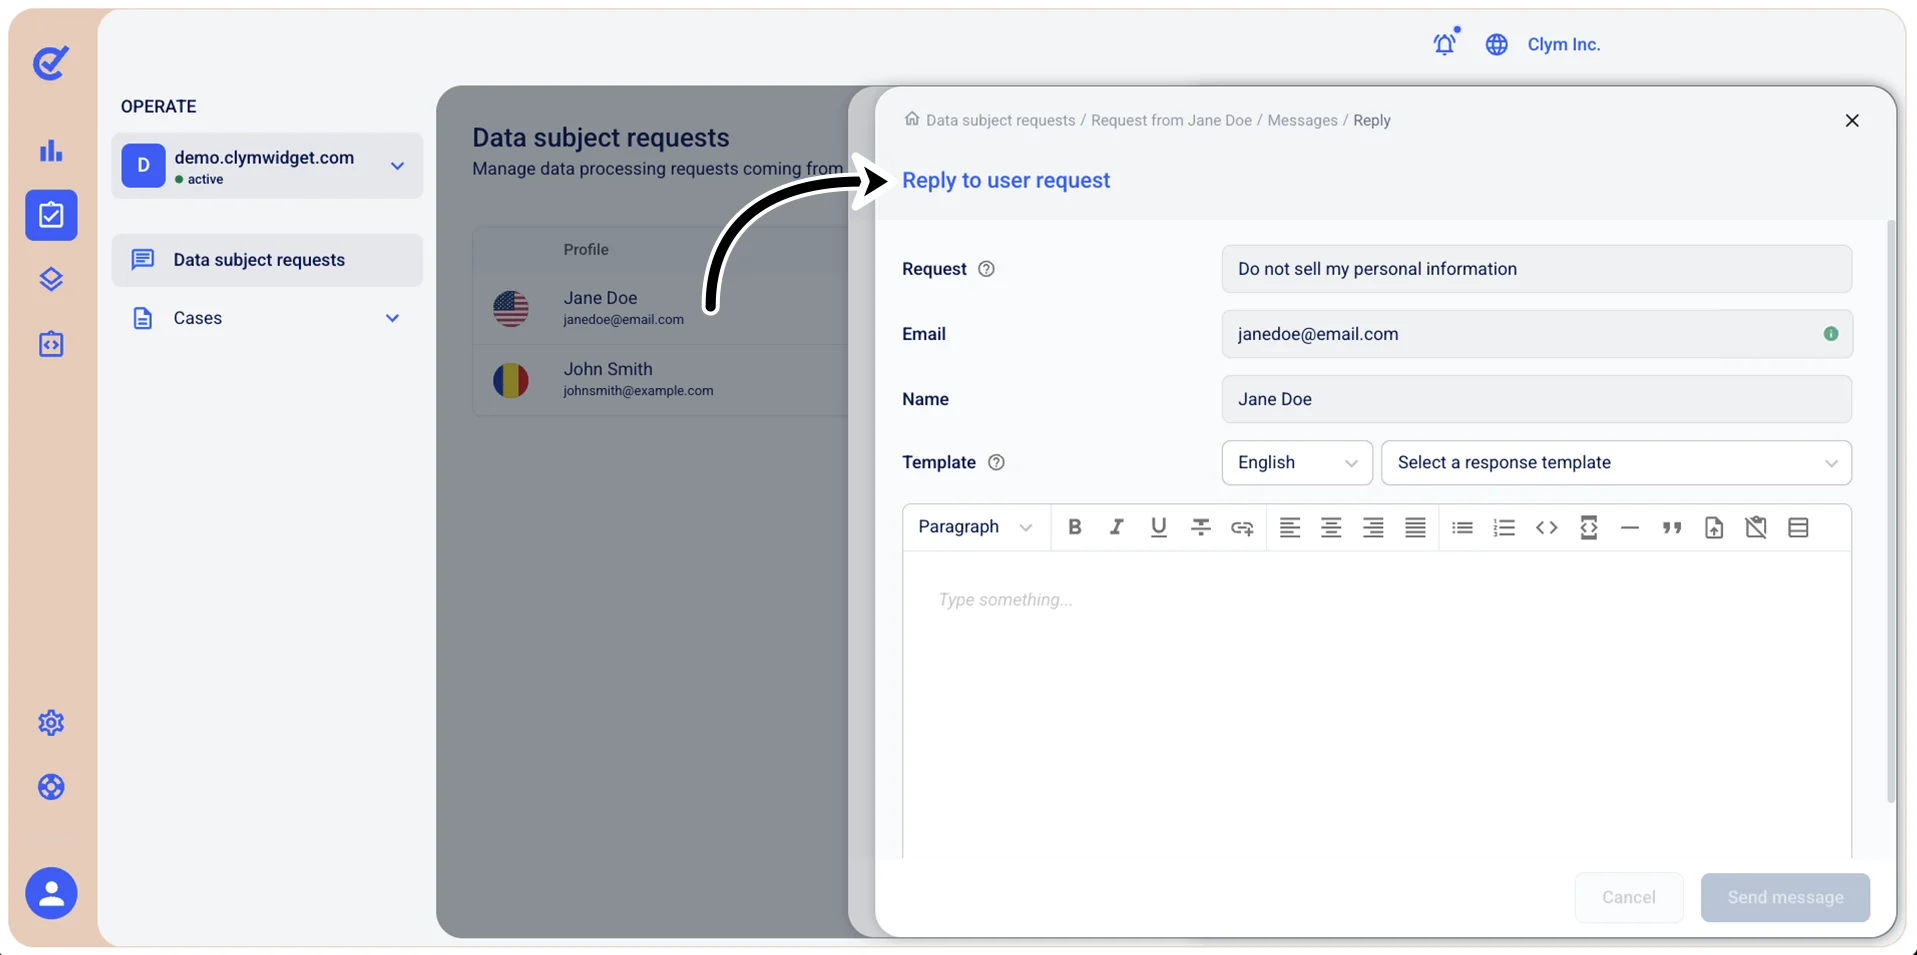
c. Messages: Once a user submits a DSR, they will receive a verification email to confirm their identity. Expand Messages to view the DSR-related messages used to communicate with the requester.
To respond to your website visitor’s message, select Reply and then enter your message in the dedicated email body. The Messages feature also supports attachments. When finished, select Send message to dispatch.
d. Timeline: Select to view the conversation timeline with the website user.