Add a DSR
In the Control Center, you can keep track of all of the data subject requests, or DSRs, that you receive as an organization, even if you receive one that was not sent through your widget or Governance Portal. This means that you can add requests received over email, phone, or other similar methods, allowing you to stay on top of all of your requests in one convenient location. From the Control Center, you can view upcoming deadlines, reply to requests, and export this data at any time. Based on the DSRs received via the Widget, email, phone, you can add DSRs to the Control Center yourself.
To add a DSR:
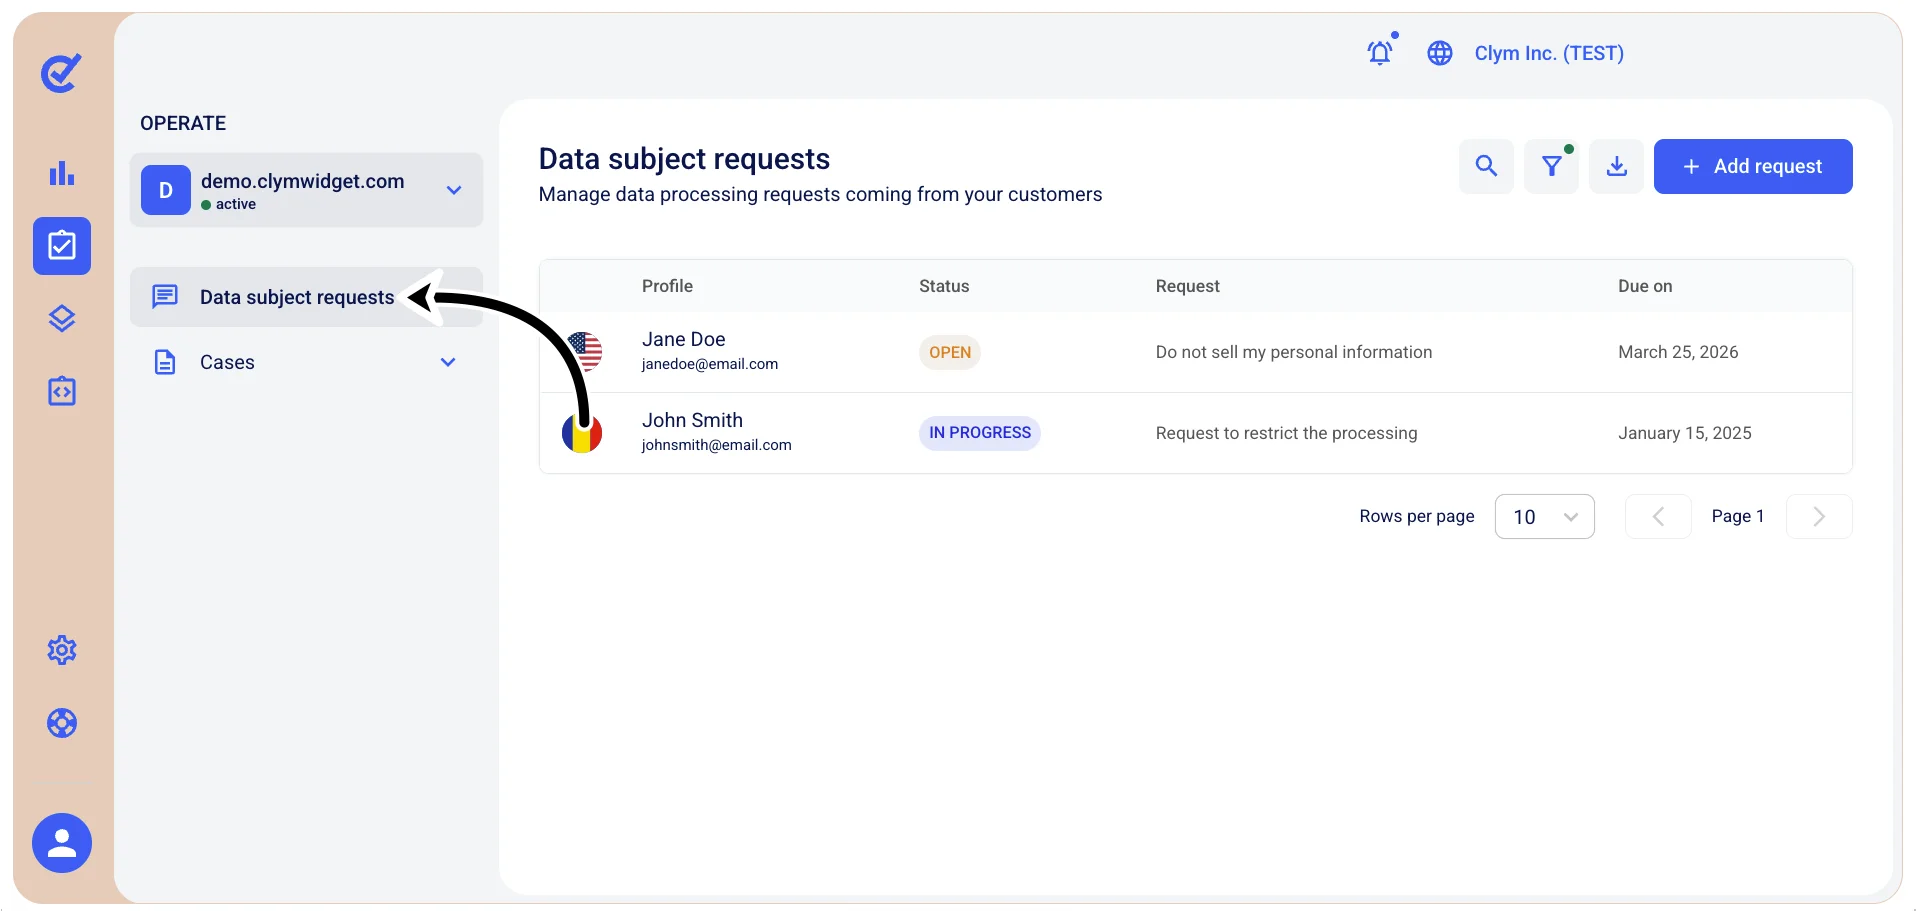
- Go to
 Operate>Data Subject Requests.
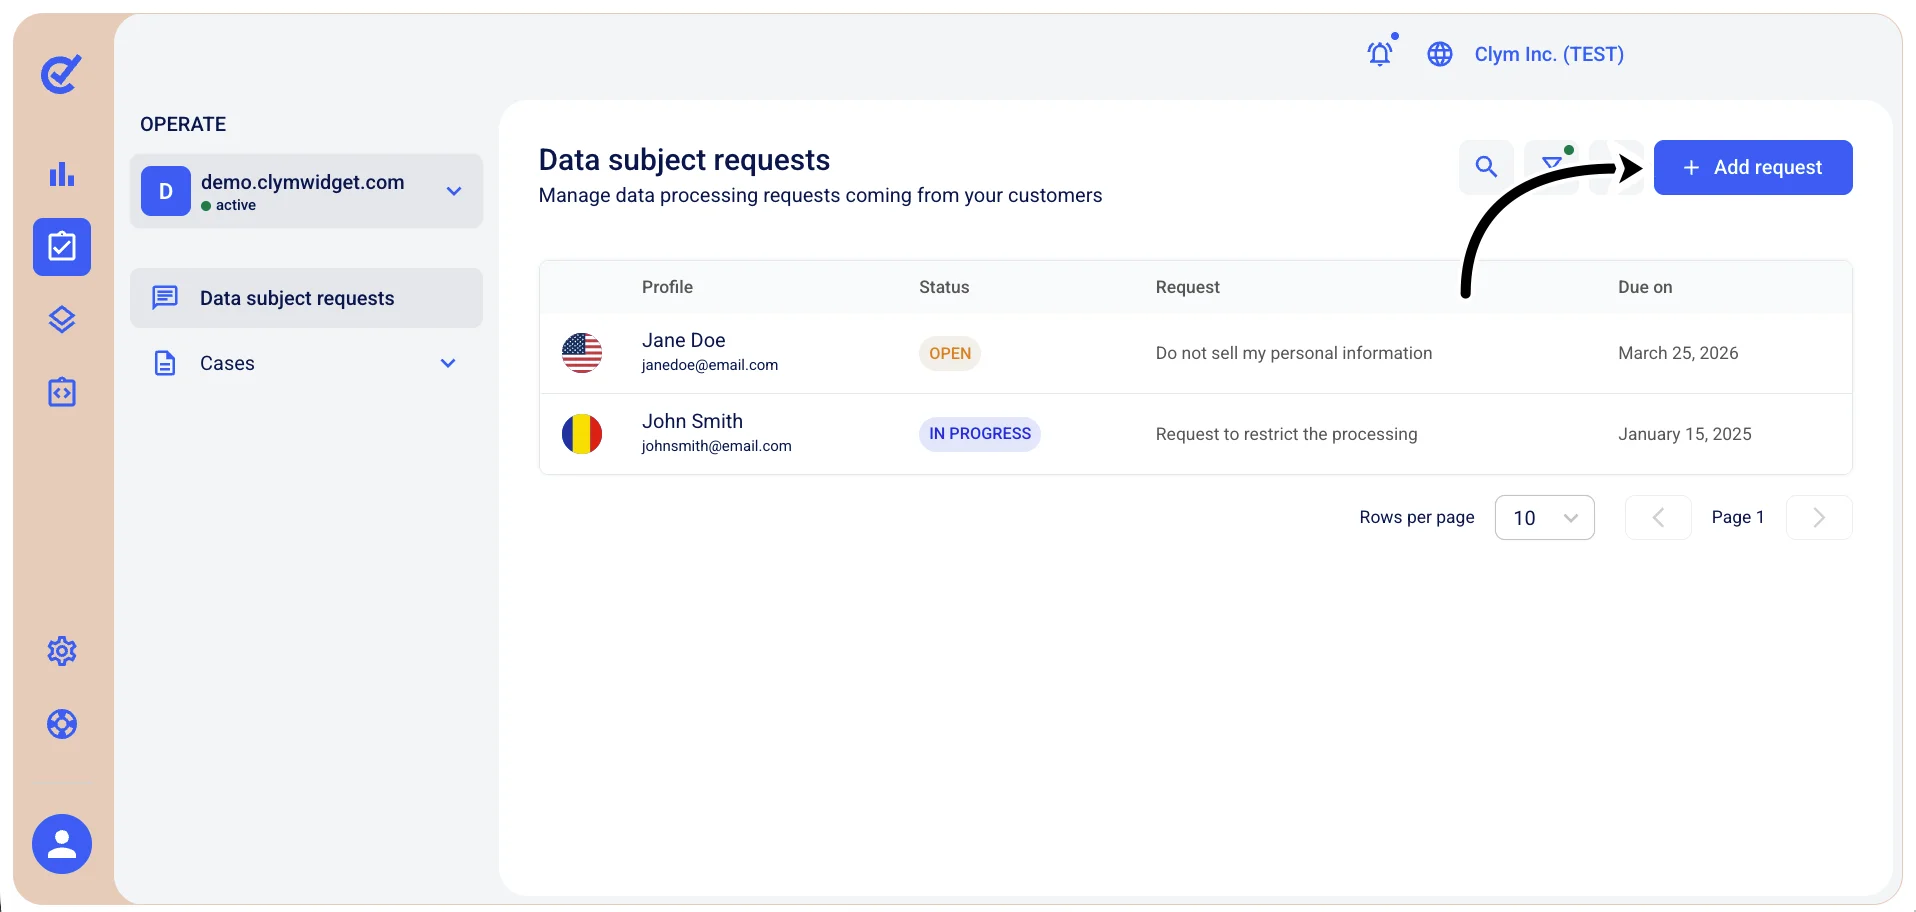
- In the Data subject requests section, select +Add request.
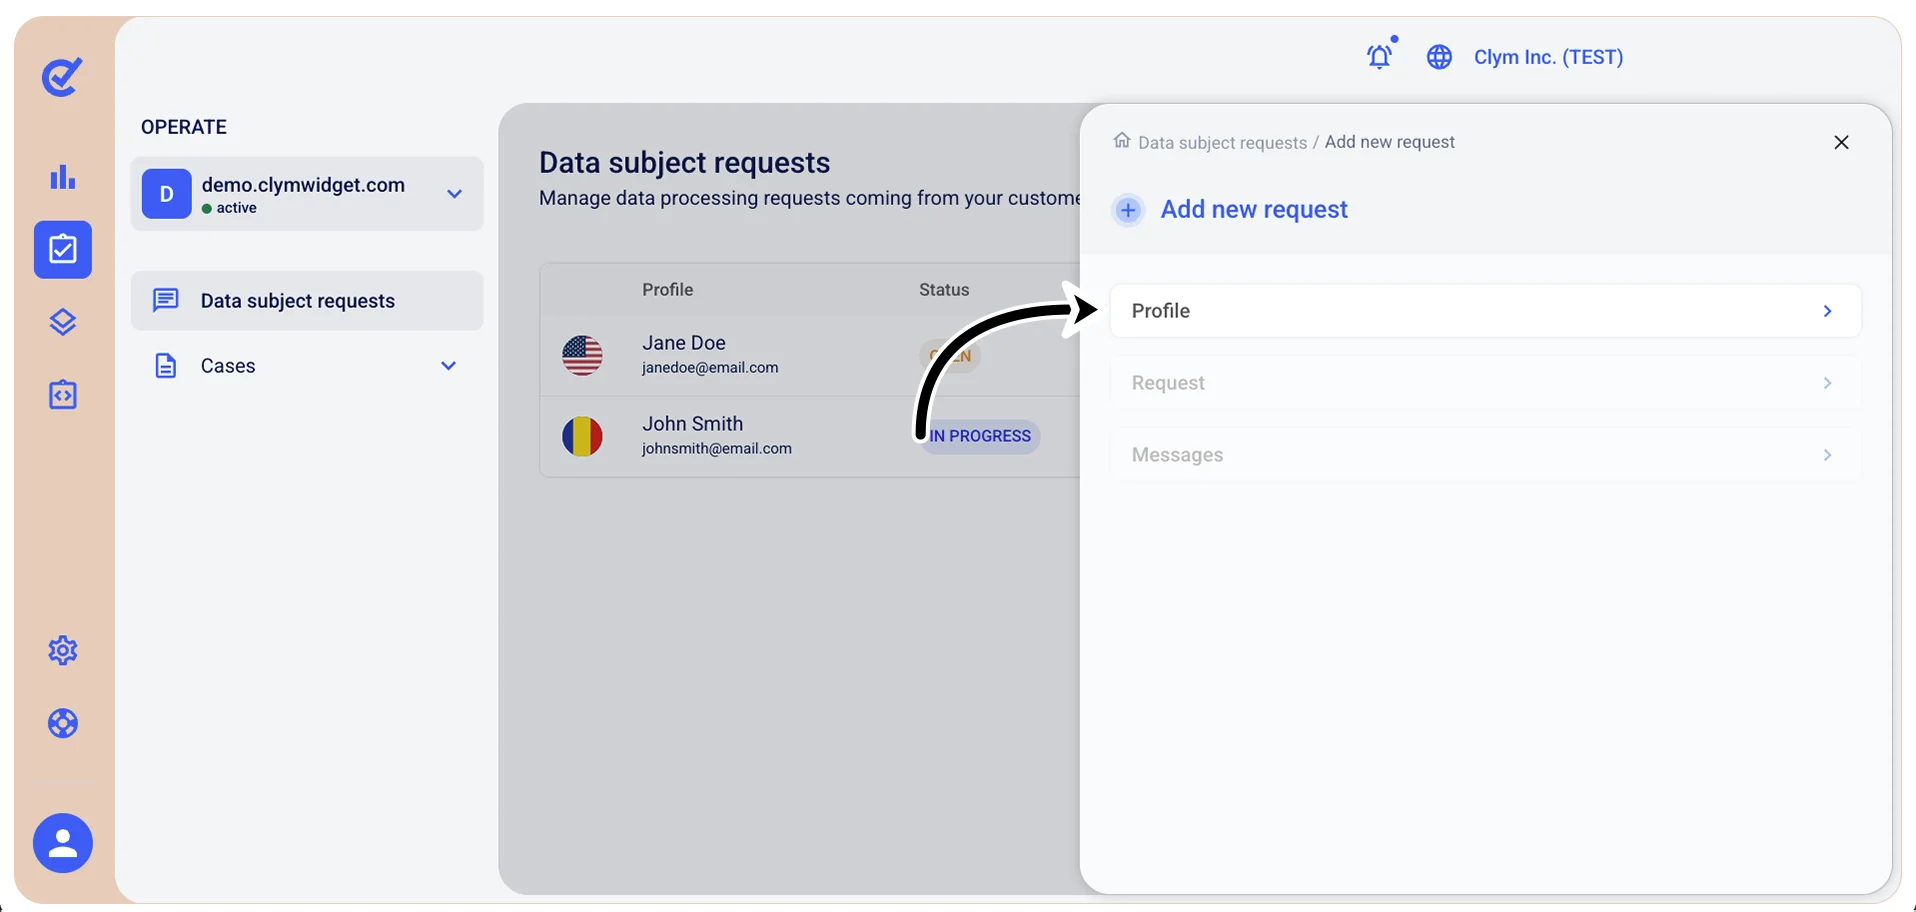
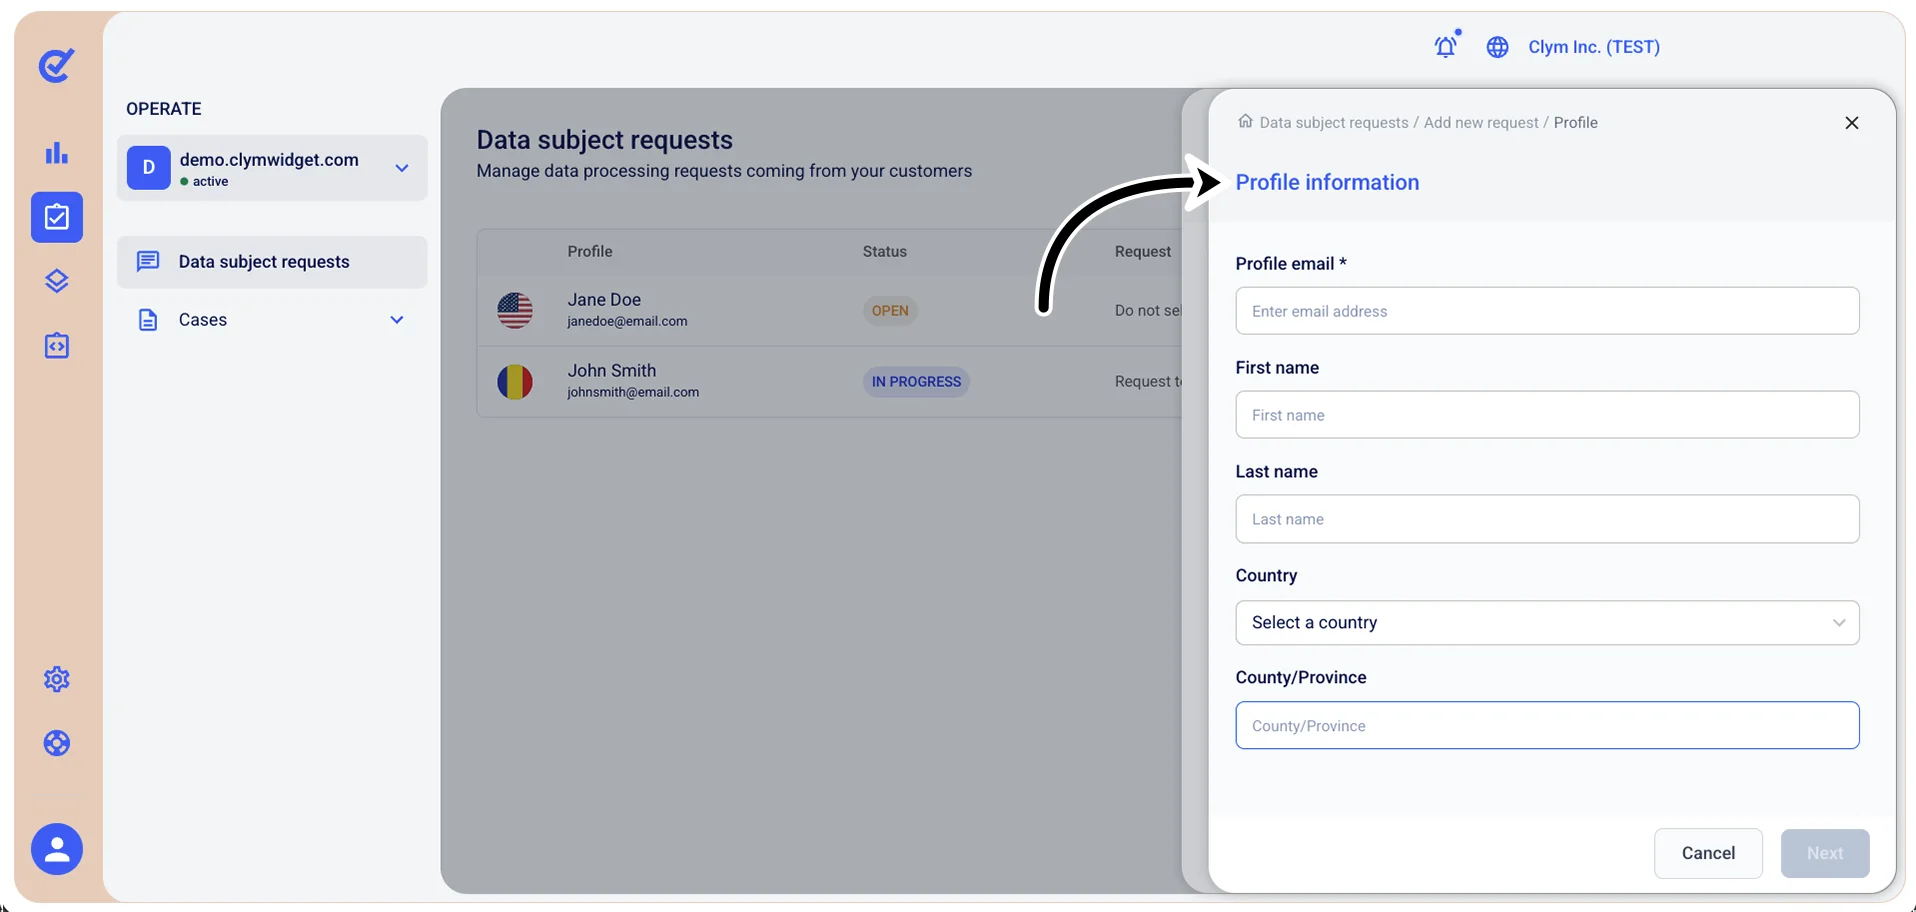
- In the Add new request section, select Profile to complete the personal details of the DSR requester.
- In the Profile information screen, complete the DSR requester’s personal details, such as email address, first and last name and so on. When finished, select Save.
- Next, in the Add new request screen, select Request and then, in the Request details section, enter the parameters, as follows:
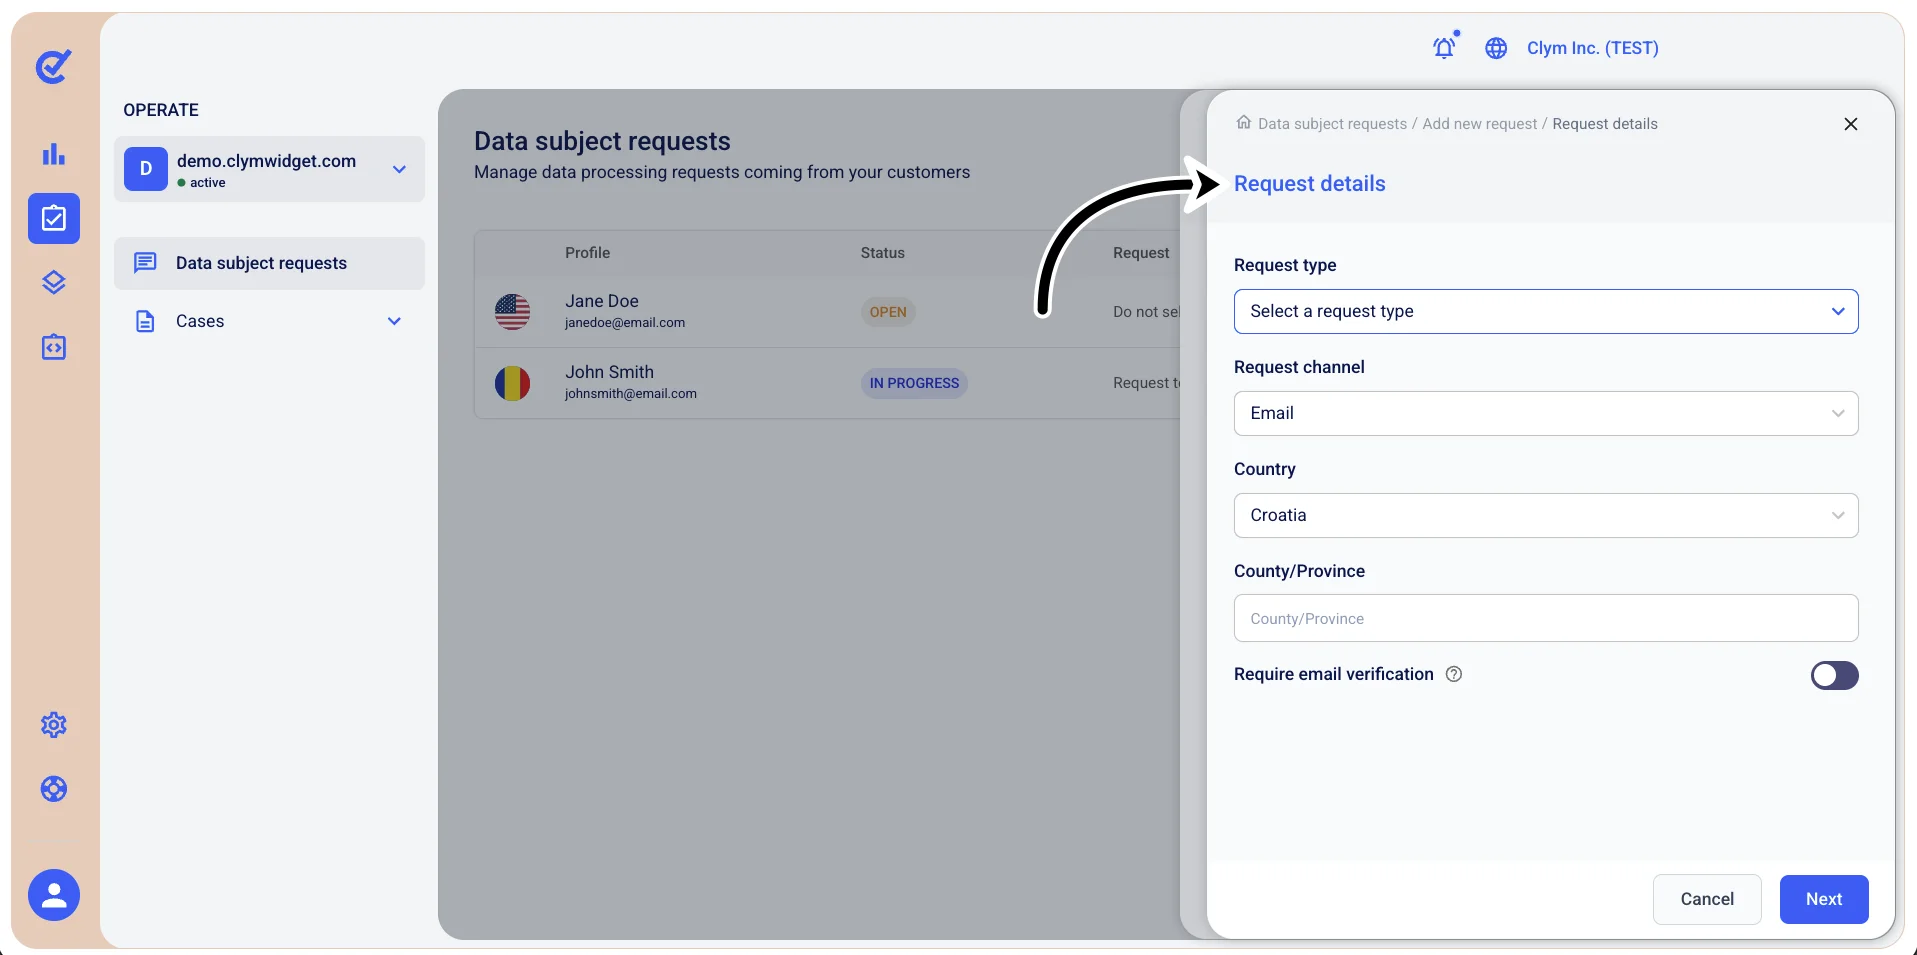
- Request type: Select the desired request type. For a full description of the options available to you at this stage, see Data Subject Request Types explained.
- Request channel: Select the channel through which the DSR was received - for example, phone, email, service desk and so on.
- Country: Select the country of the applicable DSR law.
- State: Select the state of the applicable DSR law.
- Require email verification: Toggle on if you want DSR requests to be verified by a valid email address, otherwise requests will be automatically closed after 24h.
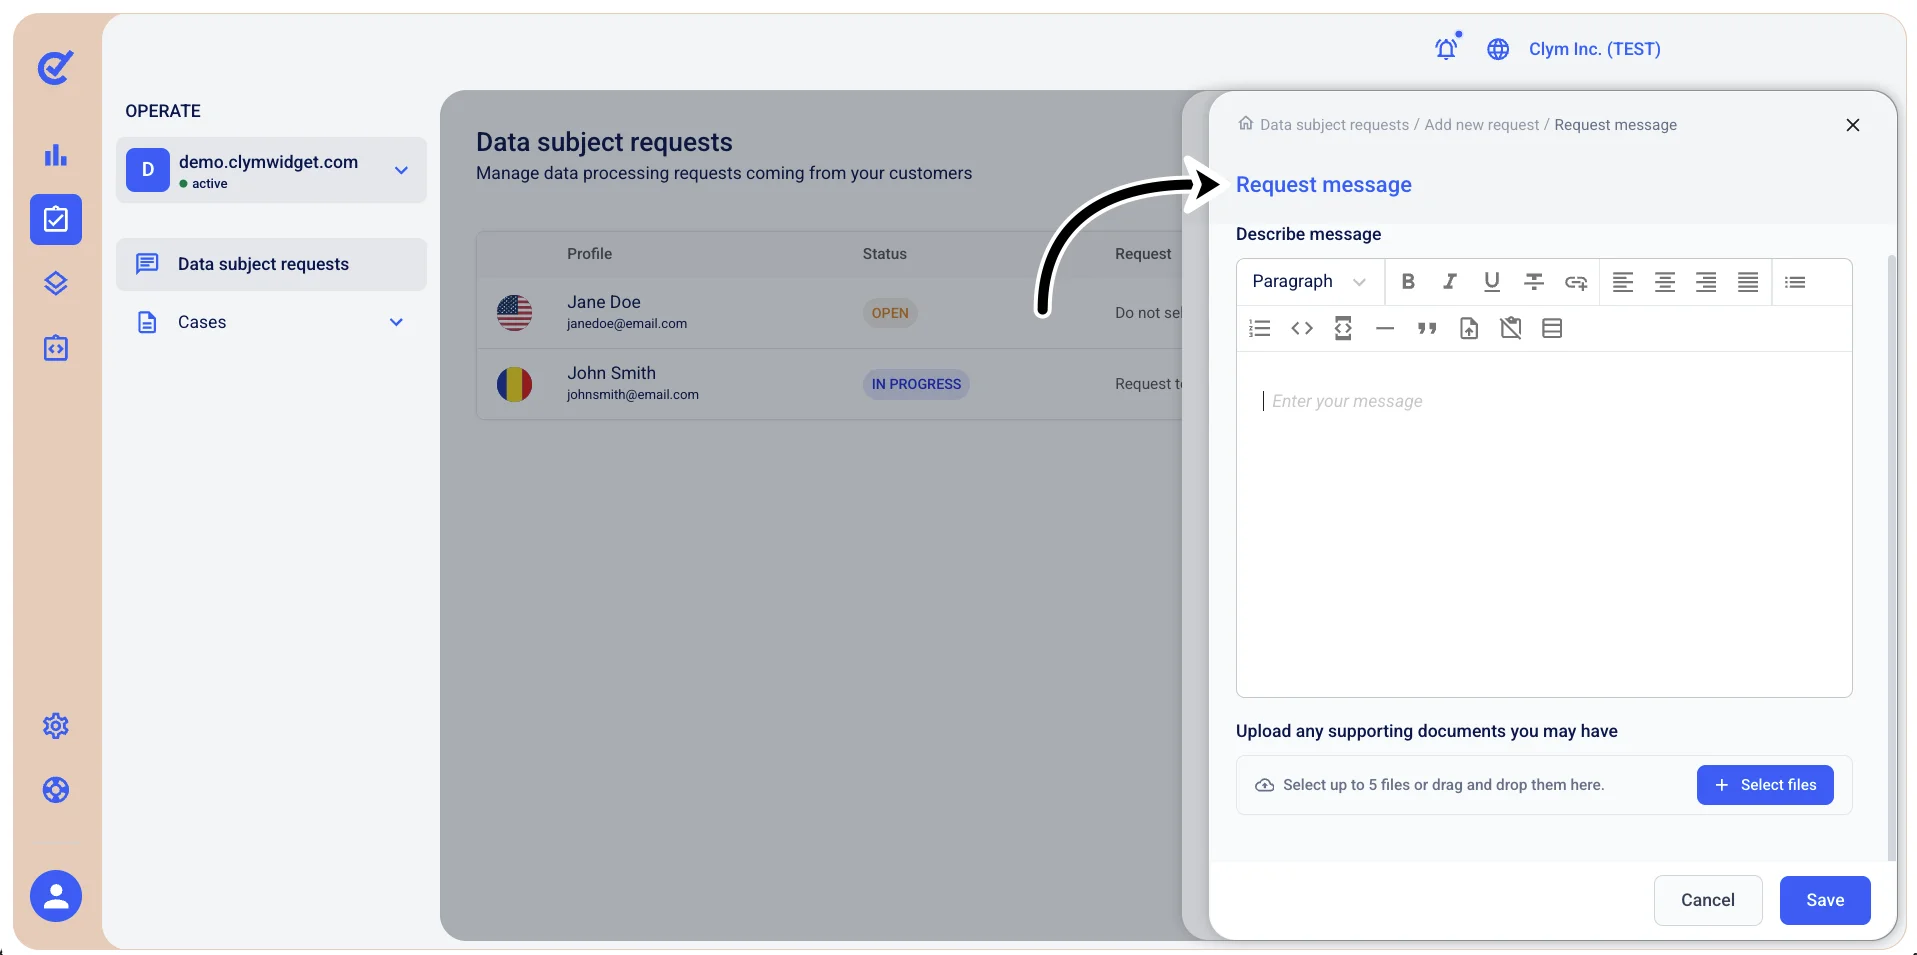
- Next, in the Add new request screen, select Messages and then, in the Request message section, enter your DSR message. You can use the email formatting features available (bold, italics, underline and so on) and also the file attachment for supporting documents. When finished, select Save.
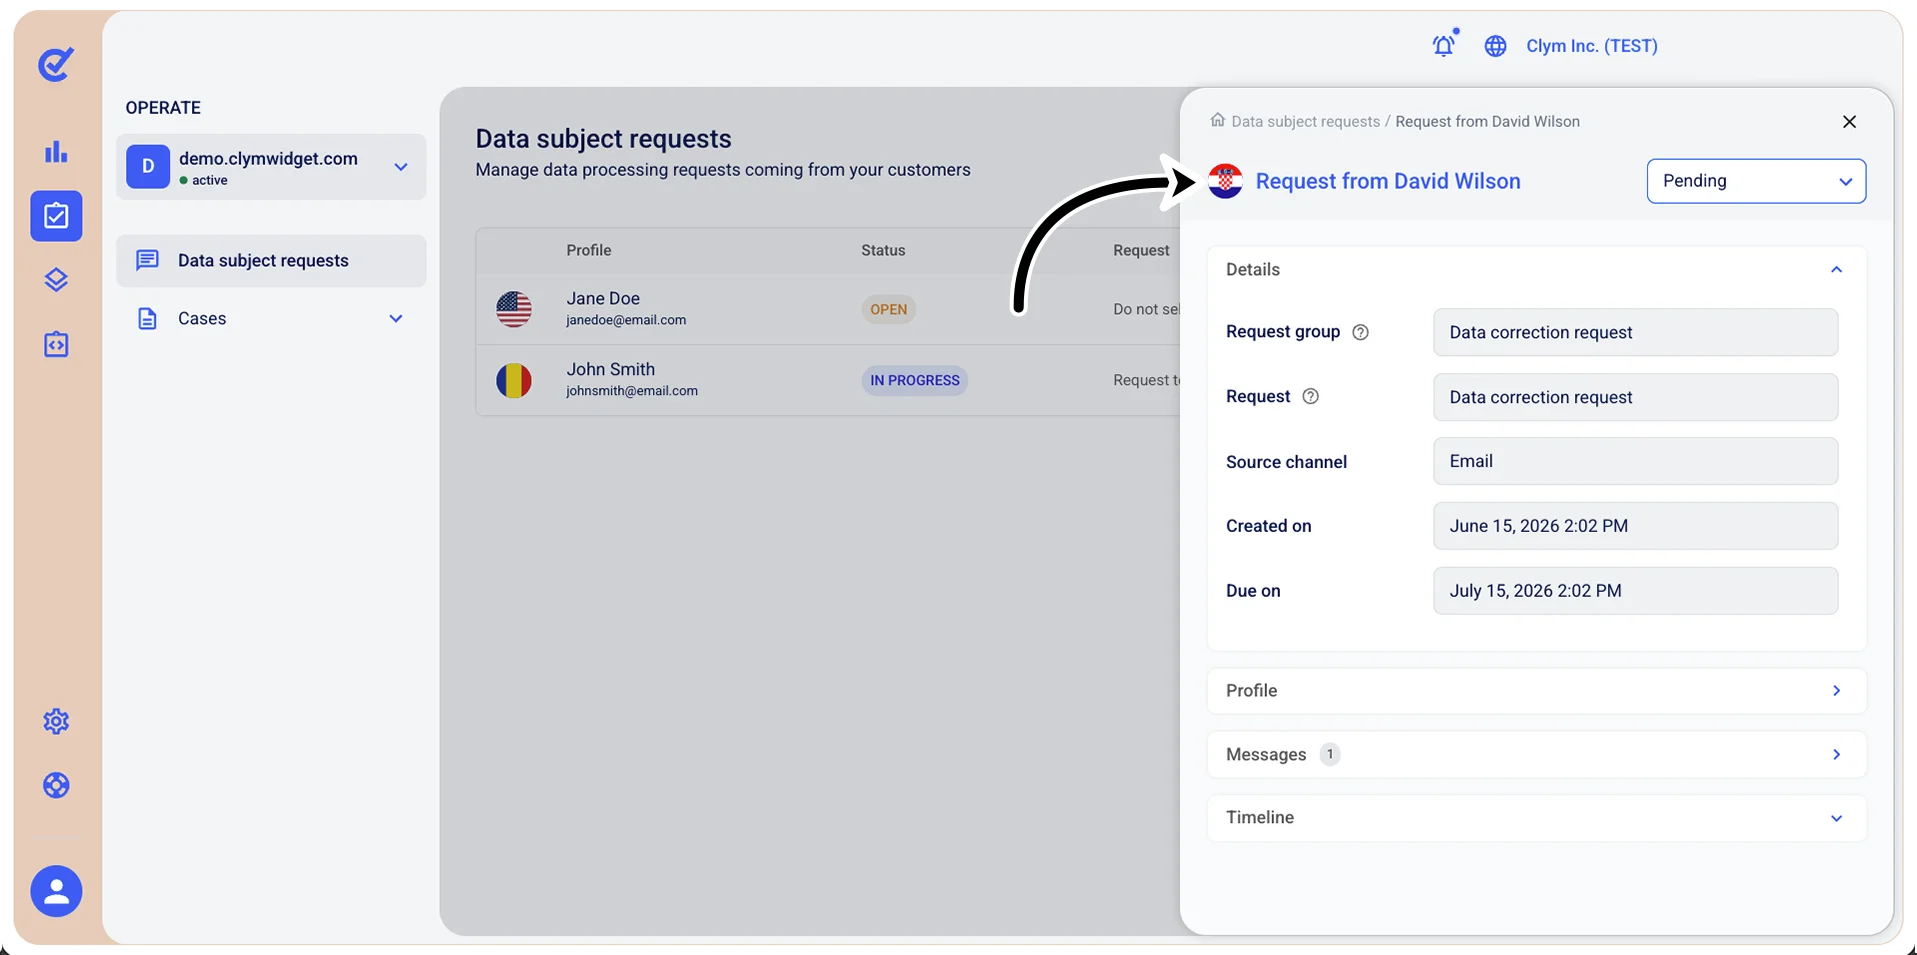
- After completing the Profile information, Request details and configuring the Messages, select Create request. Your request is now created and has the status Pending. You can view it in the Data subject requests section anytime.