
Data privacy: Add vendors
To add a vendor:
- Go to
 Manage>Data privacy>Vendors.
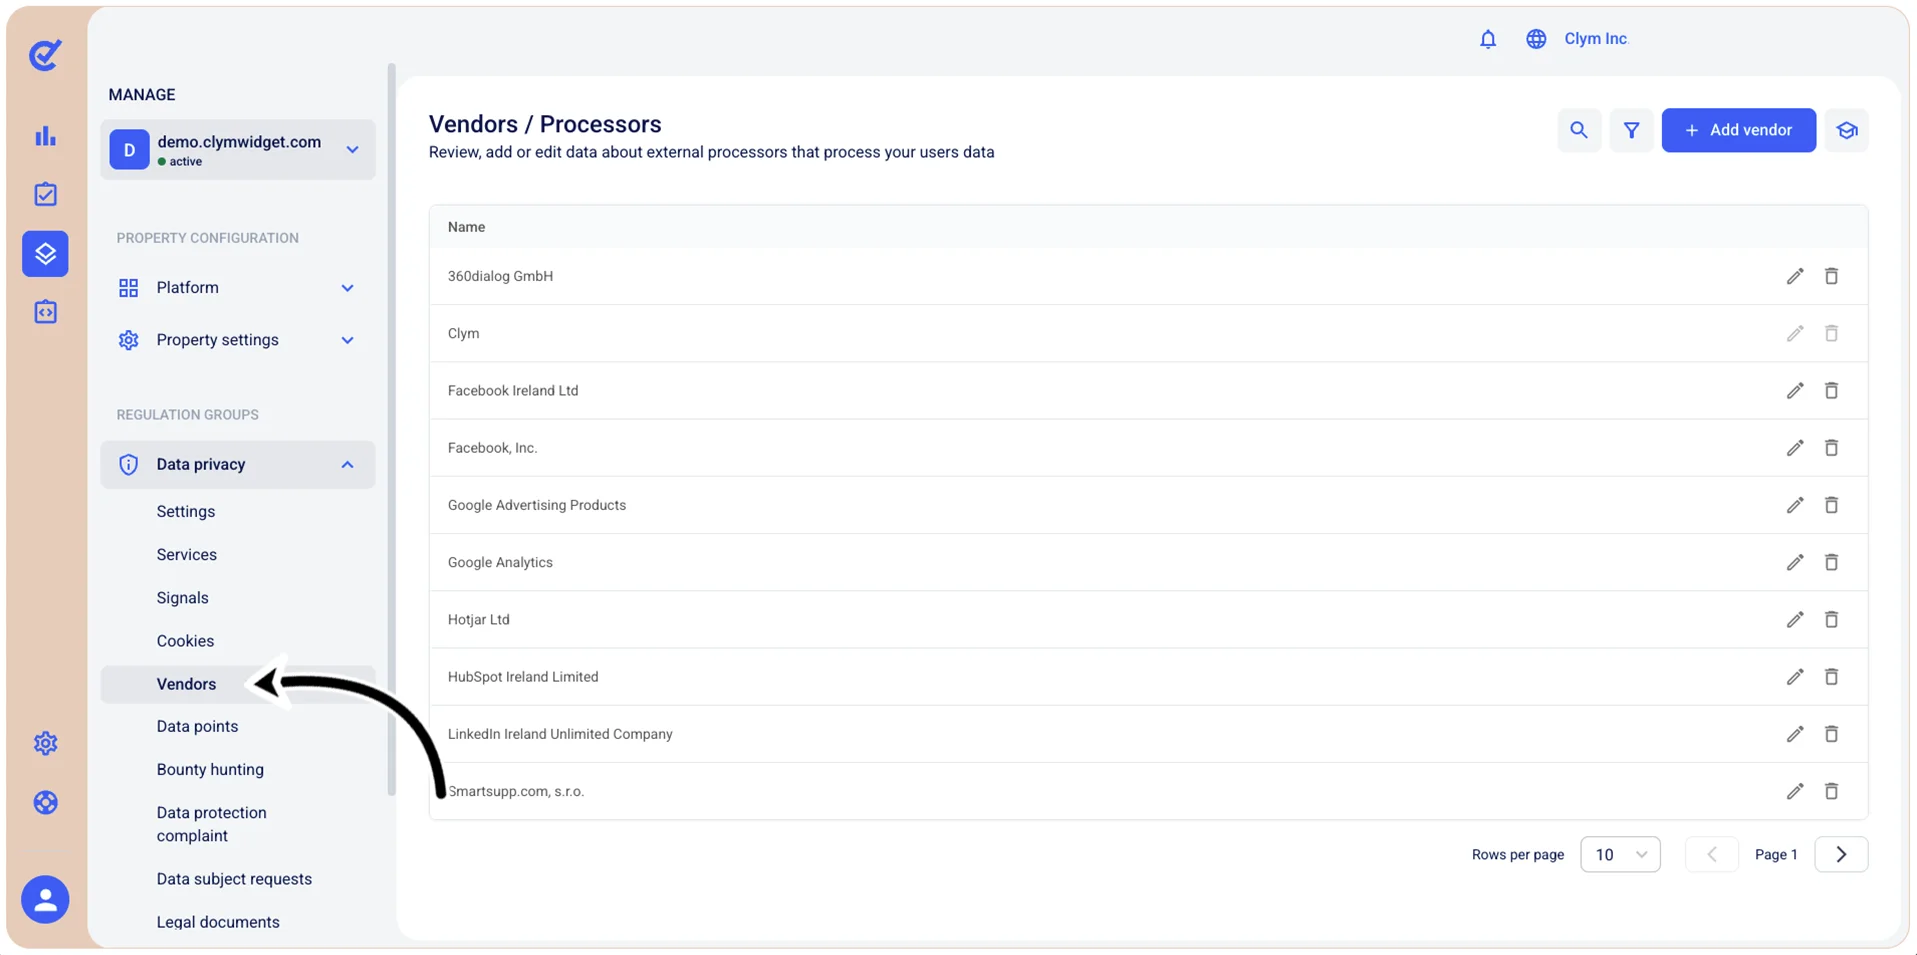
- In the Vendors section, select +Add vendor and then configure the vendor’s details, as follows:
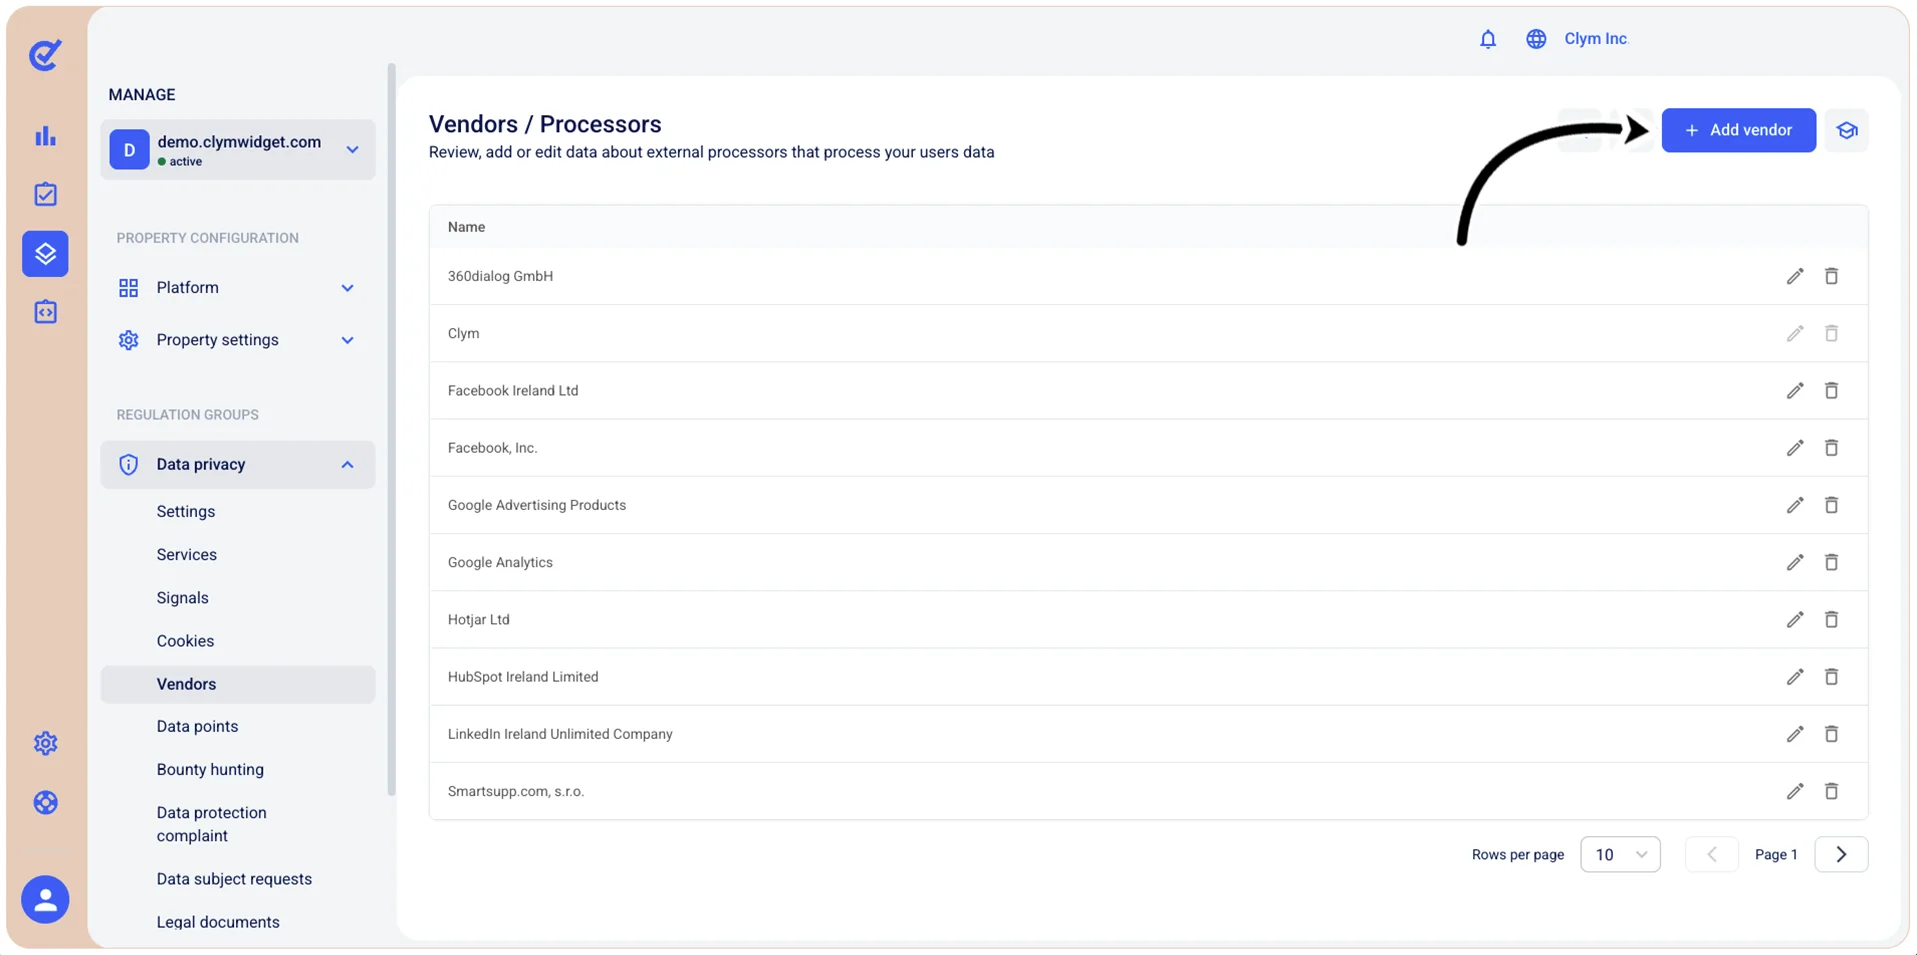
- Company name: Enter the legal name of the vendor or processor company.
- Company URL: Enter the vendor's website URL.
- Description: Enter a meaningful description of what services this vendor provides, what data they process, or their role in your data processing activities (for example, Email marketing platform, Analytics provider and so on).
- Phone number: Enter the vendor's contact phone number.
- Privacy policy URL: Enter the URL of the vendor's privacy policy or data processing documentation.
- Upload logo: Click the upload area to select and upload the vendor's logo image. When finished, select Next.
- Next, configure the Vendor’s contact details, as follows:
- Country: Select the country where the vendor is located or registered.
- County/Province: Enter the county, province, or state where the vendor is located.
- City: Enter the city or town where the vendor is located.
- Address 2: Enter additional address information if needed.
- Postal code: Enter the postal code, ZIP code, or equivalent for the vendor's address. The format varies by country. When finished, select Save.
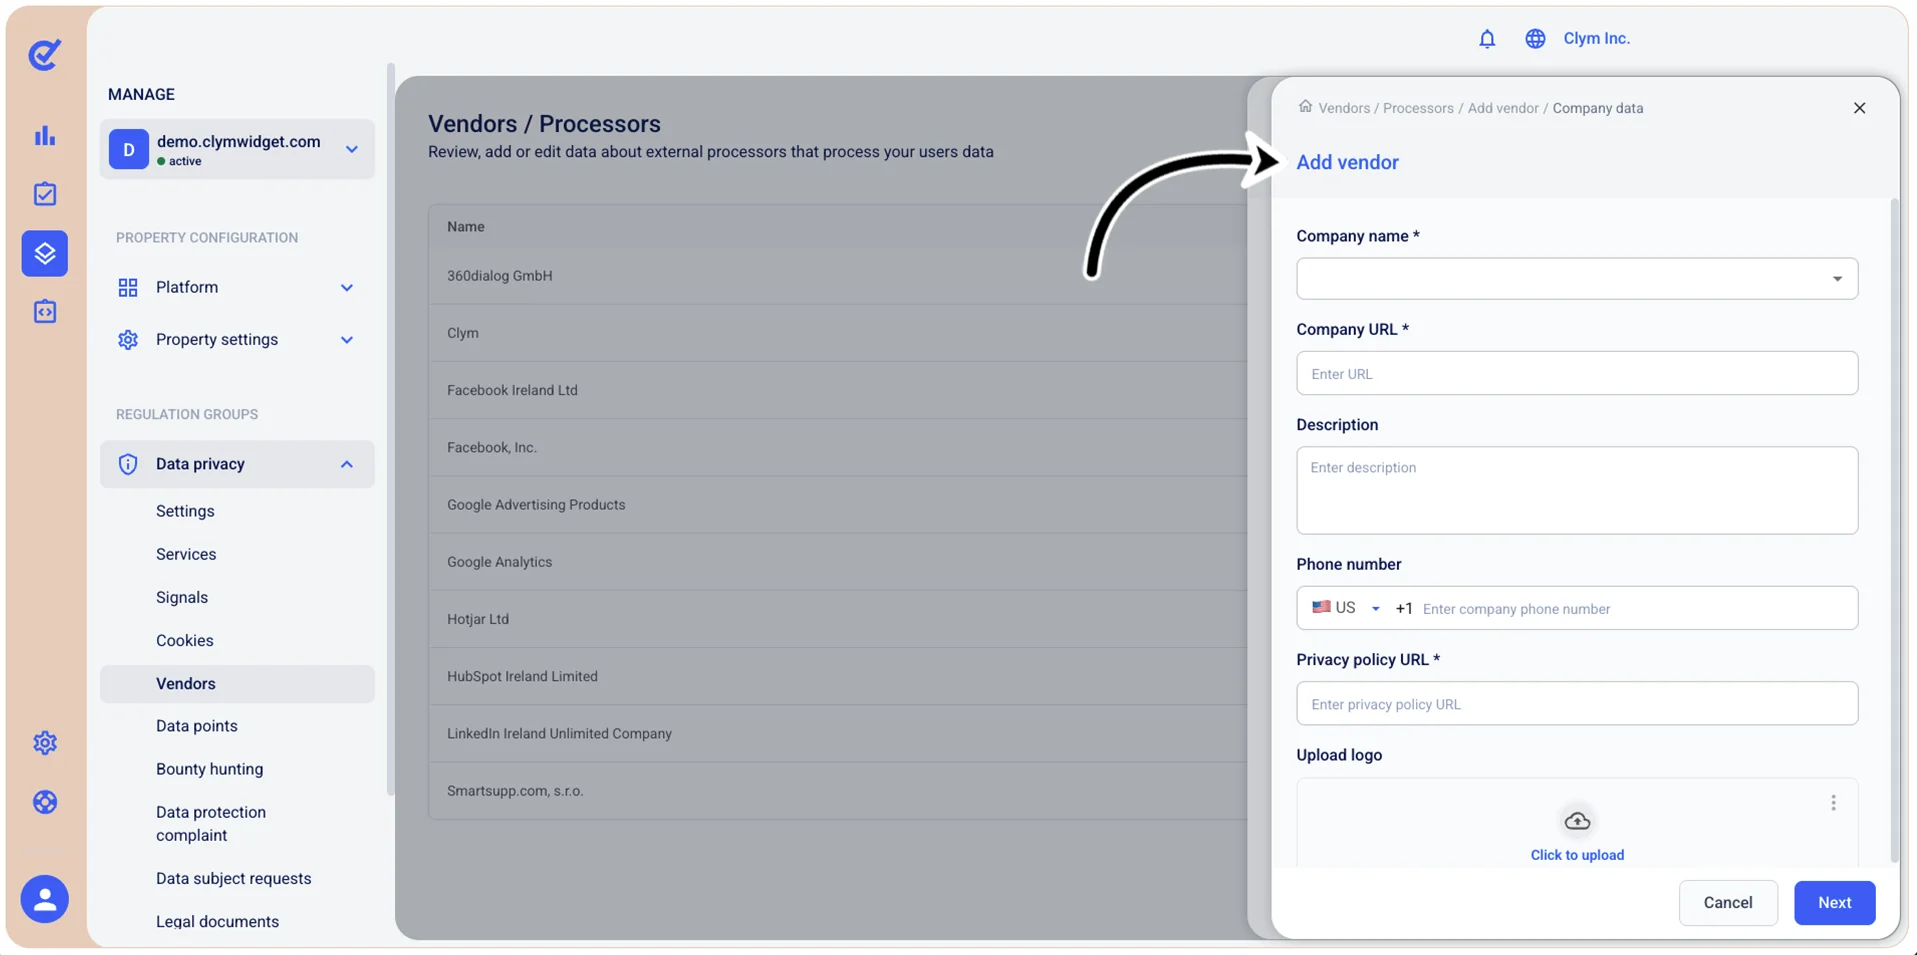
- Next, toggle on if you have a Data agreement signed with the vendor. If so, also configure the Agreement date. When finished, select Save.
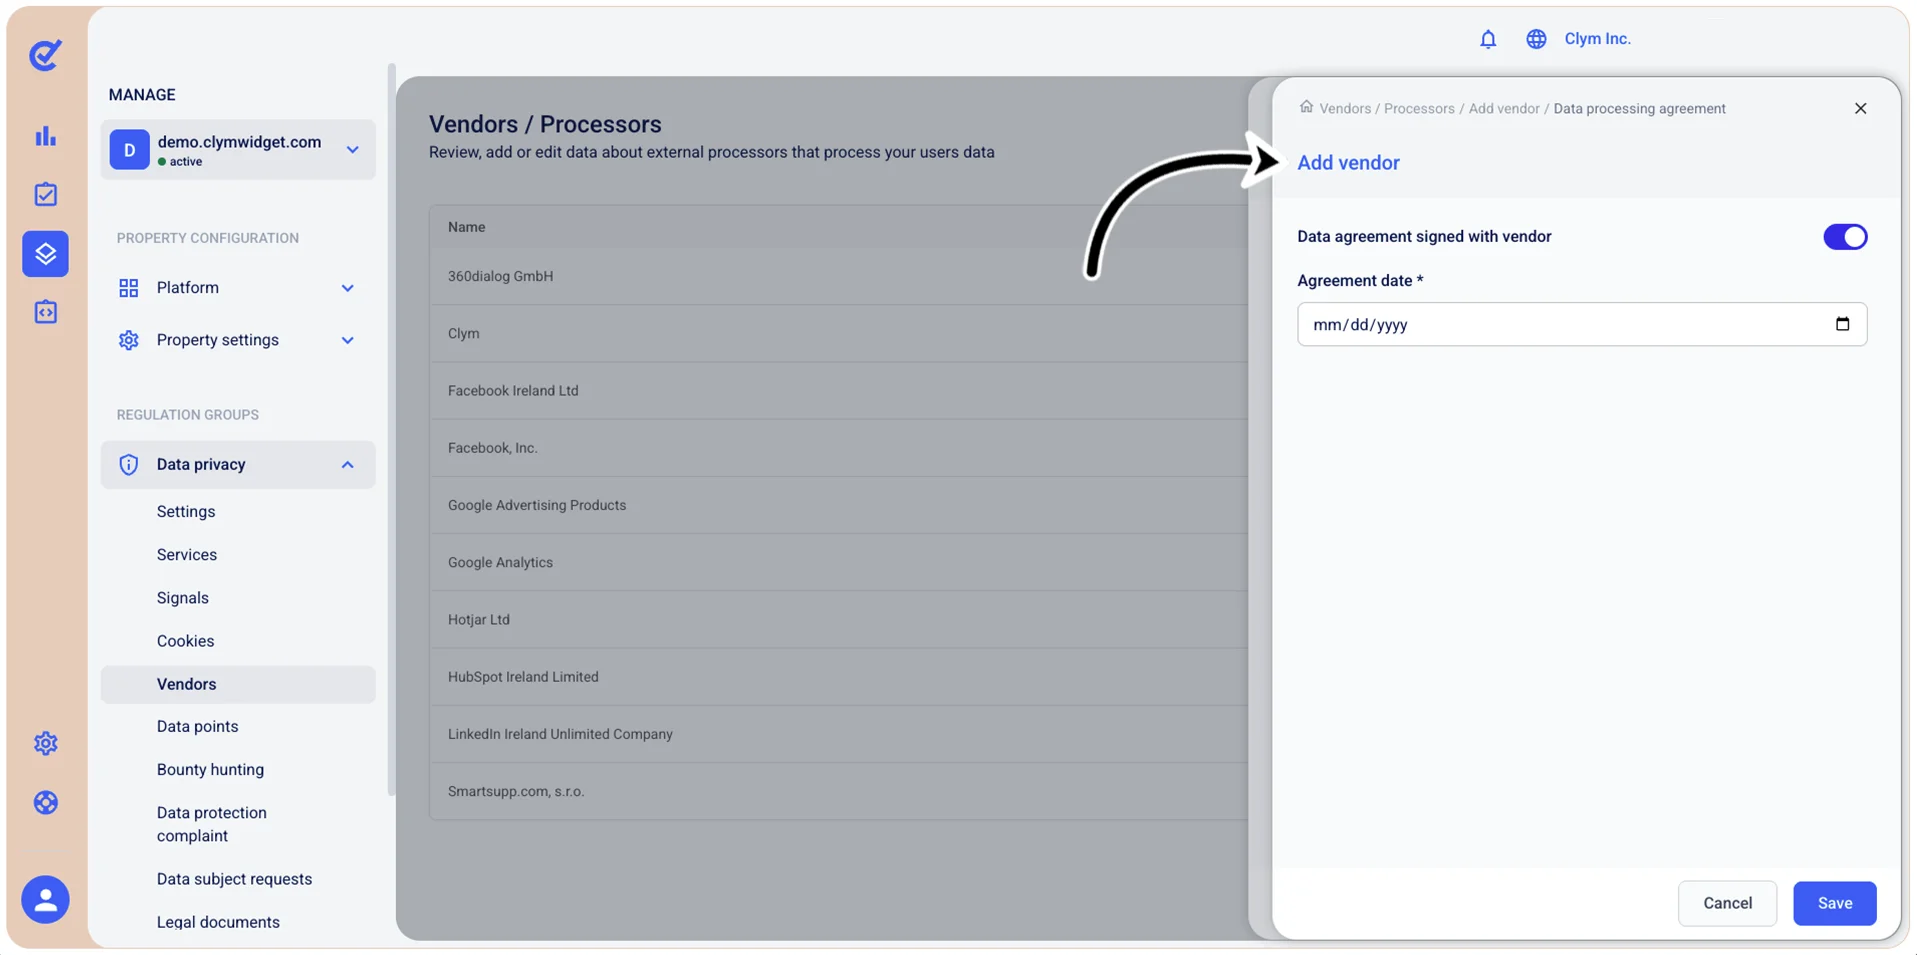
- Next, in the Add vendor screen, select Add. The newly-added vendor is displayed in the Vendors section.