Configure billing accounts
To manage your company’s billing account details, you need to configure your company’s billing information and payment methods. Depending on your subscription type, some of the fields displayed here may be preconfigured by default based on the information you have provided in the Control Center.
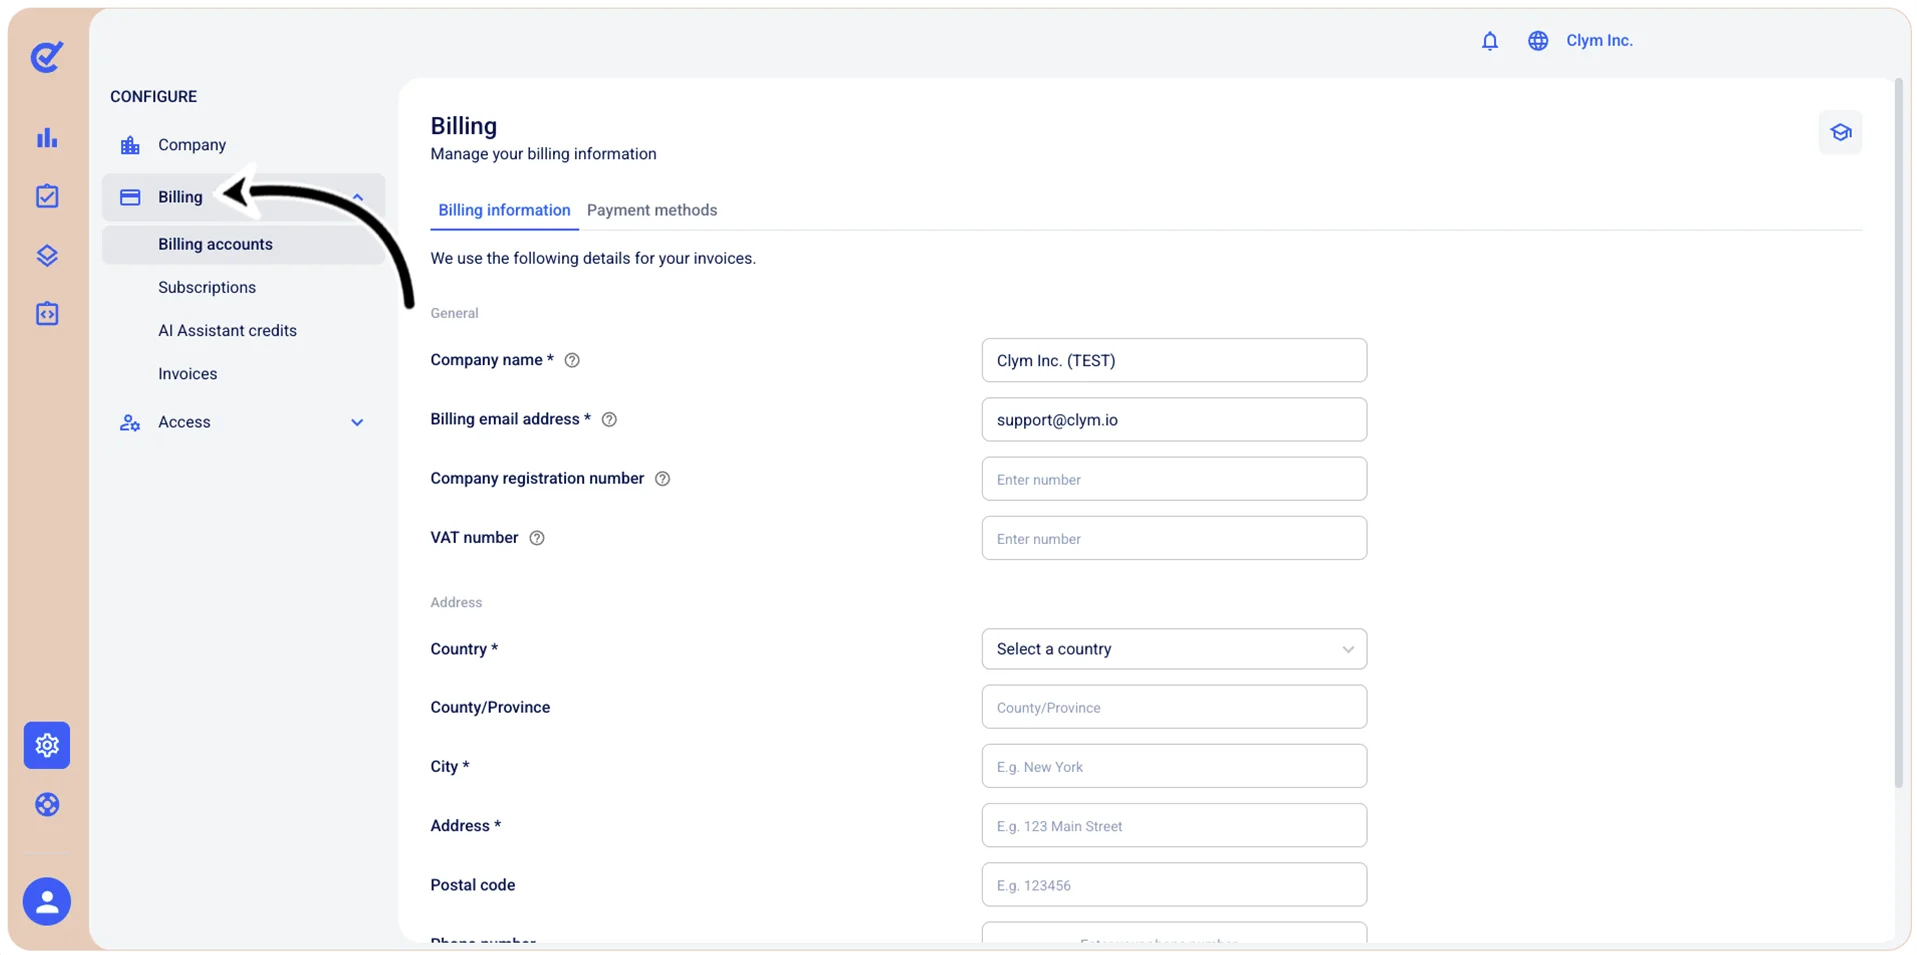
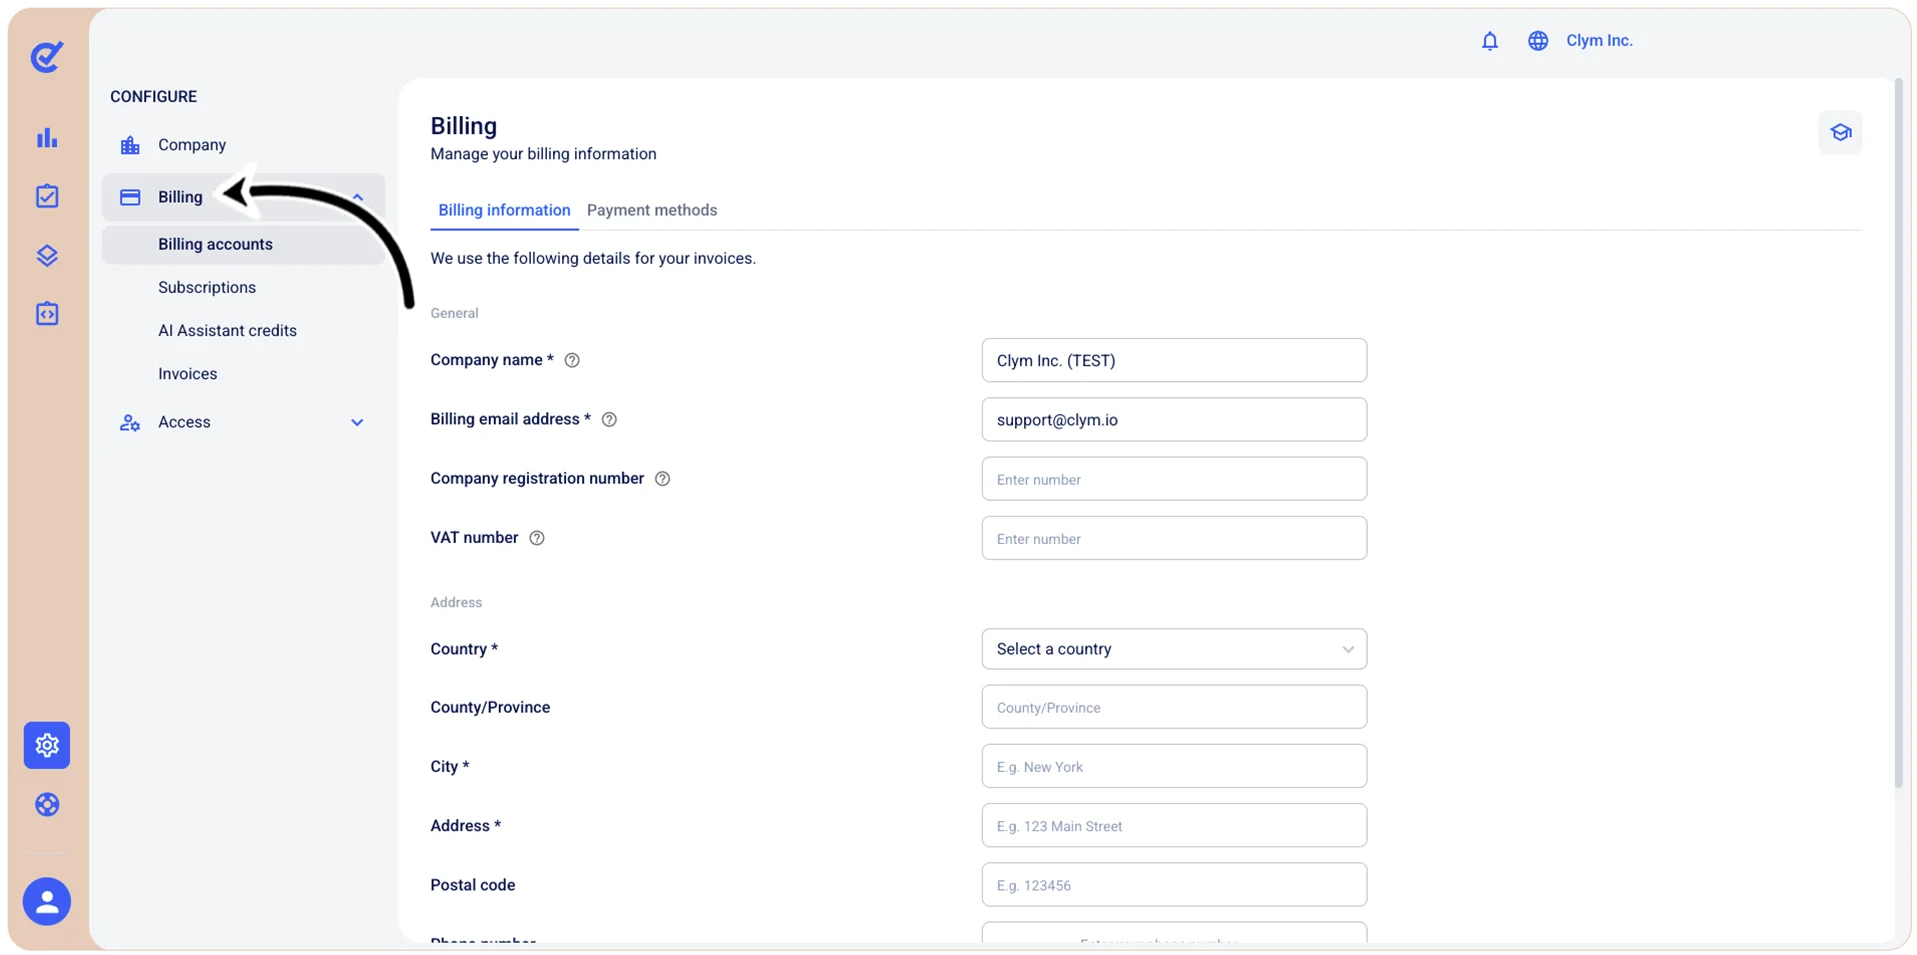
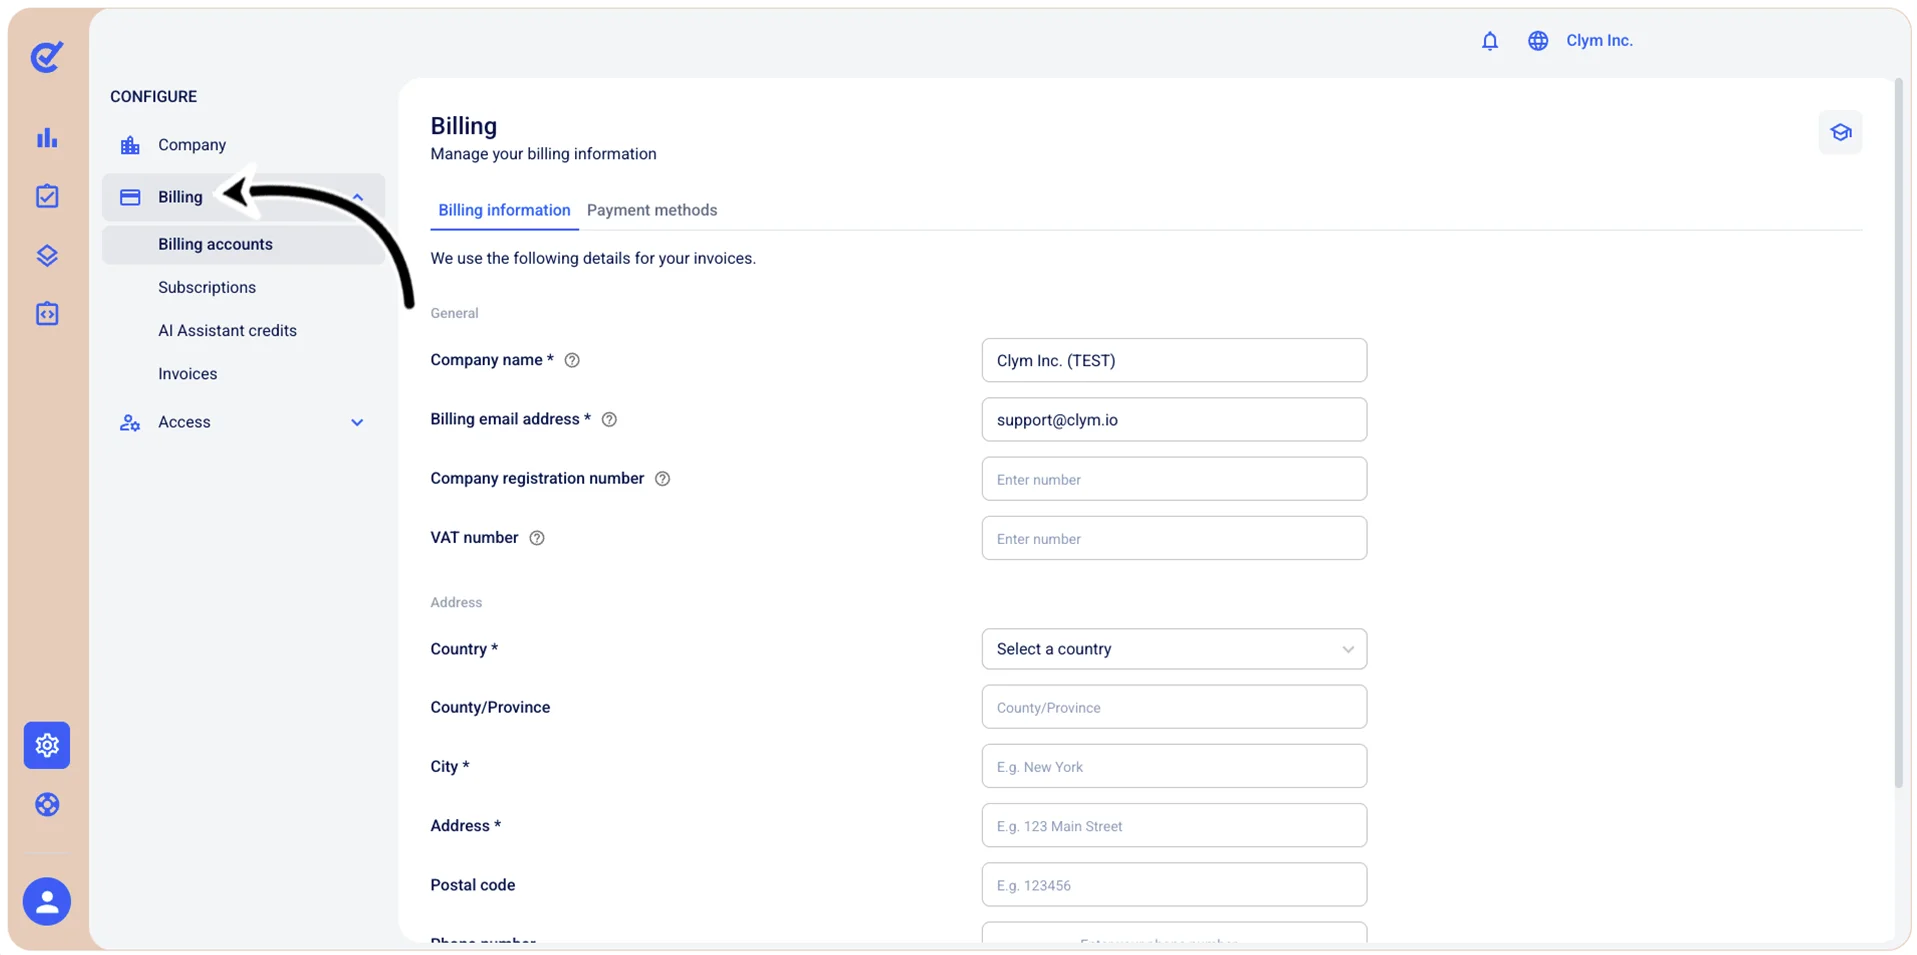
To access his section, go to  Configure>Billing and select the Billing information tab.
Configure billing information
To configure your company’s billing information:
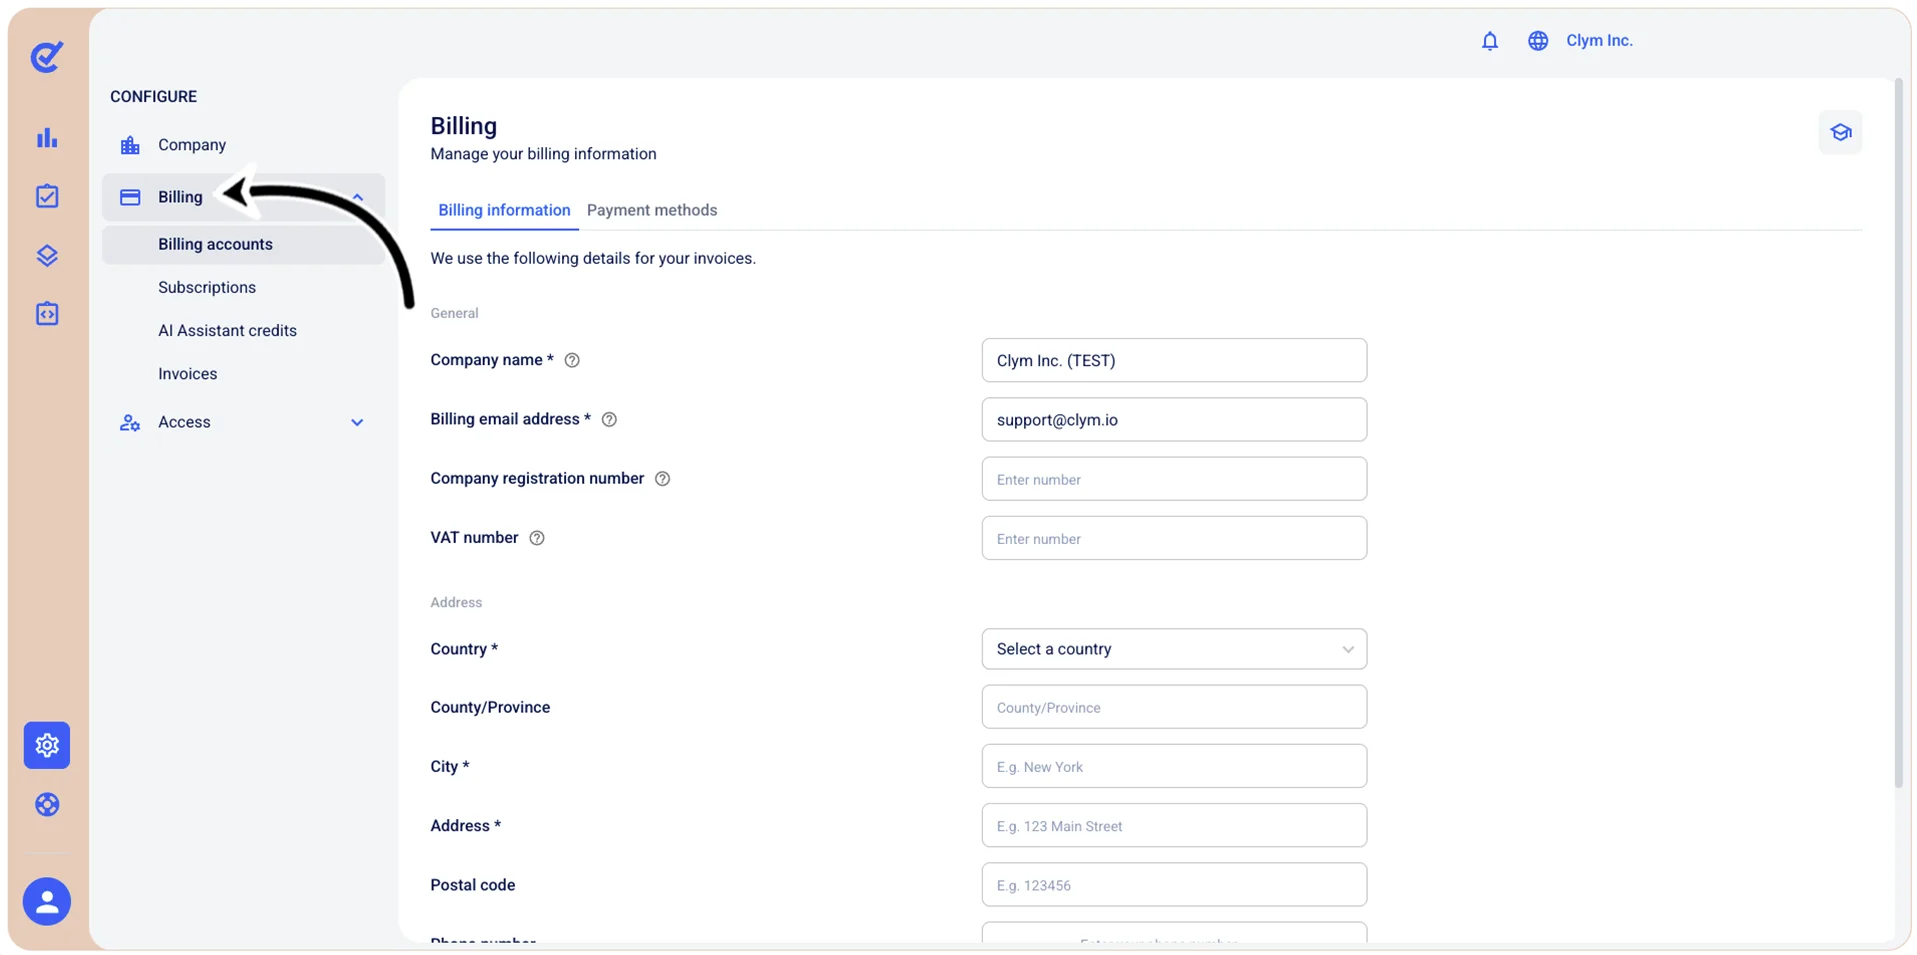
- Go to Configure>Billing.
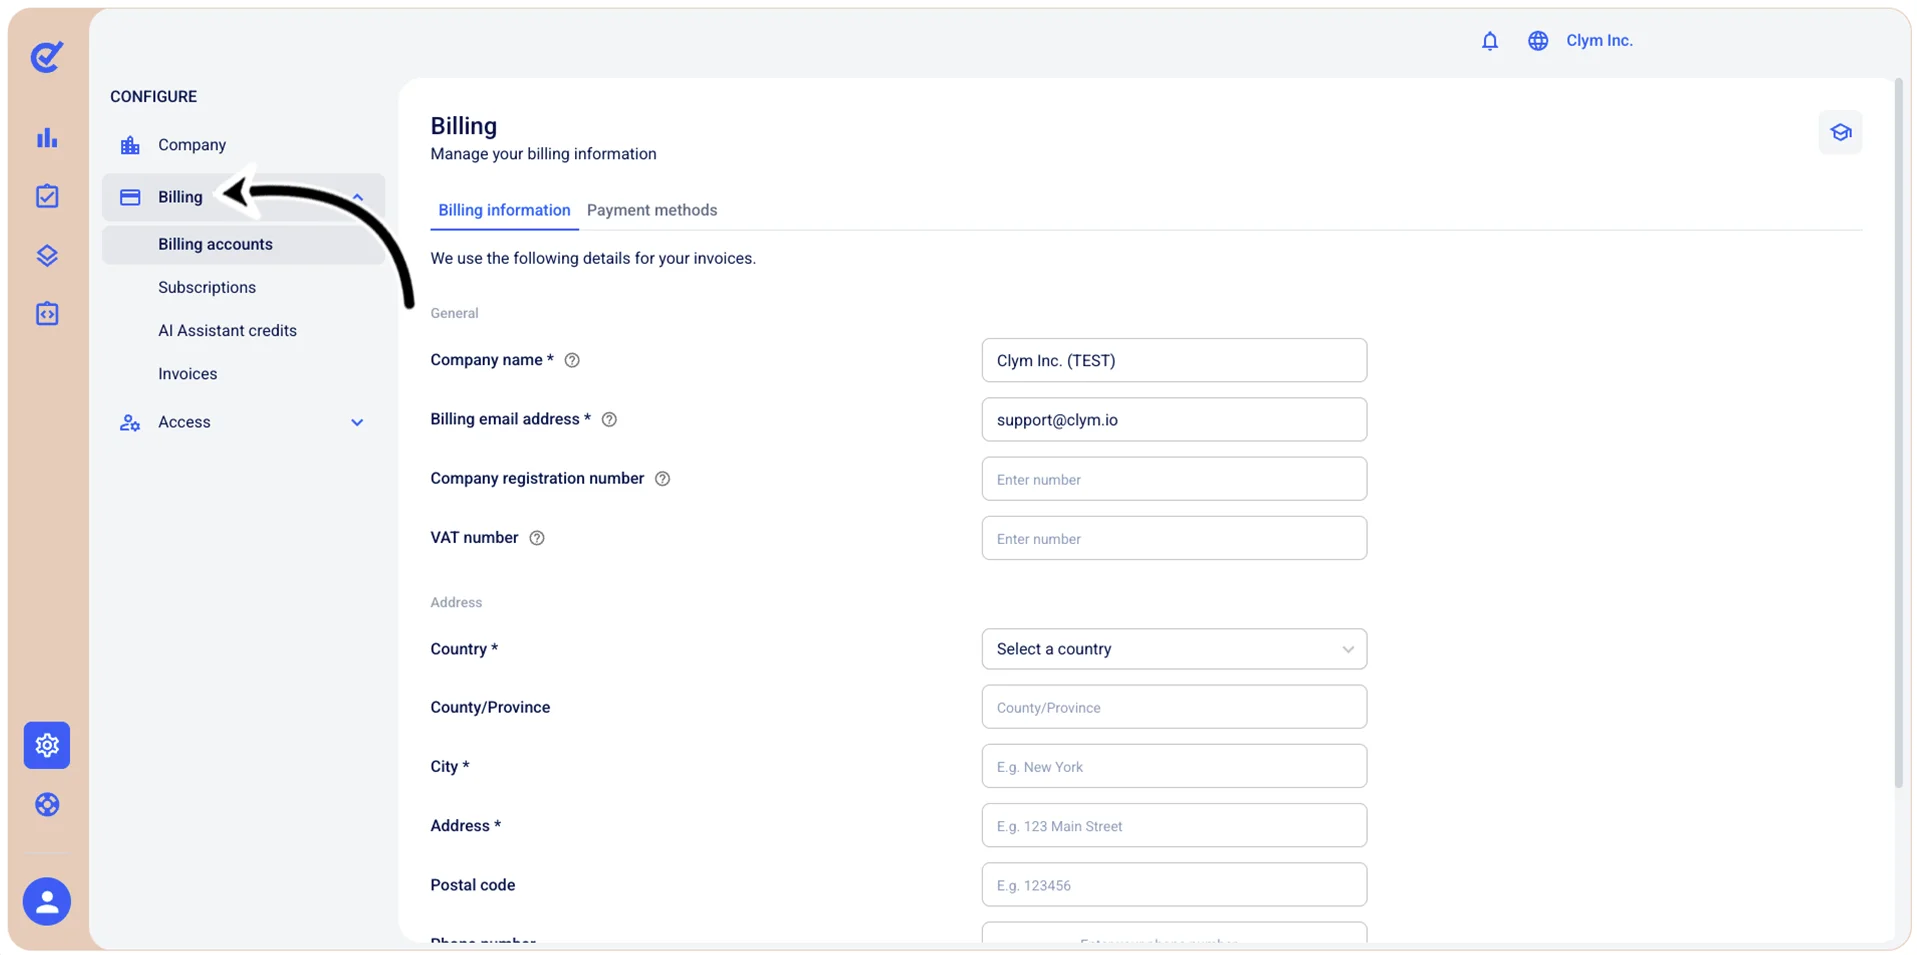
- In the Billing information tab, configure the fields, as follows. All fields marked with * are mandatory.
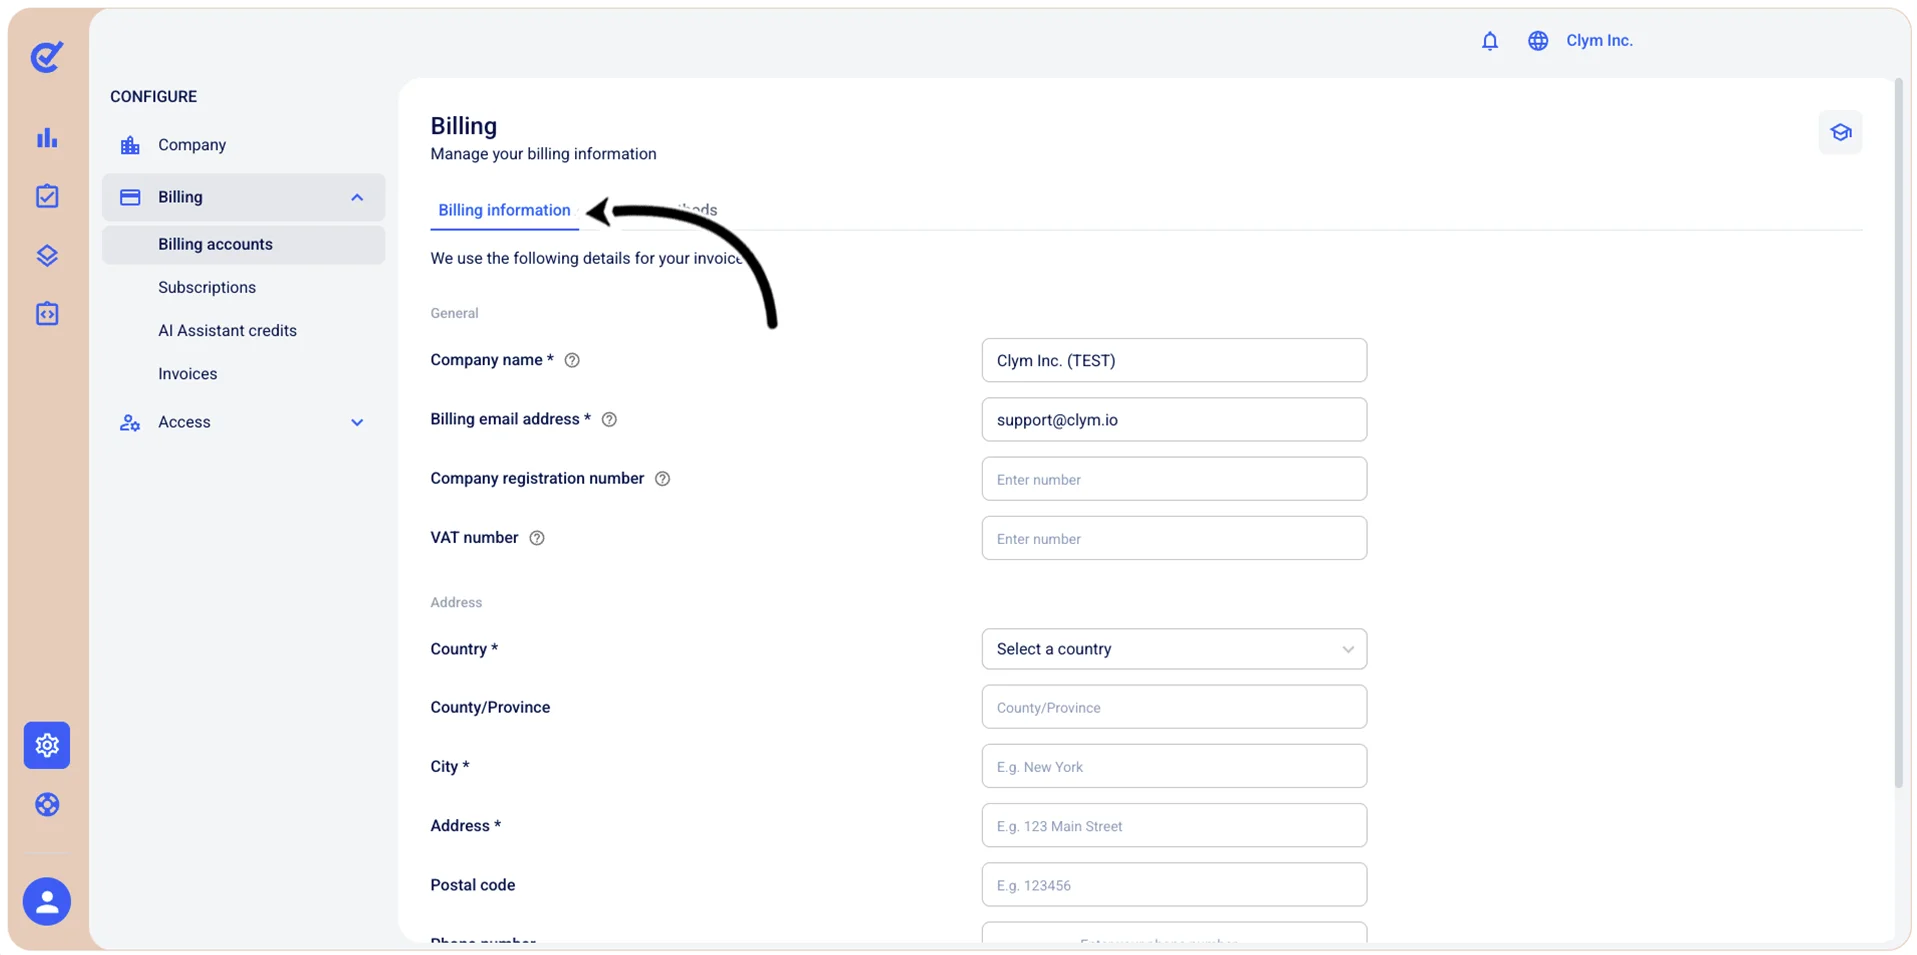
Under General:
- Company name*: Enter your company's official legal name as it should appear on invoices.
- Billing email address*: Enter the email address where you want to receive invoices and billing-related communications.
- Company registration number: Enter your company's official registration number (also known as business registration number, or company number), the unique identifier assigned to your business by your country's business registry.
- VAT number: For tax purposes, enter your Value Added Tax (VAT) registration number if your company is VAT-registered (also known as Tax ID, or GST number in some regions).
Under Address:
- Country*: Select the country where your company is registered or where your billing address is located.
- County/Province: Enter the county, province, or state for your billing address, if applicable. Requirements may vary by country.
- City*: Enter the city or town name for your billing address.
- Address*: Enter your company's street address, including building number and street name (for example, "123 Main Street"). This is a required field and represents the first line of your billing address.
- Postal code: Enter the postal code, ZIP code, or equivalent for your billing address. Format requirements vary by country.
- Phone number: Enter a contact phone number for billing purposes. Use the dropdown to select your country code, then enter the phone number in the appropriate format.
- When finished, select Save.
Configure payment methods
In the Control Center, you can add a card as a payment method, make it the default payment method or remove it.
To add a payment method:
- Go to Configure>Billing.
- In the Payment methods tab, select +Add a new card and then, in the Add a new card section, configure the fields, as follows:
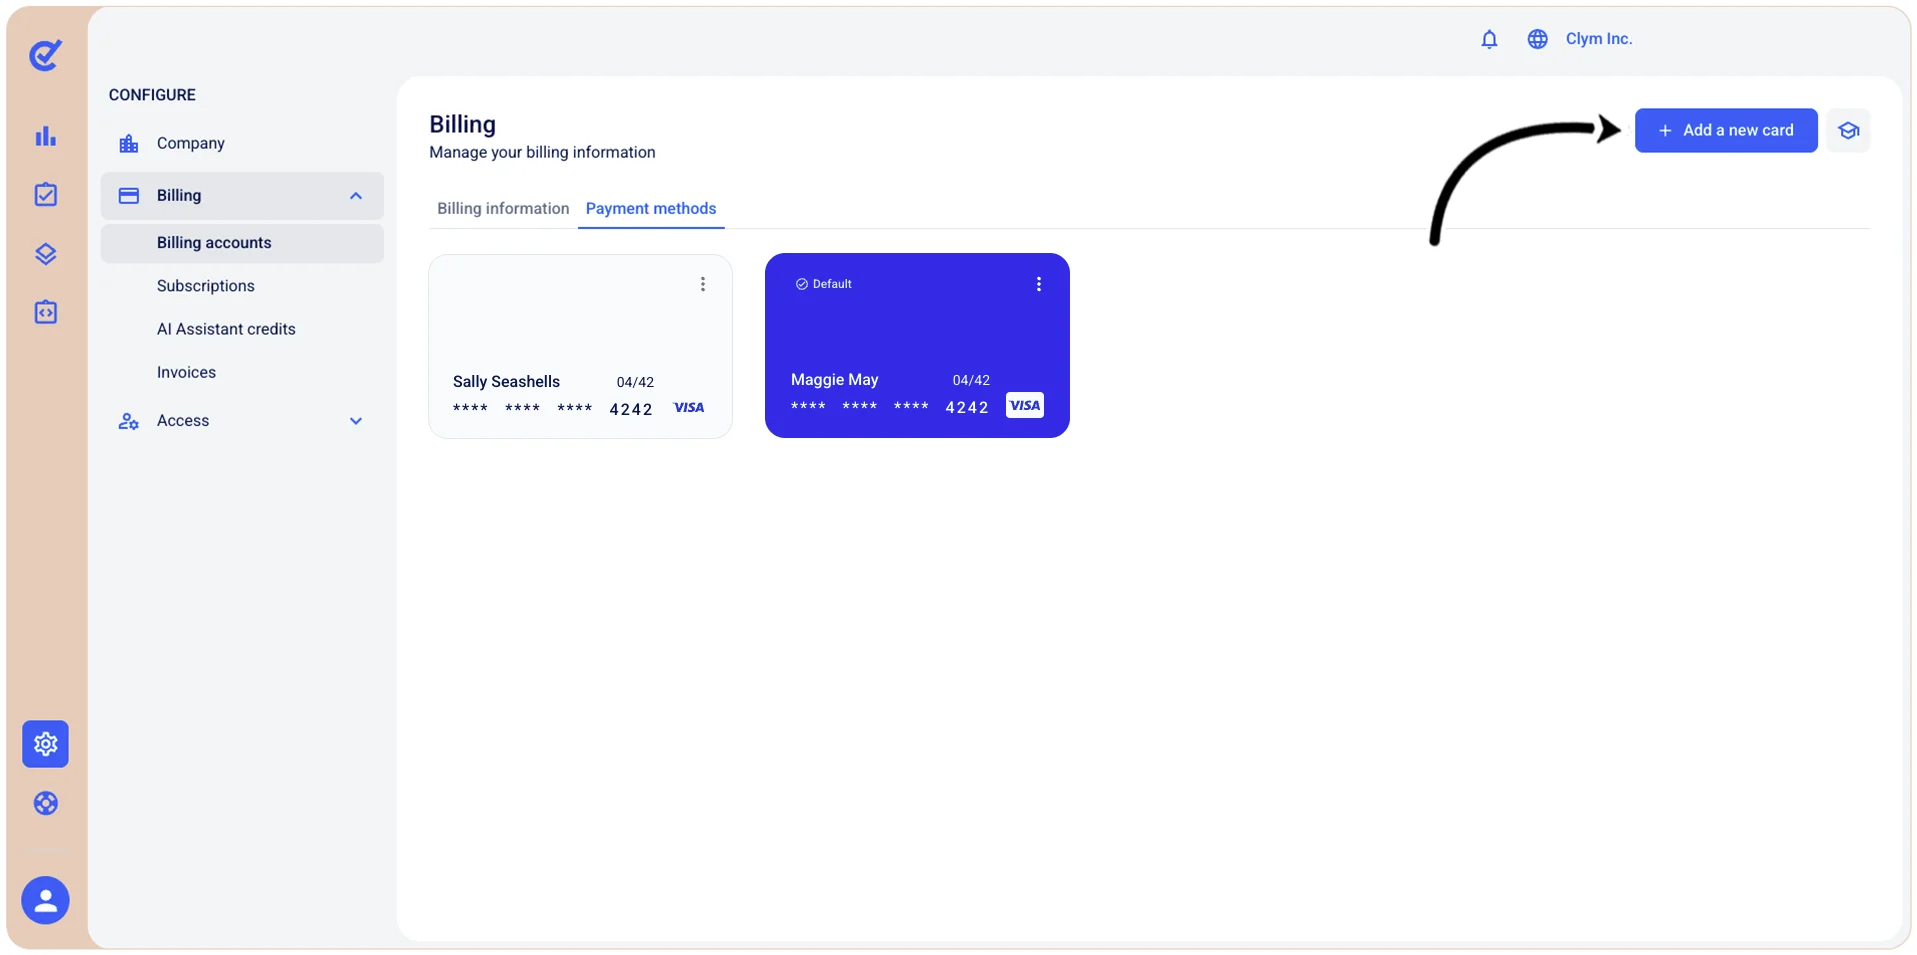
- Name on card: Enter the card holder’s name, as displayed on the card.
- Card details: Enter the card number, the expiration date and the CVC code.
- Set this card as primary: Toggle on to make this the primary card.
- When finished, select Add card.
Set a card as the default payment method
To make a card the default payment method:
- Go to Configure>Billing.
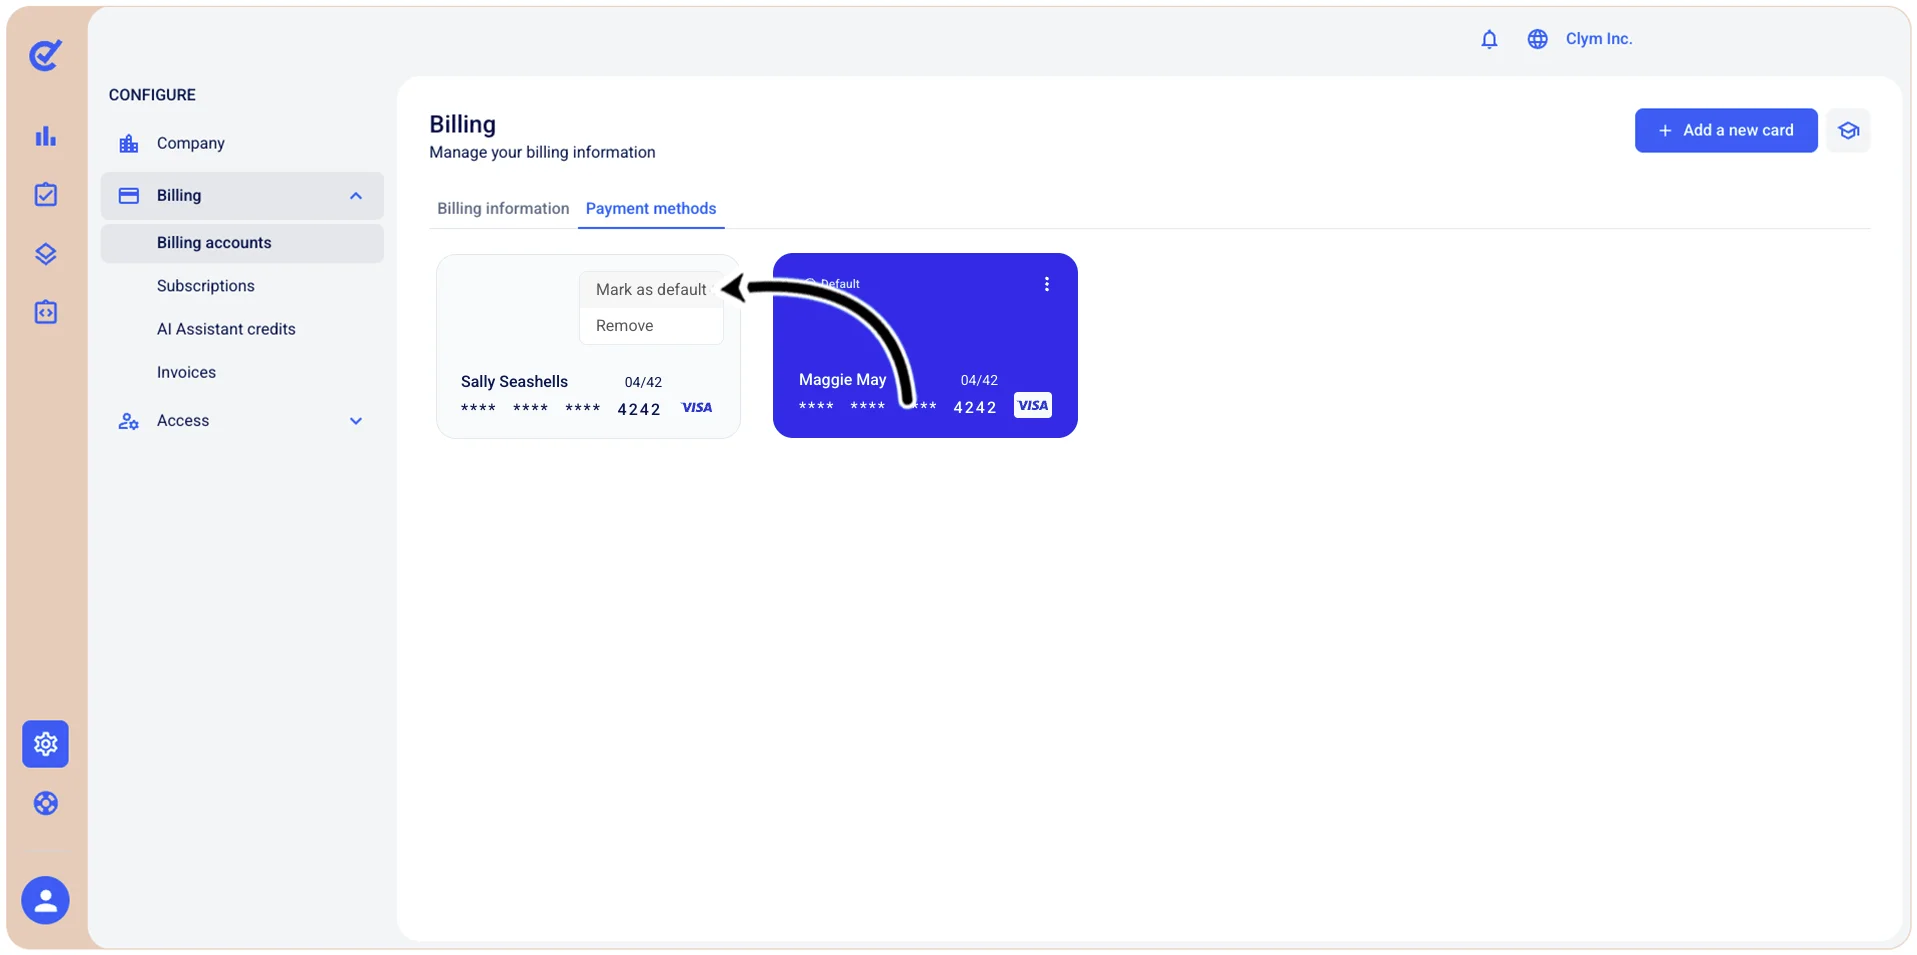
- In the Payment methods tab, the default card used as a payment method is highlighted in blue. To change the default card, select ⋮ Settings next to the desired payment card and, on the shortcut menu, select Mark as default.
- In the confirmation message, toggle on Set default for all active subscriptions and select Confirm.
Remove a payment method
To remove a payment method:
- Go to Configure>Billing.
- In the Payment methods tab, select ⋮Settings on the desired payment card and, on the shortcut menu, select Remove.
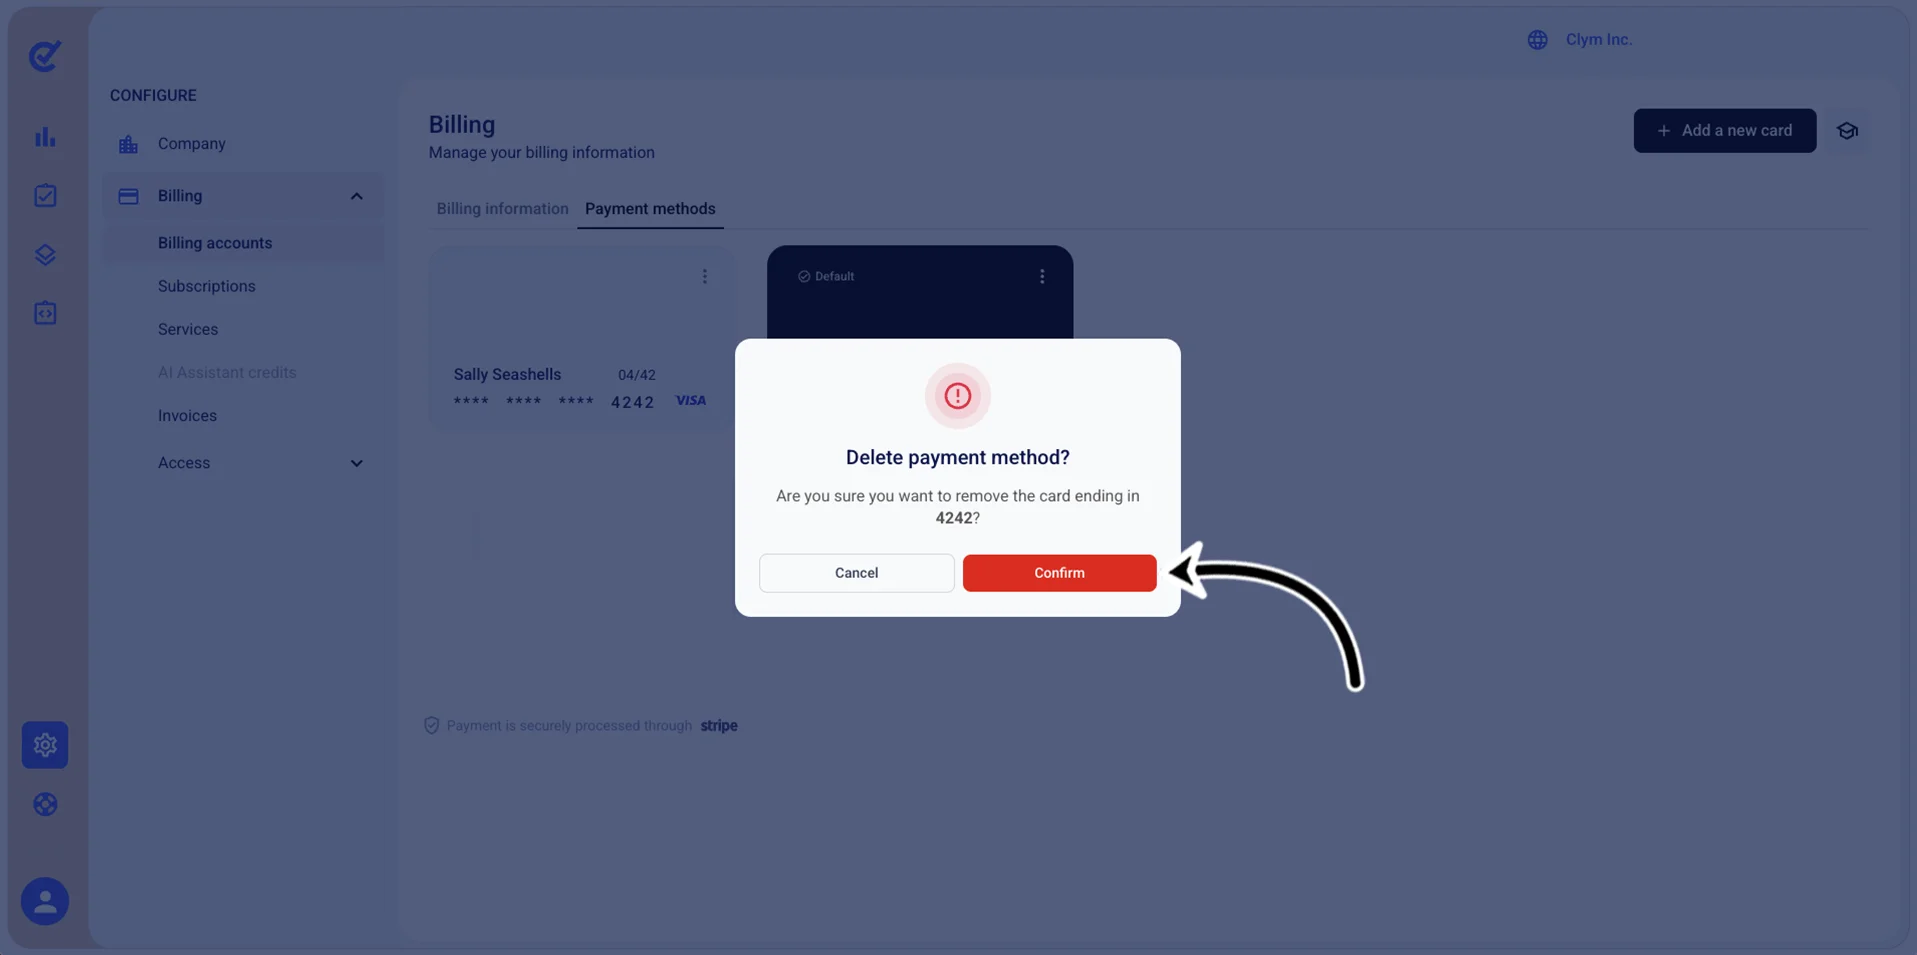
- In the confirmation message, select Confirm.