
How to use Clym's onboarding wizard
When logging in to your Clym account for the first time, the onboarding wizard guides you through setting up your compliance platform and preparing it for website deployment.
The wizard uses AI to scan your domain, identify applicable privacy frameworks, and automatically pre-populate required settings. Setup typically takes 5–10 minutes.
Note: AI-generated settings provide an initial baseline. Review all configurations and generated legal policies carefully prior to deployment.
Onboarding Steps
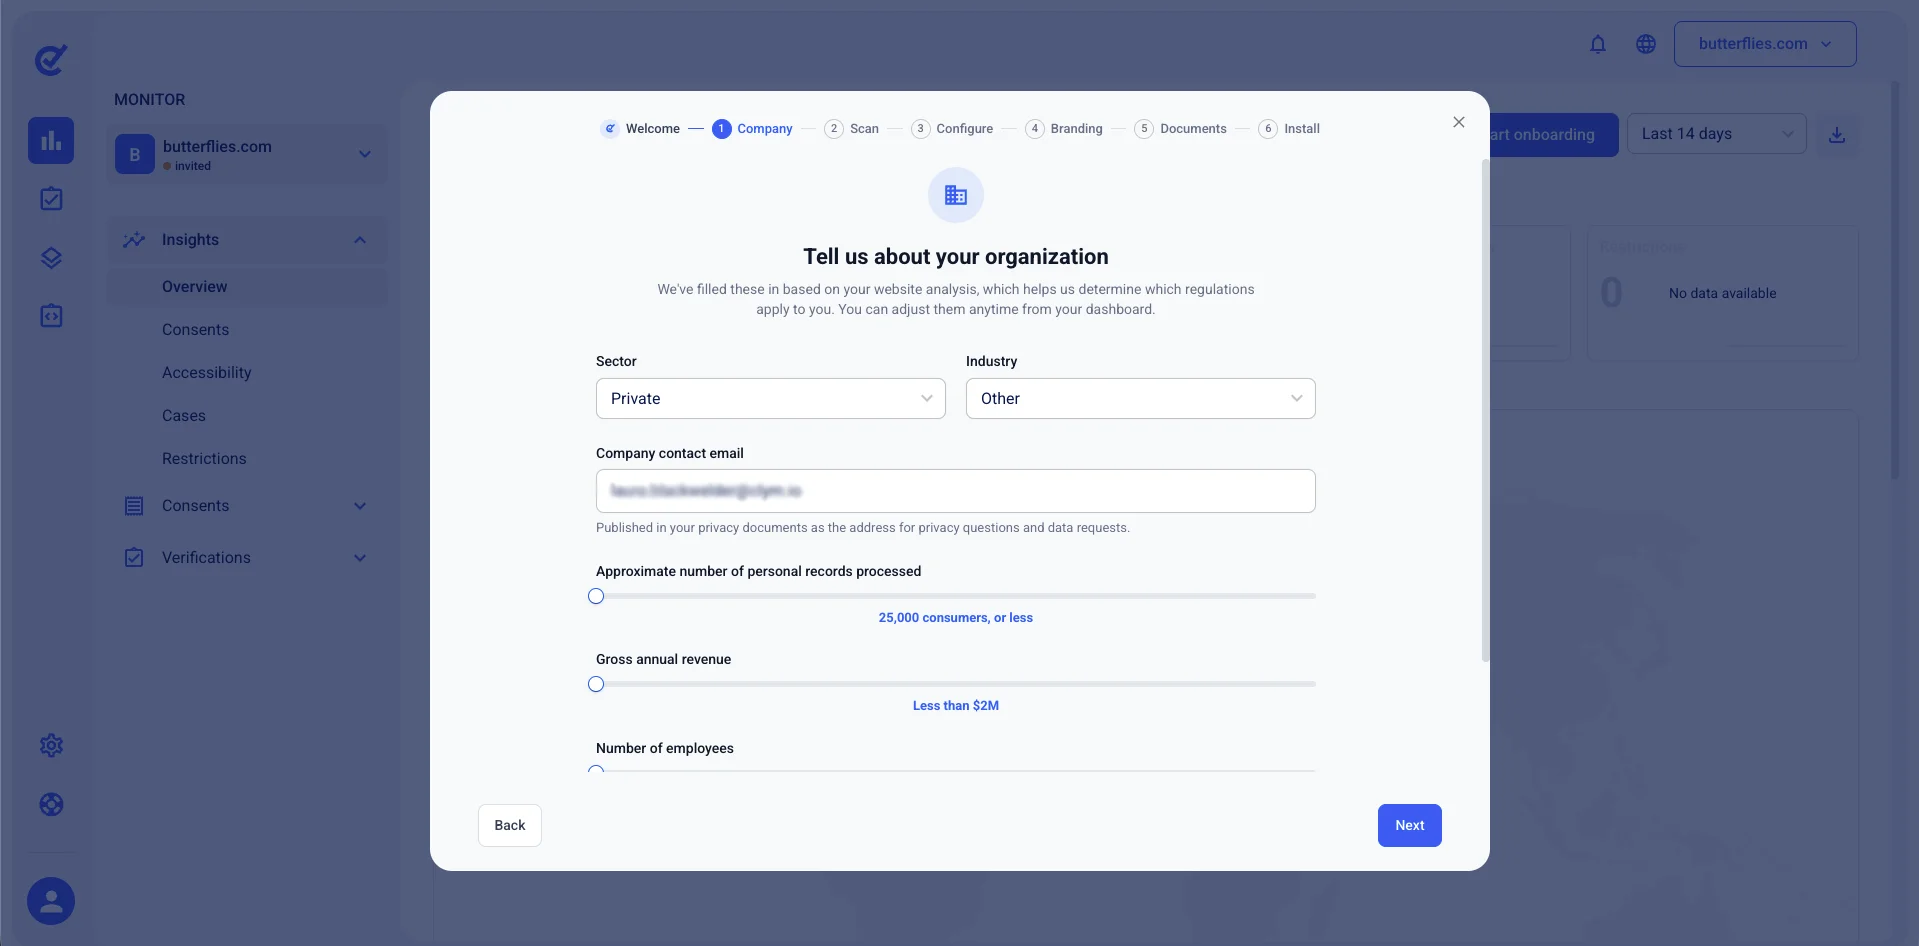
1. Tell us about your organization
Provide essential details about your business operations. Clym uses this data to determine applicable global regulations (e.g., GDPR, CCPA, CPRA, LGPD).
- Business location: Your primary jurisdiction/headquarters.
- Visitor demographics: Geographic regions where your site receives traffic.
- Offerings: Types of products, services, or data collection practices involved.
2. Scan your website
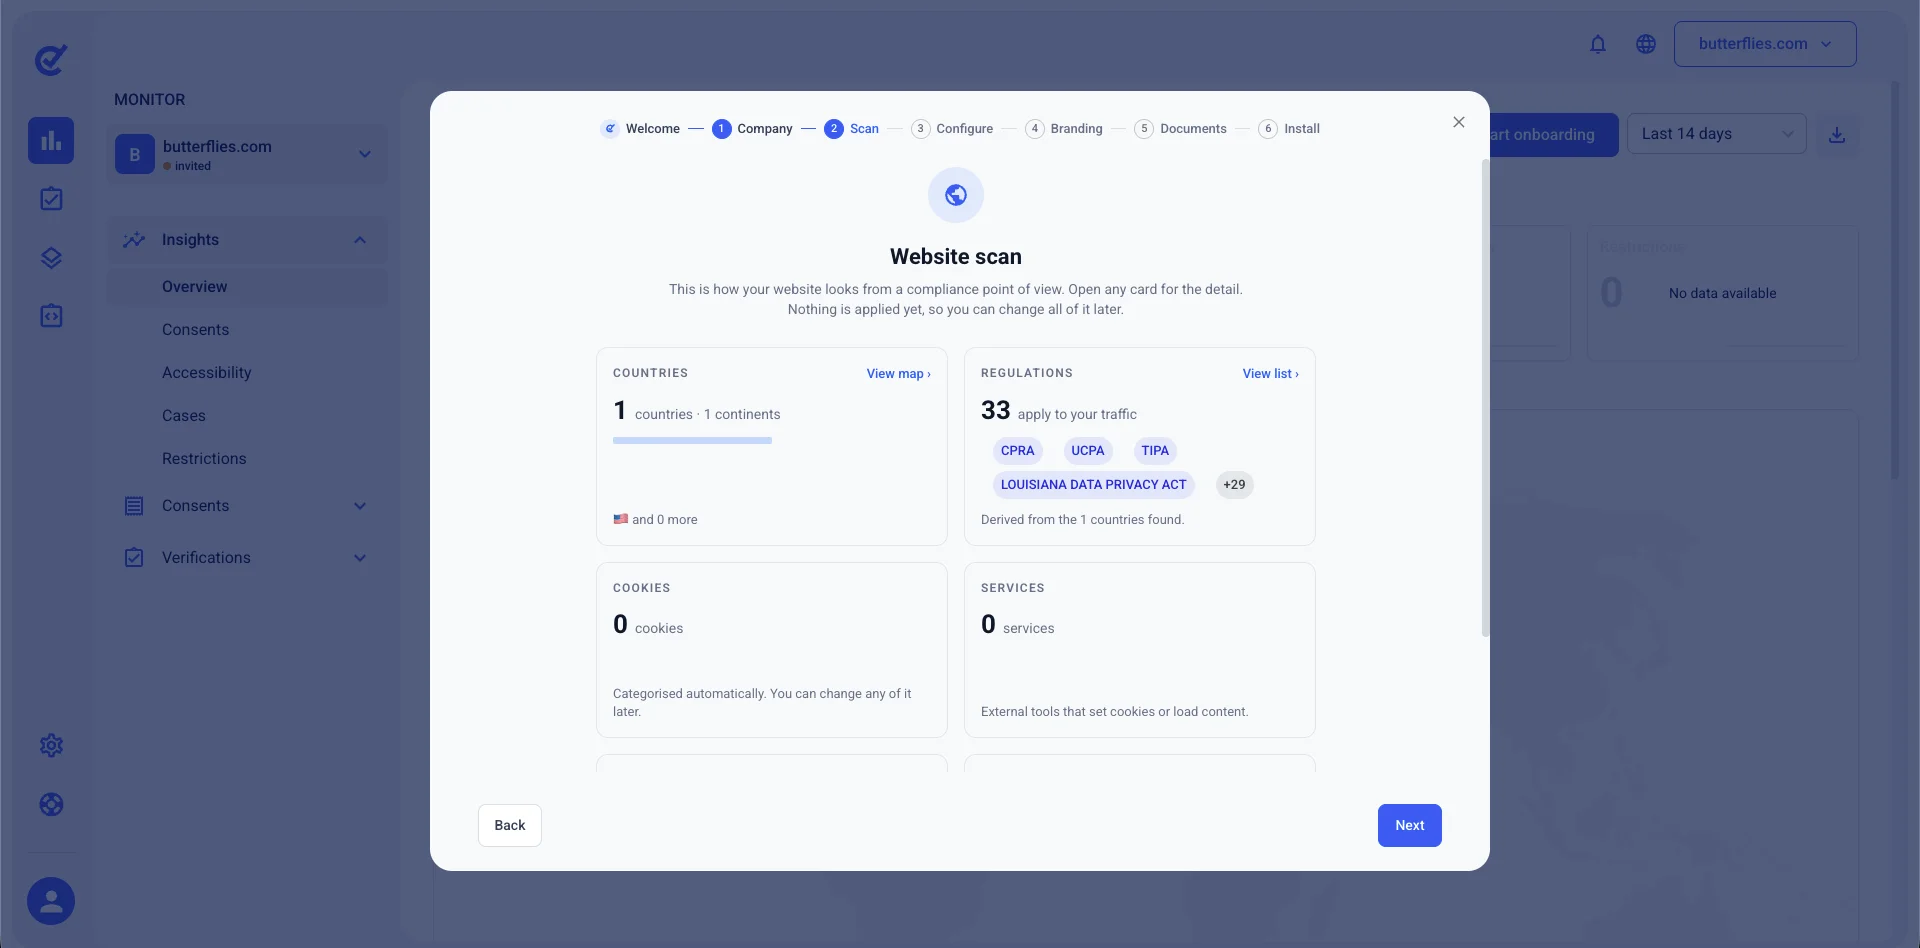
Clym runs an automated scan on your web domain to detect active tracking mechanisms and legal requirements:
- Countries & Regulations: Maps traffic origins to regional compliance mandates.
- Cookies: Scans and categorizes first-party and third-party cookies.
- External Services: Detects third-party scripts, tags, or loaded widgets.
3. Configure your widget
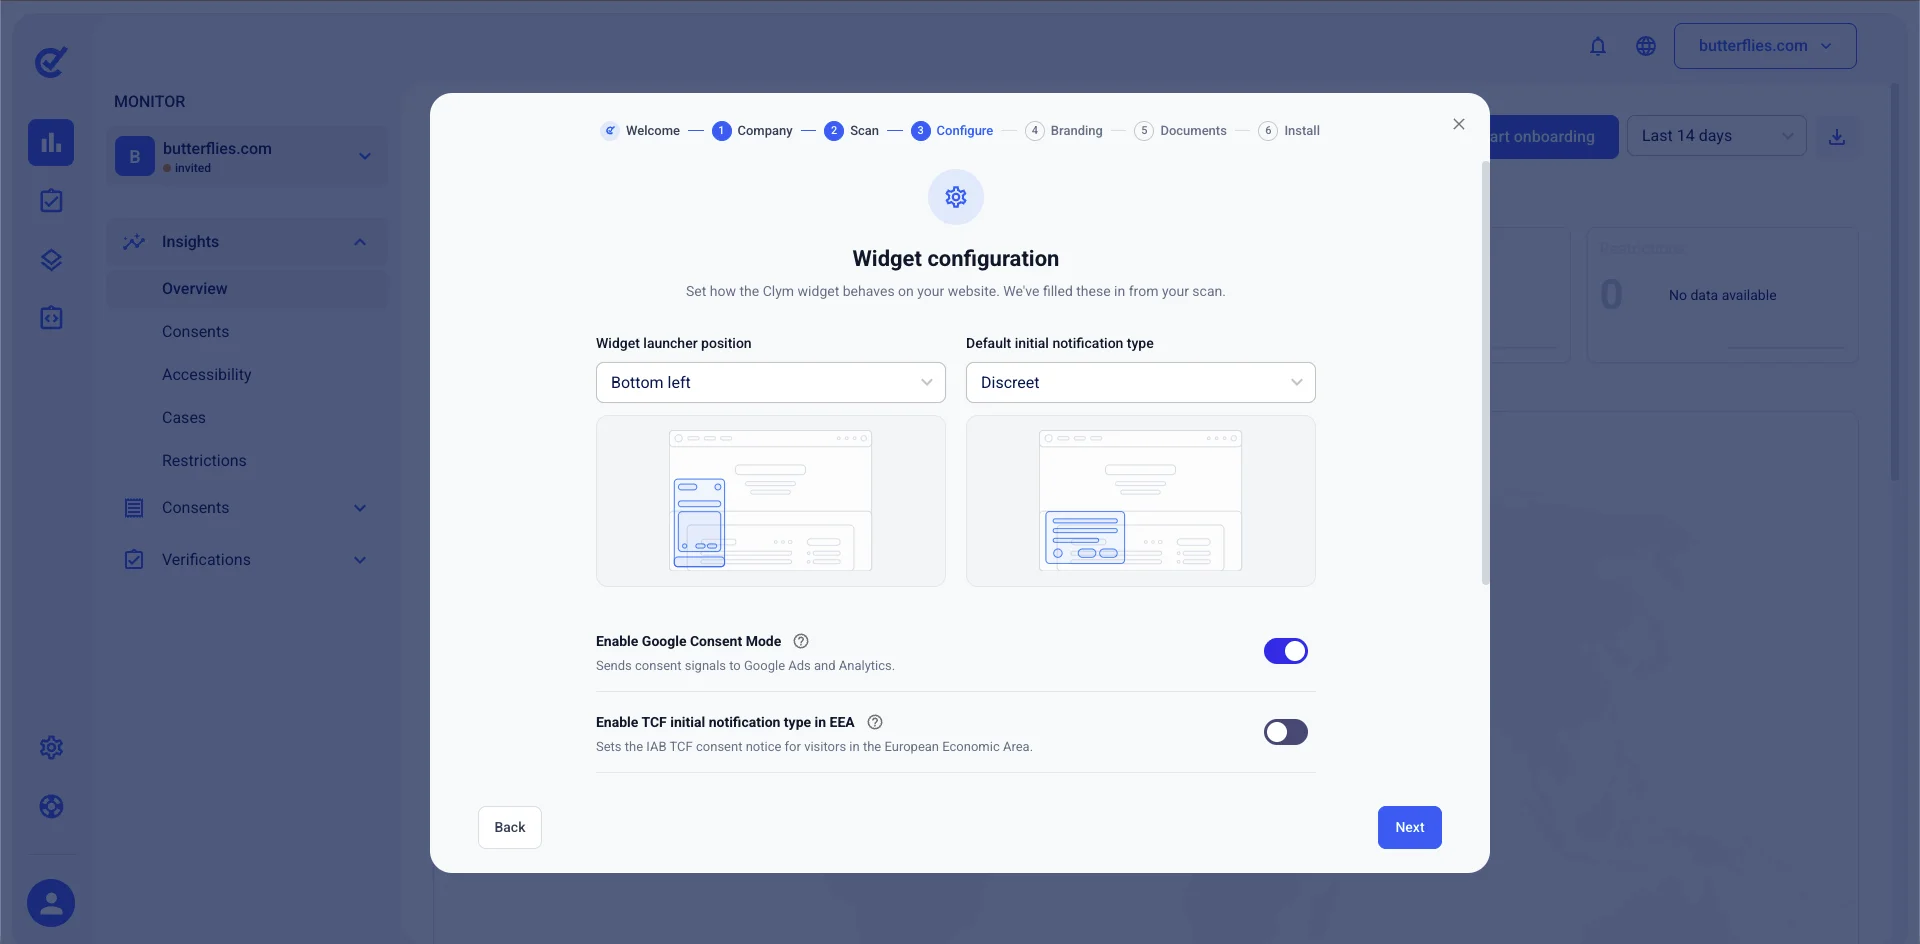
Customize the behavior and display settings for the visitor-facing compliance widget:
- Widget launcher position: Set the widget trigger position to Left or Right.
- Default initial notification type: Select the initial banner or popup style presented to new visitors.
- Enable Google Consent Mode: Toggle ON to pass consent states directly to Google Ads and Google Analytics.
- Enable TCF initial notification type in EEA: Enable IAB Transparency and Consent Framework (TCF) notices for traffic within the European Economic Area.
4. Customize your brand
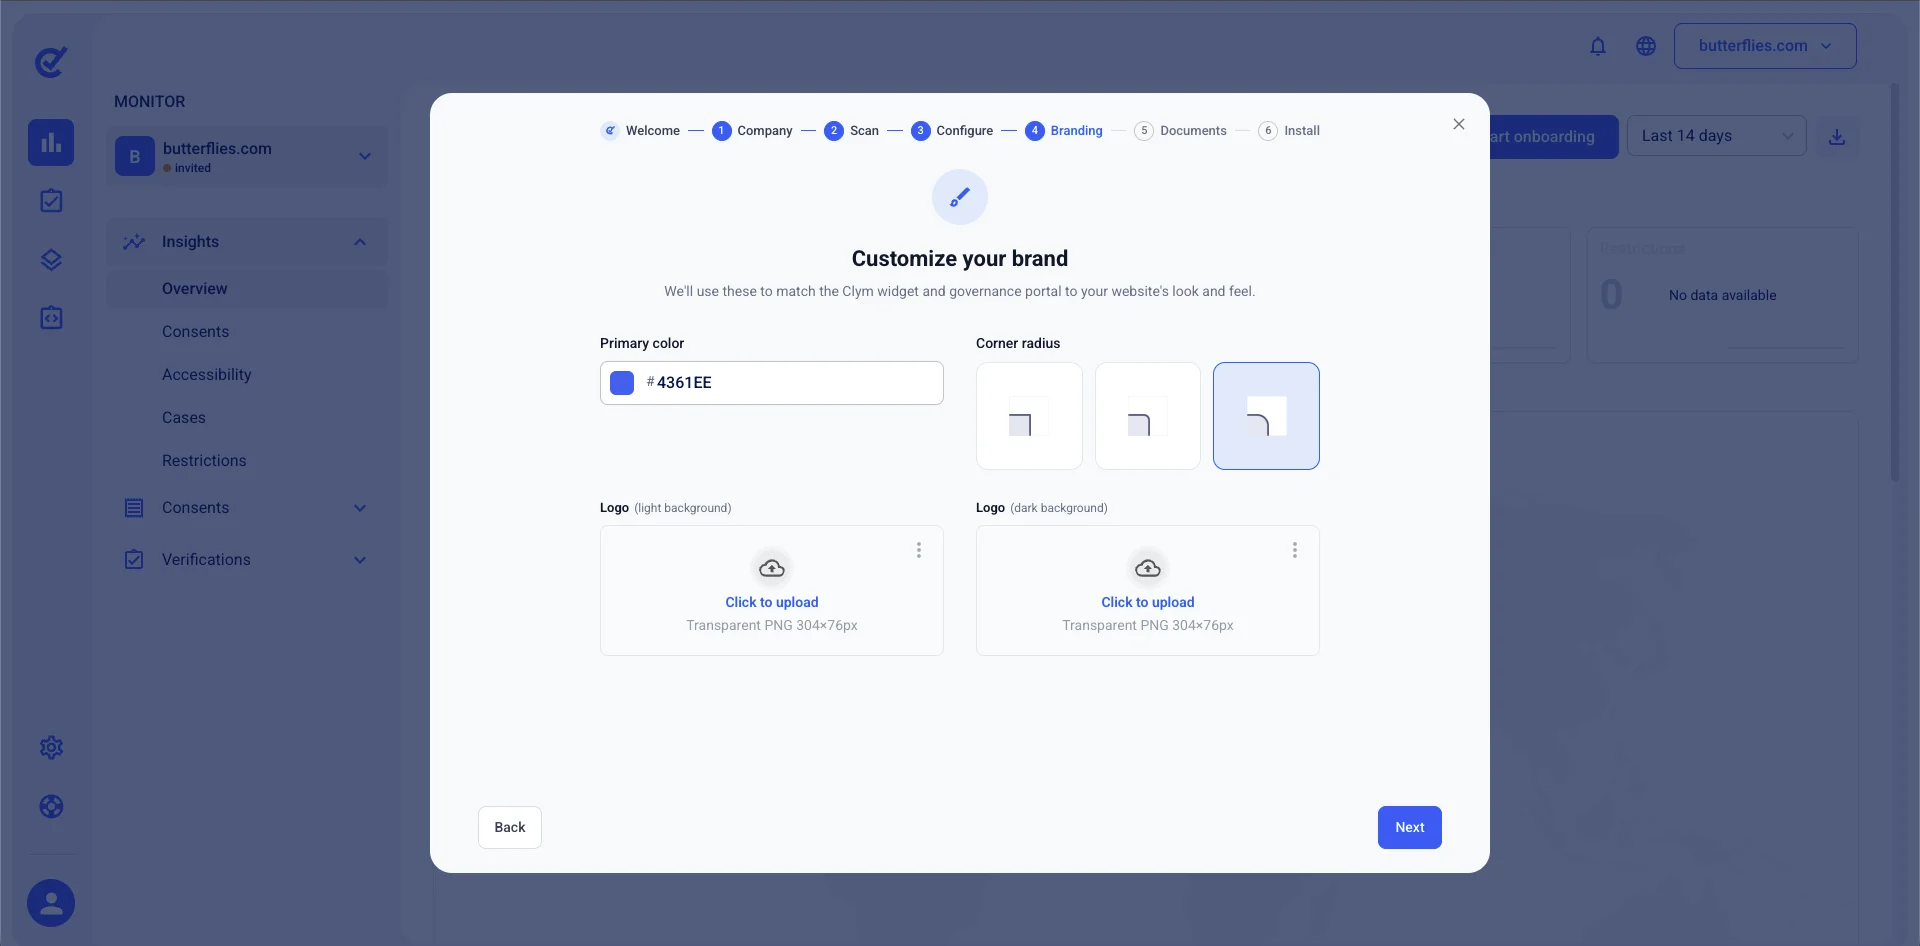
Align the widget’s appearance with your site’s design system:
- Primary color: Input your brand's HEX color code.
- Corner radius: Adjust border curvature for buttons and modals.
- Logo: Upload your company logo.
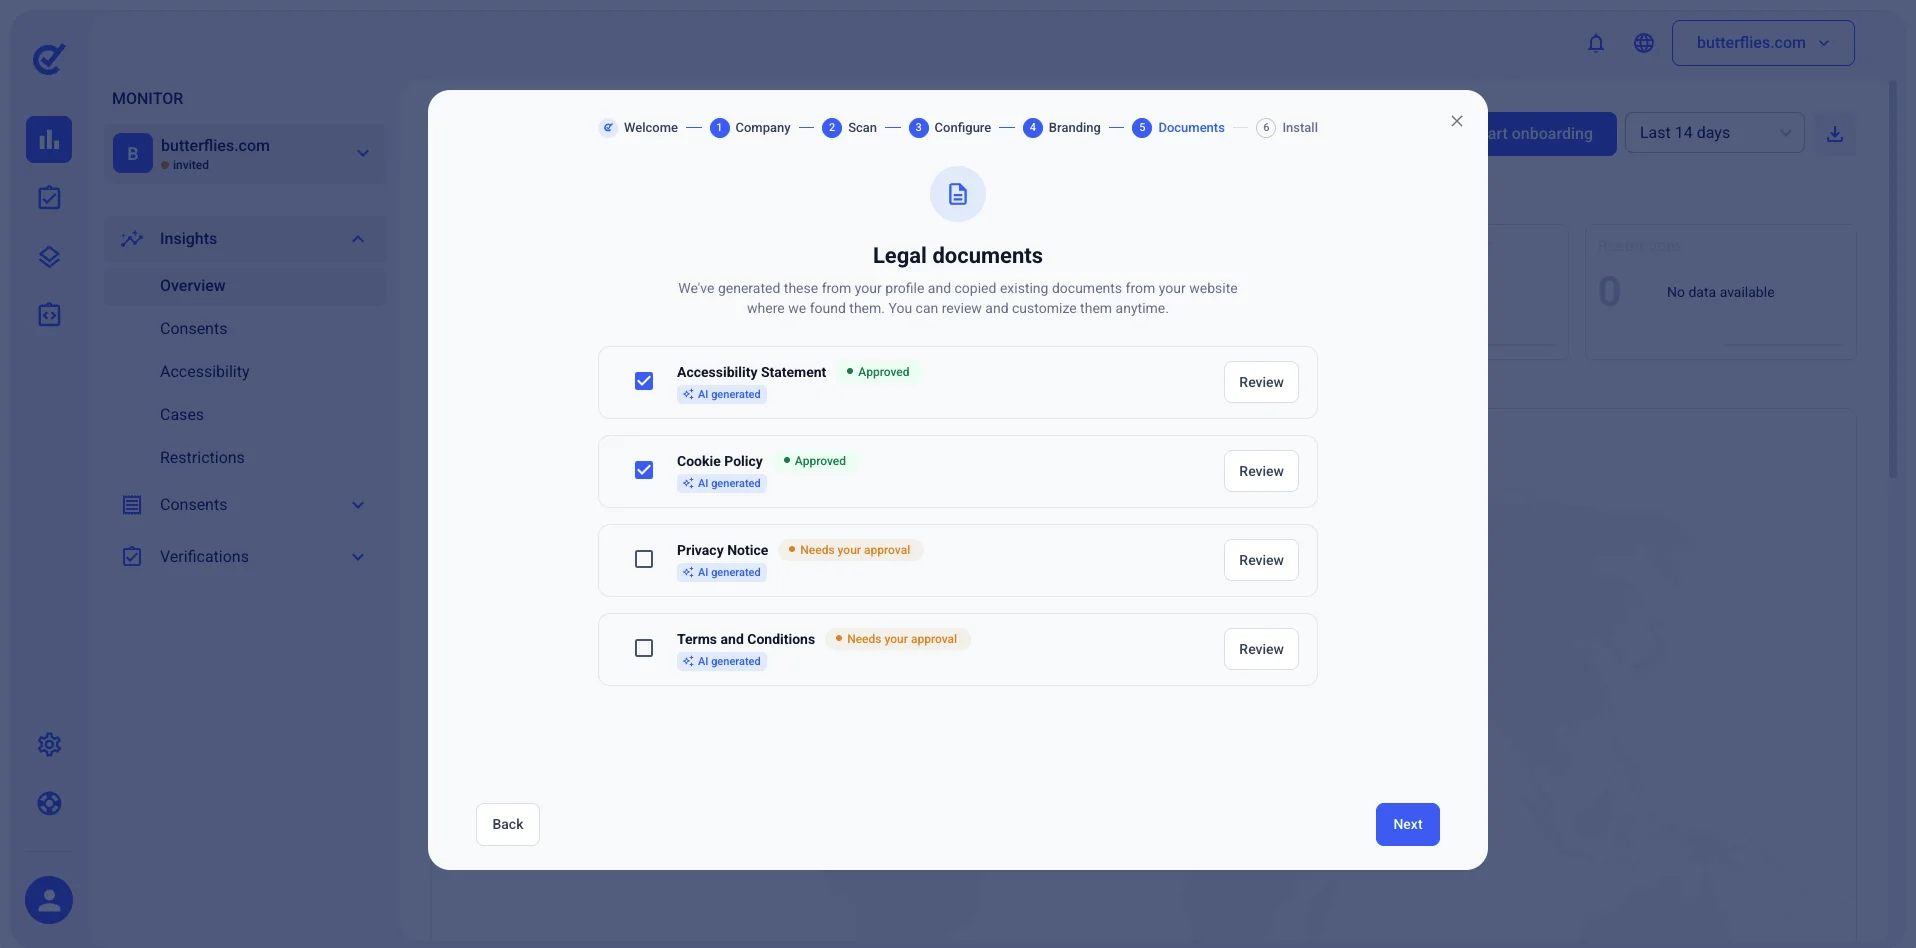
5. Review legal documents
Clym automatically generates or imports regulatory policies based on your website scan and organizational inputs.
Review the following before proceeding:
- Verify organization name, address, and contact details.
- Ensure documented data practices match your actual script load behavior.
- Confirm all required disclosures for your active jurisdictions are present.
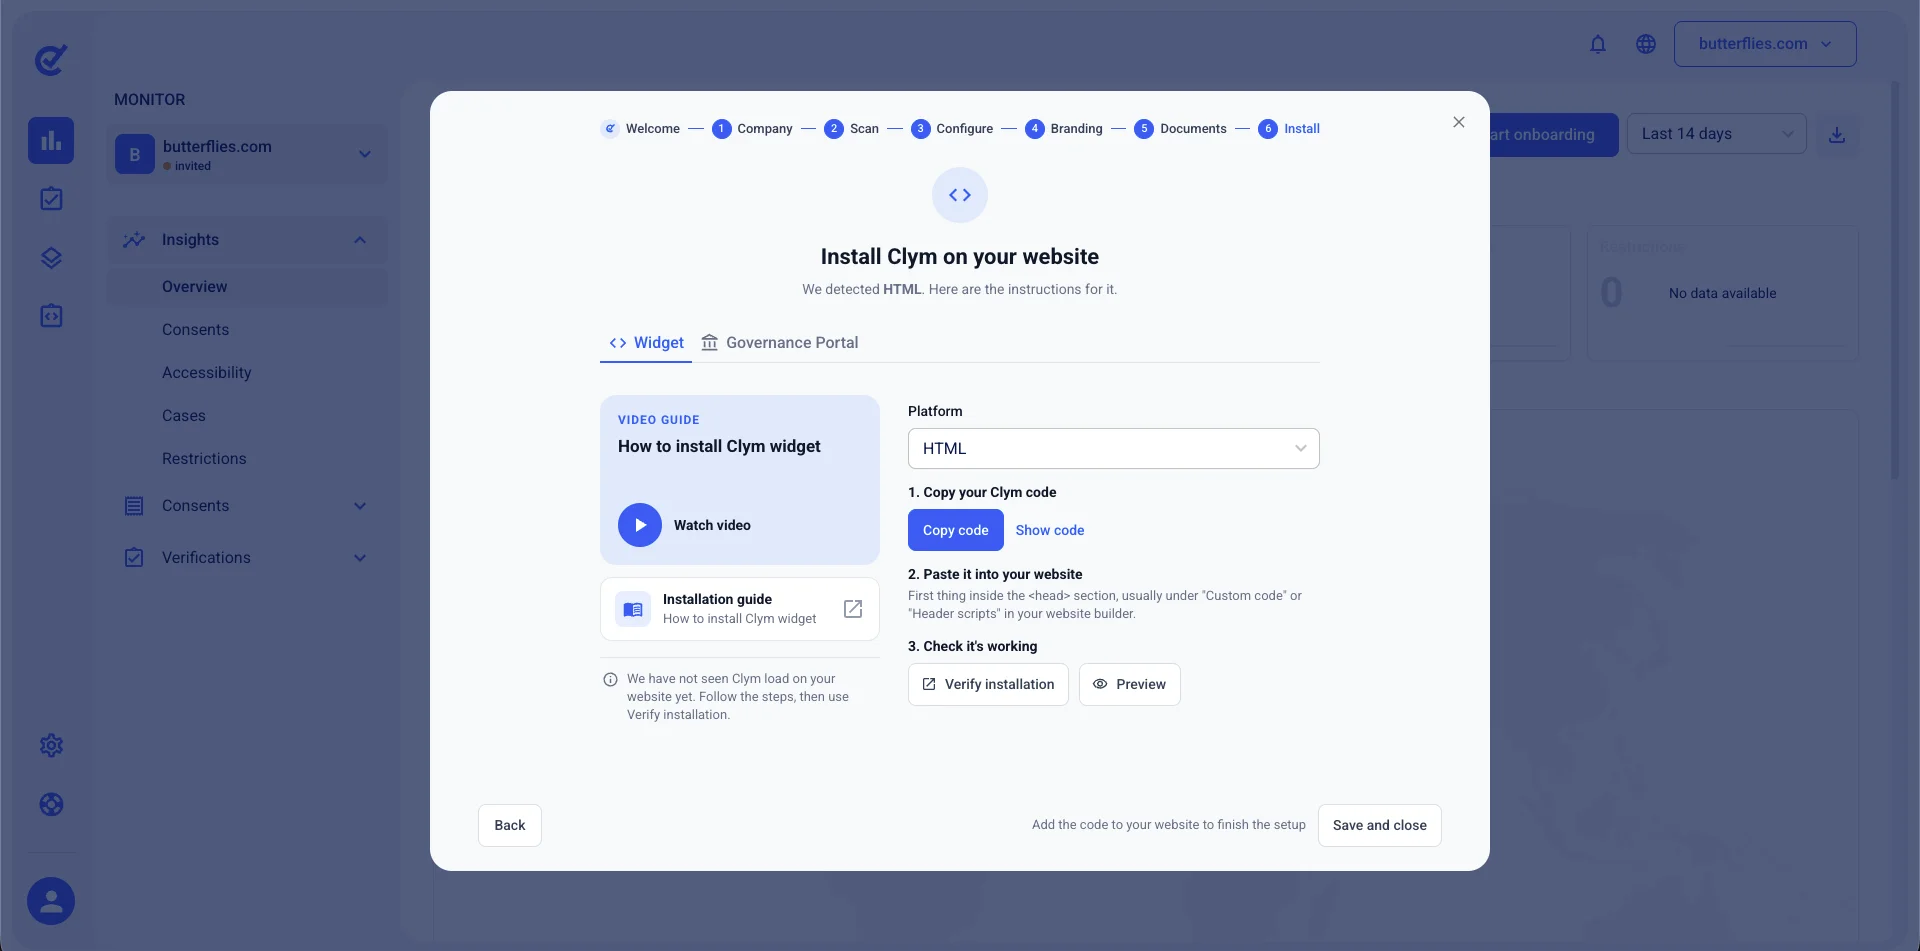
6. Install & go live
Deploy Clym to your website using the generated integration code.
- Select your CMS or site platform to view specific setup instructions.
- Copy and paste the provided code snippet into your site’s header.
- Verify deployment:
- Confirm the widget renders in the designated position.
- Test primary brand colors and logo alignment.
- Verify that legal document links open and display correct policies.
- Confirm cookie banner actions correctly trigger script-blocking behaviors.
Technical Support
If you run into issues during setup or installation, contact technical support at support@clym.io or open a chat from your Control Center account.